Save money by setting program schedules
Setting the clock and day of the week
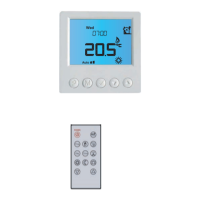
This thermostat is an individual 7-day programmalbe. For each day of the week you are able to have 4 timed set temperature schedules or programmed
events. For clarity these events are conveniently named 1,2,3 and 4.
Set to the time you would like to wake to and the temperature you want during the morning, until you left for the day.
To enter the program mode.
Make sure your thermostat is turned on when you want to set the program schedules.(Use button P to turn on / off the thermostat);
Make sure your thermostat is set to Auto mode( use button M to select Auto or manual mode).
Press and hold button P for 5 seconds. The display will change to show PROG together with Day( for example Mon, Monday) flashing.
Using the up or down buttons adjust the day to the day you wish to start programming or to the day you wish to edit an existing event or program.
(Press and hold the up button for 3 seconds to select all days of the week, to cancel selecting all days of the week, press and hold up button for
3 seconds again.)
Press button P to accept the day and advance to the n
Using the up or down buttons adjust the time you wish the programme 1 event to commence for the currently selected day.
Press button P to accept the time and advance to the next step, the LCD will show a temperature value flashing.
Using the up or down buttons set the desired heating temperature to be maintained for the programme 1 event.
Press button P again to accept the temperature settin
with time area flashing, signifying the second daily event is now being programmed.
Using the up or down buttons adjust the time you wish the programme 2 event to commence as described previously.
Continue to press button P to accept the time and advance to the next step, the LCD will show a temperature value flashing.
Using the up or down buttons set the desired heating temperature to be maintained for the programme 2 event.
Repeat step 6,7,8,9 to set program 3( ) and program 4
Above are default program schedules, to make changes, follow ea
Programming your thermostat or setting these daily events is no
more complicated than setting the clock. The same buttons are used in the same
sequence, using the button 2(button M) to advance to the next s
tep, and the up or down buttons to make changes. The LCD shows only relevant
information flashing for the event being adjusted thus reducing
possible errors that may be caused by having confusing information displayed on the LCD.
sy steps as below.
Set to the time you leave home and the temperature you wish your home to maintain while you are away at work perhaps.
Set to the time you return home at end of the day and the temperature you want during evening until bed time.
Set to the time you sleep and the temperature you want overnight(usually a comfortable and energy saving temperature).
07:00
22 °C
16:30
22 °C
09:30
16 °C
22:30
1.
2.
3.
4.
5.
6.
7.
8.
9.
10.
16 °C
WAKE
LEAVE
RETURN
SLEEP
ext step, the LCD will show programme 1( ) together with time area flashing.
g and advance to the next step, the LCD will show programme 2( ) together
( ) events.
Temporary temperature override
Using up/down arrow buttons, you can adjust the current set temperature
Use button to accept, and you will see “override” on LCD and
thermostat will maintain the new set temperature until the next programmed
event(comfort level). To cancel the override setting, just press and hold
button for 3 seconds until “override” disappear.
This thermostat is fitted with a real time clock. It is essential that the clock time and day are set accurately if you require your programmed events to start
1) Press and hold button for 3 seconds and you will see the time flashing.Use the up / down arrow button to change the time.
2) Press again to accept and proceed to day of the week setting. Now you will see day flashing, use the up / down arrow button to change the day of the week.
3) Now press again to store and exit.
Temporary
O/ride
Lock
Lock the buttons
To lock the buttons, press and hold the up & down arrow buttons
for 3 seconds, you will see a lock symbol . To unlock,
Vacation
Vacation mode
Press and hold down arrow button until you see on LCD.
Use same procedure to exit this mode. This mode will maintain
a set temperature (default 10
°C
) all the time. Use up or down
Reset
Reset to Factory setting
With thermostat turned off,
press and hold button and
until you can see RESET on LCD.
Floor
Temp
View floor temperature
If thermostat is set to AF model, and set to show air temperature
only, press and hold up arrow button for 3 seconds, floor
temperature will display and it will automatically revert back to
air temperature after 5 seconds.
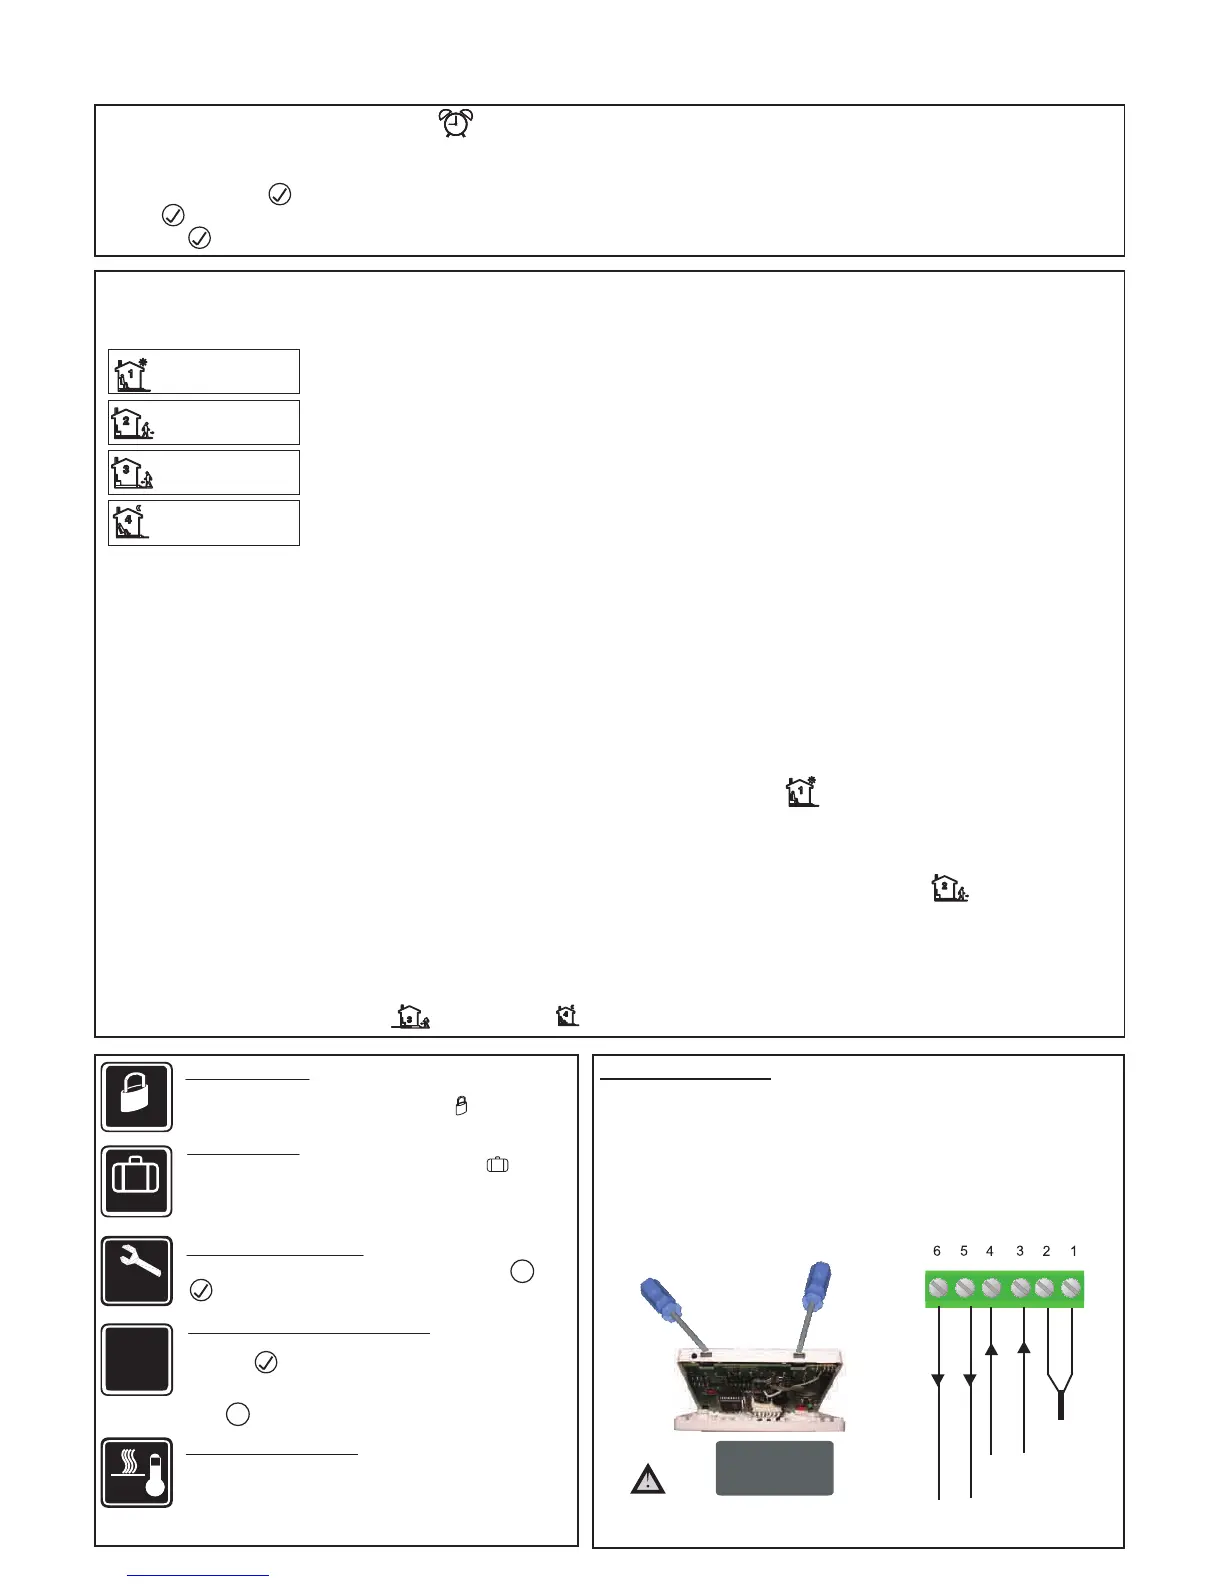
This product should be installed by
a qualified electrician.
Installation and Wiring
Carefully separate the front half of the thermostat from the back plate by placing a small
flat head terminal driver into the slots on the bottom face of the thermostat.
Carefully unplug the ribbon connector which is plugged in to th
e front half of the thermostat.
Place the thermostat front half somewhere safe. Terminate the t
hermostat as shown in
the
diagrams below.
Screw the thermostat back plate on to the back box
Re-connect the thermostat ribbon cable and clip the two halves together.
LL
LOAD
(16A)
FEED
(220
VAC+/-10%)
Floor Sensor
NN
MAX 16 AMP
3500 WATTS
M
M
arrow button to change the set point.
on time. Follow below steps,
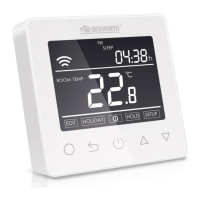
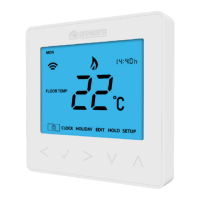
TR3100 Thermostat Instructions
ver 1.4
repeat the steps above and the lock symbol will disappear.
 Loading...