4 (701) 566-0452
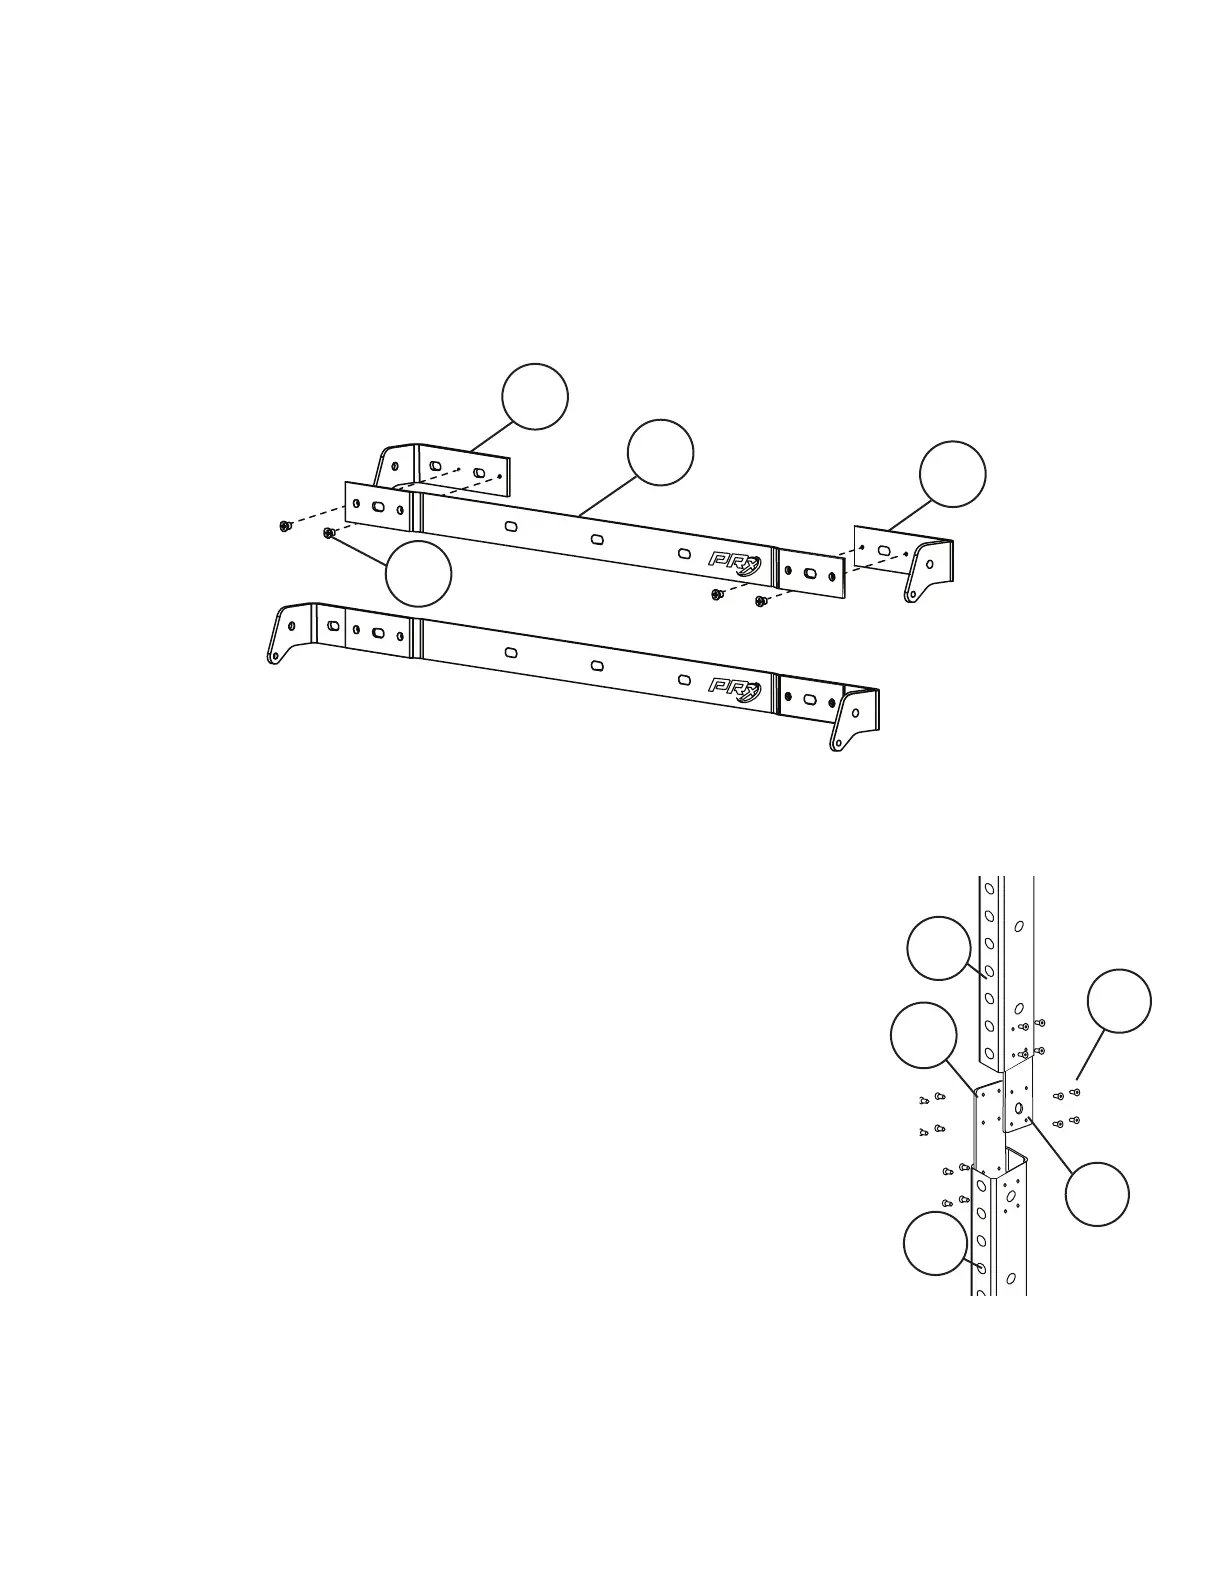
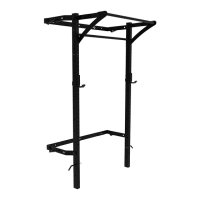
Assemble Wall Brackets
1. Attach one Left Wall Bracket Ear (1A) and one Right Wall Bracket Ear (1C) to the Middle Wall Bracket
(1B) using four M6 x 8 Tap Screws (16)
2. Be sure the ears on 1A and 1C are placed behind the Middle Wall Bracket (1B). When secured, the
back of the wall bracket should be ush, and the ears should be pointing downward
3. Repeat with other Wall Bracket
4. Once the brackets are fully assembled, these will be referred to as the upper and lower wall brackets
(they are interchangeable)
1A
16
1B
1C
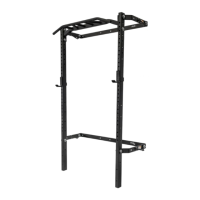
Assemble Uprights
1. Place an Upright Plate (2B) inside of a Bottom Upright (2C) piece,
align the ve holes of the two pieces, loosely secure the Upright Plate
to the Bottom Upright using four M6 x 8 Tap Screws (16). Be sure that
the largest hole in the Uright Plate (2B) will be inserted into the Bottom
Upright (2C)
The difference between the Bottom Upright (2C) and the Top Upright
(2A) is that the Bottom Upright has a foot plug
2. Repeat with Top Upright (2A)
3. Slide the two upright pieces together so the Upright Plates (2B) align with
the holes of the opposite uprights. Secure the Upright Plates (2B) to both
the Top (2A) and Bottom (2C) Upright pieces using eight more M6 x 8 Tap
Screws (16)
4. Tighten all M6 x 8 Tap Screws (16)
5. Repeat with next upright
2A
2C
16
2B
2B