Video output jack (3) is designed to connect external recording devices
and transmitting video signal to a monitor.
Select suitable video output signal – PAL and NTSC (see corresponding
item of section “Main menu”).
Attach signal receiver to the Video output jack (3) and turn on the
attachment. Icon on the panel will appear.
If there is no connection (i.e. the cable is not connected) a warning
prompt will be shown on the screen every three seconds.
Clock
Please do the steps as follow to setup the clock:
• Rotate the encoder to choose icon .
• Push the encoder and rotate it to select time format AM/PM/24.
Parameter being changed blinks.
• Push the encoder to pass to the hour setup.
Rotate the encoder to setup hour.
• Push the encoder to pass to the minute setup.
Rotate the encoder to setup minute.
• To exit the “Clock” item, keep the encoder (5) pressed for two seconds.
Adjustment of the aiming point
Please see section 9 for details.
Wireless remote control
The wireless remote control duplicates activation of the scope, IR
Illuminator and Sum Light™ mode.
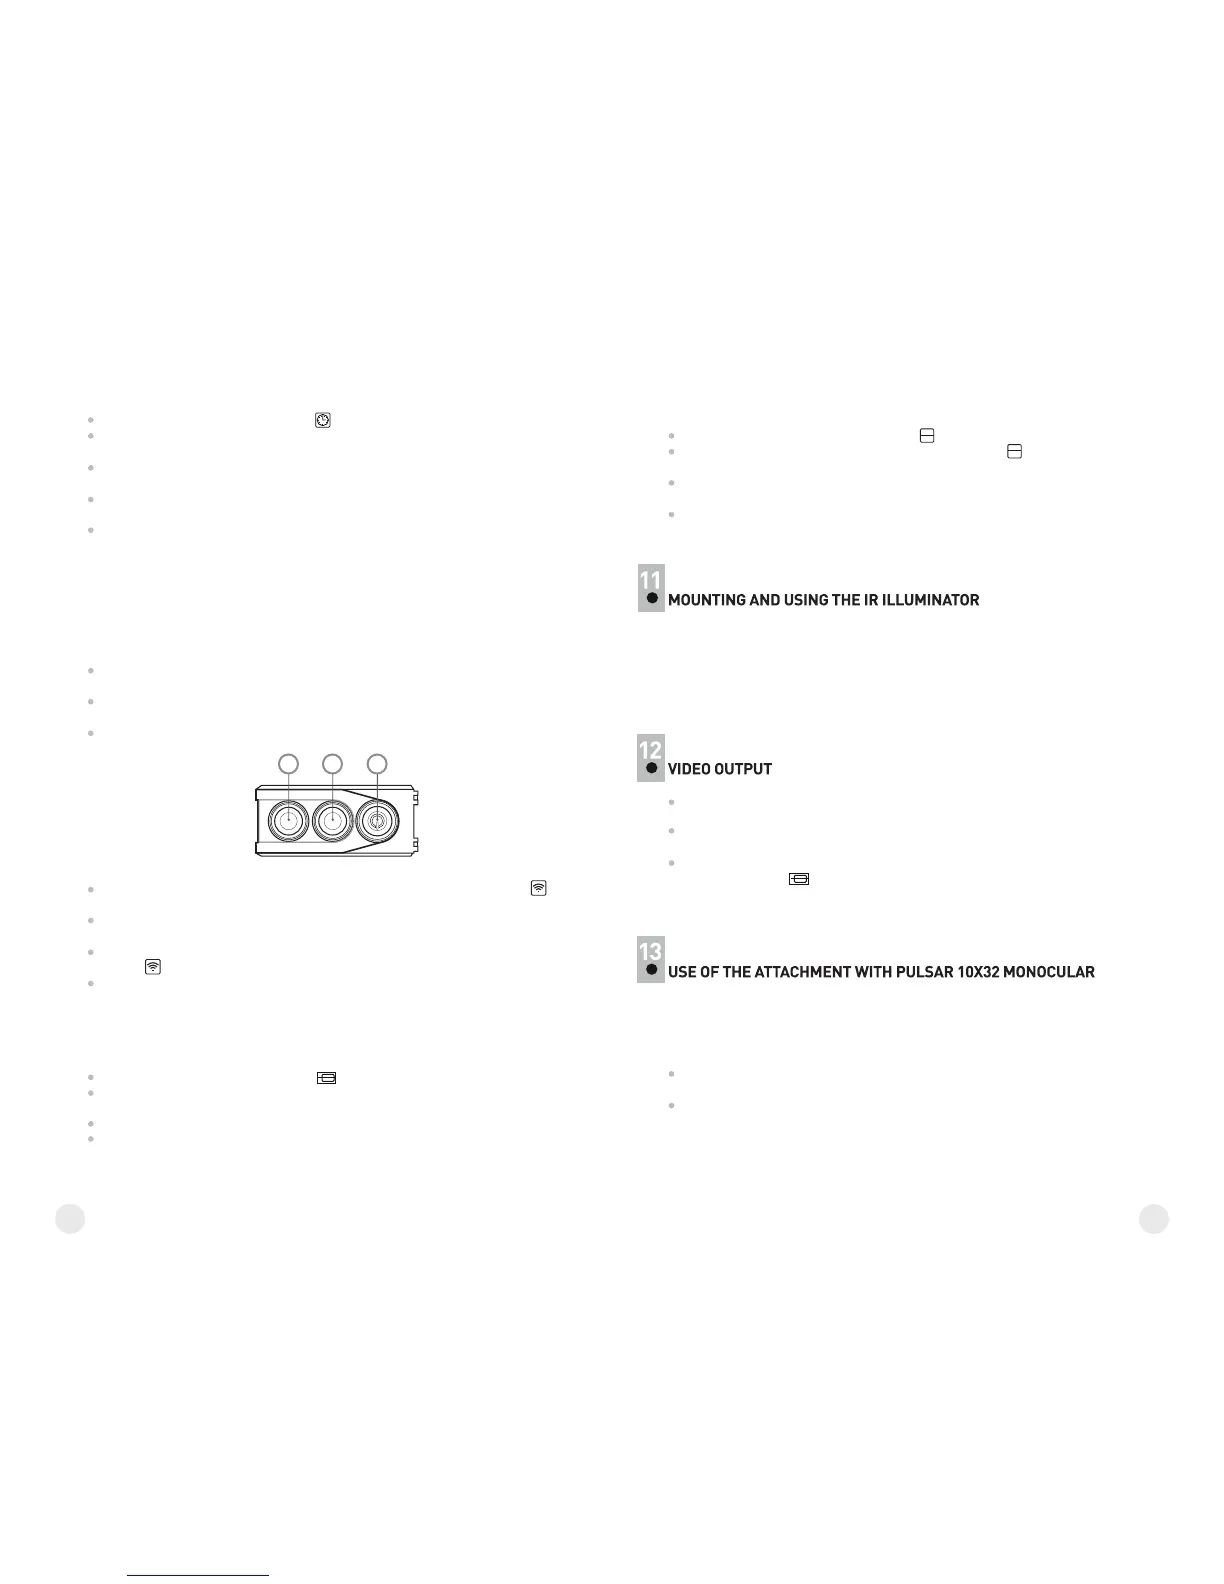
The unit has three buttons:
• “ON” button (13) – turning on/off the scope (keep pressed for two
seconds to turn on the scope);
• “IR” button (14) - turning on/off the IR Illuminator, powers settings
selection;
• “Sum Light™” button (15) – activation/deactivation of “Sum Light™”
mode.
To start using the wireless remote control you will need to activate it:
• Turn on the scope and select menu option “RC activation”, marked by
icon in the data panel.
• Press the encoder (5), a message “WAIT” will show up and countdown
will start within which you need to press any button of the RC.
• If the activation is successful, a message “COMPLETE” will show up
next to icon. The RC is ready for use.
• If a message “ERROR” shows up, repeat the procedure.
If the RC does not work, replace the battery. To do this, unscrew the
screws on the rear panel of the RC, remove the cover, pull out the old
battery and insert a new CR2032 battery.
Video output selection
• Rotate the encoder to choose icon
• Push the encoder and rotate to select video output standard –
PAL or NTSC.
• Push the encoder again to confirm.
• To exit main menu, keep the encoder (5) pressed for two second.
Or wait ten seconds to exit automatically.
12
13
Horizon adjustment function
Horizon adjustment function is designed to align the attachment
horizontally relative to the reticle of your day weapon scope.
• Rotate the encoder (5) to choose icon .
• Push the encoder vertical arrows will appear next to , and a red
horizontal line will appear on the display.
• Rotate the encoder to move the horizontal line upwards/downwards so
that it matches the horizontal bars of your day scope’s reticle.
• If the lines do not match, release the clamp and re-mount the attachment
to ensure its horizontal position.
Check that the lines match, snap the clamp and tighten the screw.
The attachment is supplied with an attachable laser IR Illuminator (915 nm
wavelength) designed to operate in lowlight conditions and full darkness.
The Illuminator operates in the invisible range which helps provide covert
observation.
To attach the Illuminator, unscrew the plug (4), mount the Illuminator into
the grooves and screw the plug clockwise.
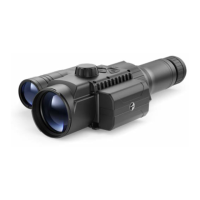
The attachment can be used with the Pulsar 10x32 (bought separately)
which allows the attachment to be converted into a 10 power night vision
digital observation device.
Installing the monocular:
Insert the monocular tightly so that the pins (22) in the monocular’s body
enter the grooves (16) of the attachment (see pic.).
Rotate the monocular clockwise so that the lock (12) snaps.
•
•
15 14 13