ON
Device is off
OTHER SHORT
PRESSES
LONG PRESS
Turn display off/
Power device off
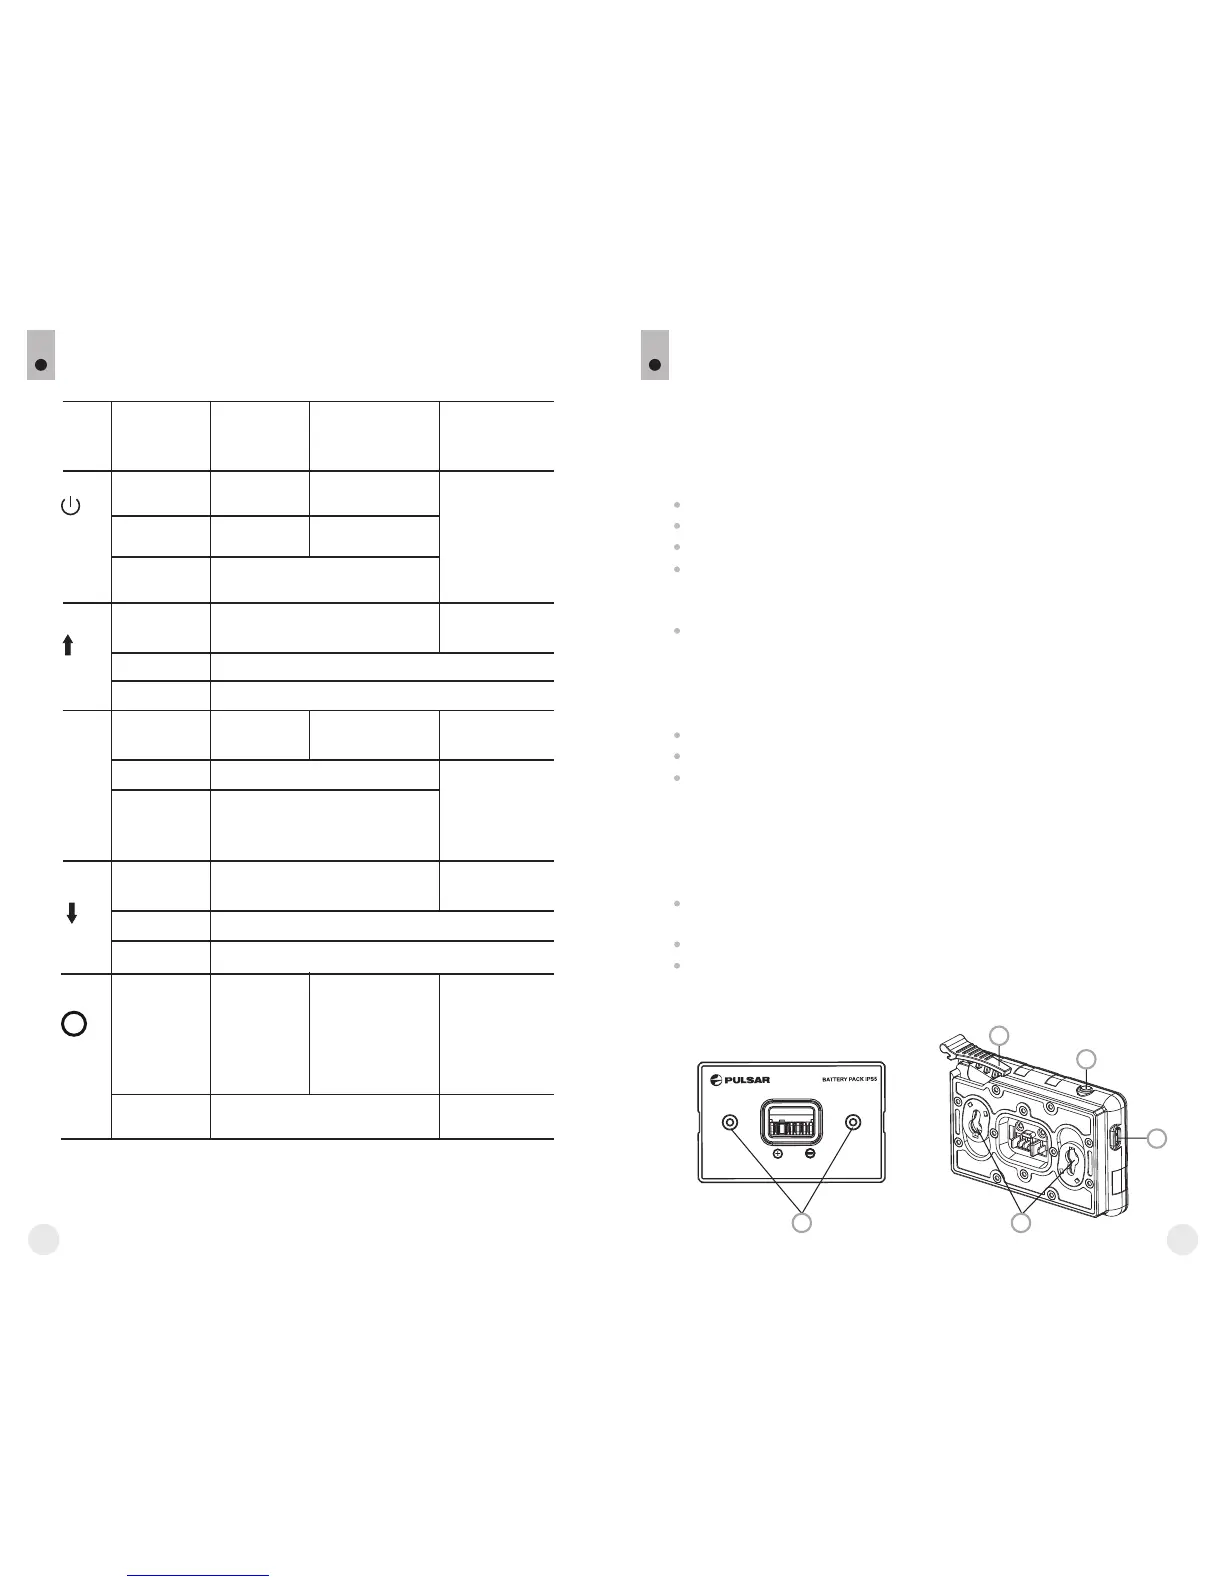
USING THE BATTERY PACK
HELION thermal imaging scopes are supplied with a rechargeable
Li-Ion Battery Pack IPS5 which allows operation for up to 8 hours.
Please remember to charge the Battery Pack before first use.
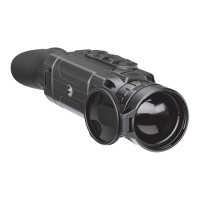
DESCRIPTION OF CONTROLS
DEVICE STATUS
(CURRENT
OPERATING MODE)
6
5
FIRST SHORT
PRESS
Power device on Calibrate the sensor
Display OFF
mode
Turn display on Calibrate the sensor
Device is on Calibrate the sensor
UP
Regular
(viewing)
Wi-Fi on/off
Main menu
Navigation upwards/rightwards
Hot menu
Switch between colour palettes
Changes parameters
MENU
Regular
(viewing)
Main menu
Hot menu
Enter hot menu
n/a
Enter main menu
Confirm selection
Switch between hot menu options
Exit submenu without
confirming selection /
Exit menu (switch to
viewing mode)
DOWN
Regular
(viewing)
Main menu
Hot menu
Control discrete digital zoom
PiP on/off
Navigation downwards/leftwards
Changes parameters
REC
Video mode
Start video
recording
Pause / resume video
recording
Stop video recording
(if recording is on)/
Switch to photo mode
(if recording is off)
Photo mode
Take a photograph
Switch to video mode
Lift the lever (C) of the charger.
Remove the protective cover from the Battery Pack.
Install the Battery Pack into the charger by inserting the pins (A) of
the battery into the grooves (B) of the charger – the Pulsar logo on
the battery Pack should be located closer to the lever; click the lever
(C)(Pic.3).
Upon installation, a green LED indicator (D) on the charger will start
to glow and begin flashing:
- once if the battery charge ranges from 0% to 50%;
- twice if the battery charge ranges from 51% to 75%;
- three times if the battery charge ranges from 75% to 100%;
If the indicator lights green continuously, the battery is fully charged.
You can remove the battery from the charger by lifting the lever (C).
If the indicator of the charger lights red continuously upon battery
installation, probably the battery's charge level is lower than
acceptable (the battery has been long in deep discharge). Keep the
battery in the charger for a long time (up to several hours), remove
and re-insert it. If the indicator starts blinking green, the battery is
good; if it keeps lighting red it's defective. Do not use the battery!
Connect the Micro-USB plug of the USB cable to the port (E) of the
charger.
Connect the Micro-USB plug to the charger.
Insert the plug of the charger to the 220V socket.
Charging:
A
B
C
D
E
BUTTON
Pic.3
M
6
5
 Loading...