6 7
Functions of the controls
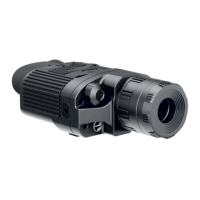
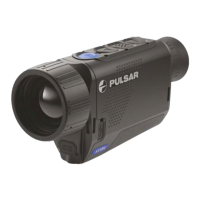
Controller
Rangefinder
Pass to “Brightness”
mode
Pass to “Contrast” mode
Controls
name
Button
ON
Button
Cal
Button
Mode
Button
RF
Operating mode
Scope is off
Scope is on
Display on
Display off
Scope is on
Scope is on
Brightness
Contrast
1st short press
Scope is on
Display off
Subsequent short
press(es)
Display off
Display on
Long press
Scope is off
Rotation
Scope calibration
Calibration is not executed
Zoom
Enter the menu
Rangefinder is on Rangefinder is off
Pass to “Contrast”
mode
Pass to “Brightness”
mode
Color mode
change
Changing
brightness
value
Changing
contrast
value
Changing
distance
value
—
—
—
—
5
MENU AND STATUS BAR ICONS:
M
H
A
Operating mode “Identification”
Manual calibration mode
Semiautomatic calibration mode
Automatic calibration mode
Low battery indicator
Clock setup
2х full magnification
Defective pixel repair option
Operating mode “City”
Operating mode “Forest”
Video output signal selection PAL/NTSC or video output disable
Brightness and contrast setup
Image inversion modes: “White hot”/“Black hot”
Cross for defective pixel repair
Return to default defective pixel pattern
Brightness setting of menu icons
Color modes
Stadiametric rangefinder
Operation on external power supply
2х
Automatic power off
Turn the lever of the battery compartment (11) 90 degrees in “Open”
position and, pulling by the lug of the cover, remove the battery
container.
Install four AA batteries (or rechargeable batteries) observing polarity
shown on the battery container.
Insert the battery container into the battery compartment and turn the
lever 90 degrees clockwise.
Battery charge level is displayed in the status bar ( ).
In case of complete battery discharge, icon is flashing in the
status bar and in the centre of the display.
INSTALLATION OF BATTERIES
6
Operating mode: City, Forest, Identification.
Calibration mode: Manual, Automatic, Semi-automatic.
Automatic power off. Displayed only when the function is activated.
Image inversion mode. Displayed only when “Black Hot” color mode
is selected.
Zoom. Shows the value of the full optical magnification.
Clock setup. Shows running time in a 12h or 24h format.
Power. Shows current battery status or connection on an external
power supply.
Status bar
The status bar in the lower part of the display shows information as
follows:
The functions are shown on the display as follows:
Cal
Mode
х2
Note: to ensure long and reliable operation it is recommended that you
use quality rechargeable batteries with a capacity of at least 2500 mAh.
Please do not use batteries of different types or batteries with various
charge levels.
Connect the plug (16) of the cable
to the jack (10) of the scope by
matching the notch in the plug
connector and the protrusion of the
jack (10) (see the scheme).
EXTERNAL POWER SUPPLY
7
The scope can be powered with an external DC power supply (2.1mm
pin) with stabilised voltage ranging from 8.4V to 16V or a 12V vehicle
socket.
17
16
—
 Loading...