10
11
Stadiametric rangefinder
Thermal imagers are equipped with a stadiametric rangefinder which
allows the user to estimate approximate distance to an object with known
size.
Press the “RF” (3) button to activate the rangefinder.
You will see on the display: cursor, measurement distance value and
icons of reference objects for measurement.
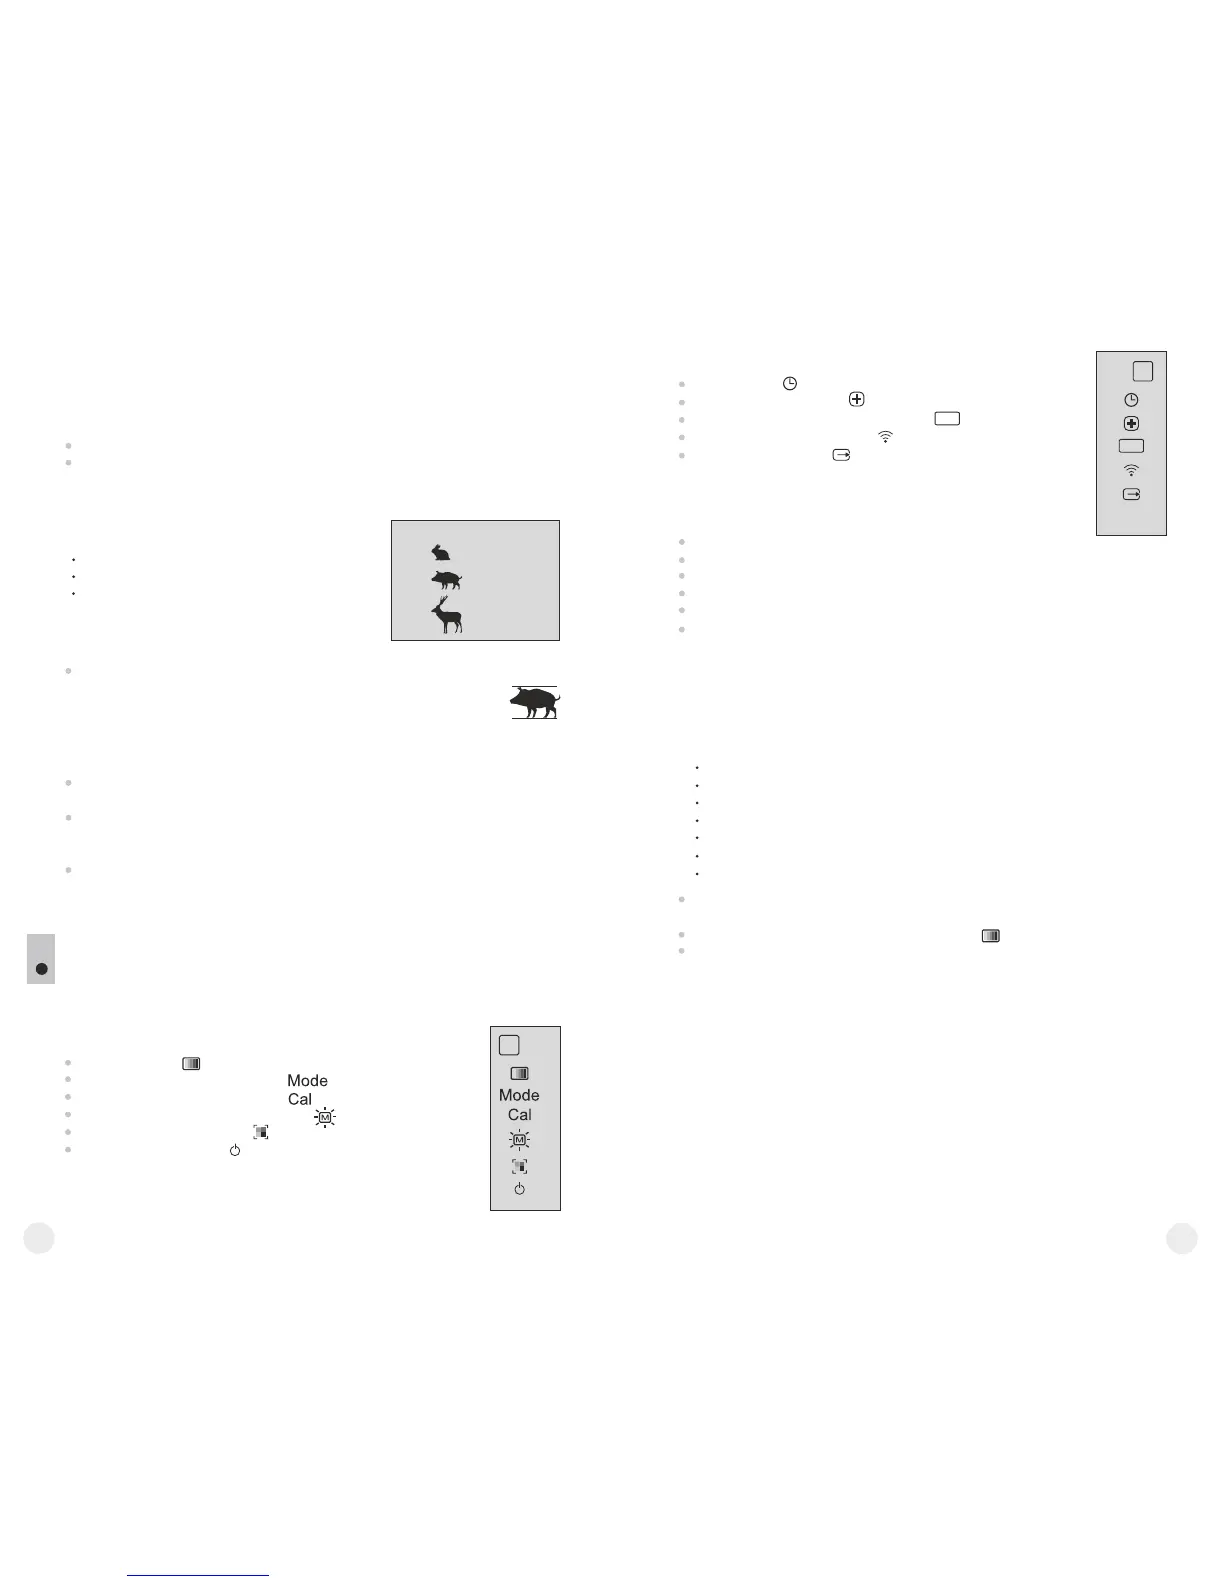
There are three pre-set reference objects:
Hare – height 0.3 m
Wild hog – height 0.7 m
Deer – height 1.7 m
85m
200m
487m
Locate the lower fixed cursor under the observed object and,
while rotating the controller (2), move the upper horizontal
cursor relative to the lower fixed cursor until the observed
object fully fits between the two cursors. The distance to the
observed object is automatically recalculated as you move
the upper line.
If the measurement does not take place within 10 seconds,
information disappears from the display.
Before being shown on the display, a measured distance value is
rounded up to 5 m for larger values, rounded down to 1m for smaller
values.
To deactivate the rangefinder. Press the “RF” (3) button.
MENU
9
The Quantum XQ menu includes two tabs as follows: М1 and М2:
Tab M1 functions:
Color modes
Selection of operating mode
Selection of calibration mode
Brightness setting of menu icons
Selection of menu color
Automatic power off
M
1
M
2
Tab M2 functions:
Menu of the Quantum LQ series includes functions
as follows:
TAB M1 FUNCTIONS:
Color modes
M
1
M
2
M/Y
Color modes
Selection of operating mode
Selection of calibration mode
Brightness setting of menu icons
Selection of menu color
Defective pixel repair
This menu option allows the user to switch from the standard mode
(“White Hot”) to one of the multiple color modes:
“Black Hot”
“Red Hot”
“Red Monochrome”
“Rainbow”
“Ultramarine”
“Violet”
“Sepia”
Press and hold down the controller (2) for two seconds to enter the
menu.
Rotate the controller to select menu option . Press the controller.
Rotate the controller to select one of the color modes, press the
controller to confirm.
After exiting the menu, the color mode selected by user becomes a
default mode and it is saved upon turning the unit off. When pressing the
“MODE” button for two seconds, color mode will switch to standard mode
“White Hot”.
Selection of operating mode
There are three automatic operating modes:
“City” (enhanced contrast), “Forest” (low contrast) and
“Identification” (improved detail rendering).
Each mode includes optimal combination of parameters (brightness,
contrast, gain etc.) to deliver best possible image in specific viewing
conditions.
Clock setup
Defective pixel repair
Selection of units of measurement
Remote control activation
Video output setup
M/Y