4
1) Yoke
The QUADRA MOON is fitted with a hanging yoke to allow rigging from trussing or stands. Care
should be taken to ensure all rigging is carried out by a competent person and that all fixings used
are suitably rated.
2) Hand Wheel
The yoke has tilt adjustment built in. Once the desired angle has been set the hand wheels should
both be tightened. Both hand wheels should be inspected on regular occasions to ensure they are
tight.
3) Lens
Clean the lenses on regular occasions with a soft cloth to ensure the QUADRA MOON operates at
the optimum brightness.
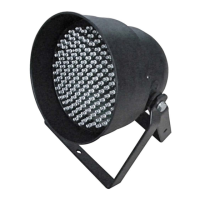
4) Chassis
The chassis of the QUADRA MOON features rugged corner guards to help protect from small
scratches and bumps. Transportation in a padded flight case is recommended. The upper panel of
the chassis features ventilation slots, these should be kept clear of dust and blockages.
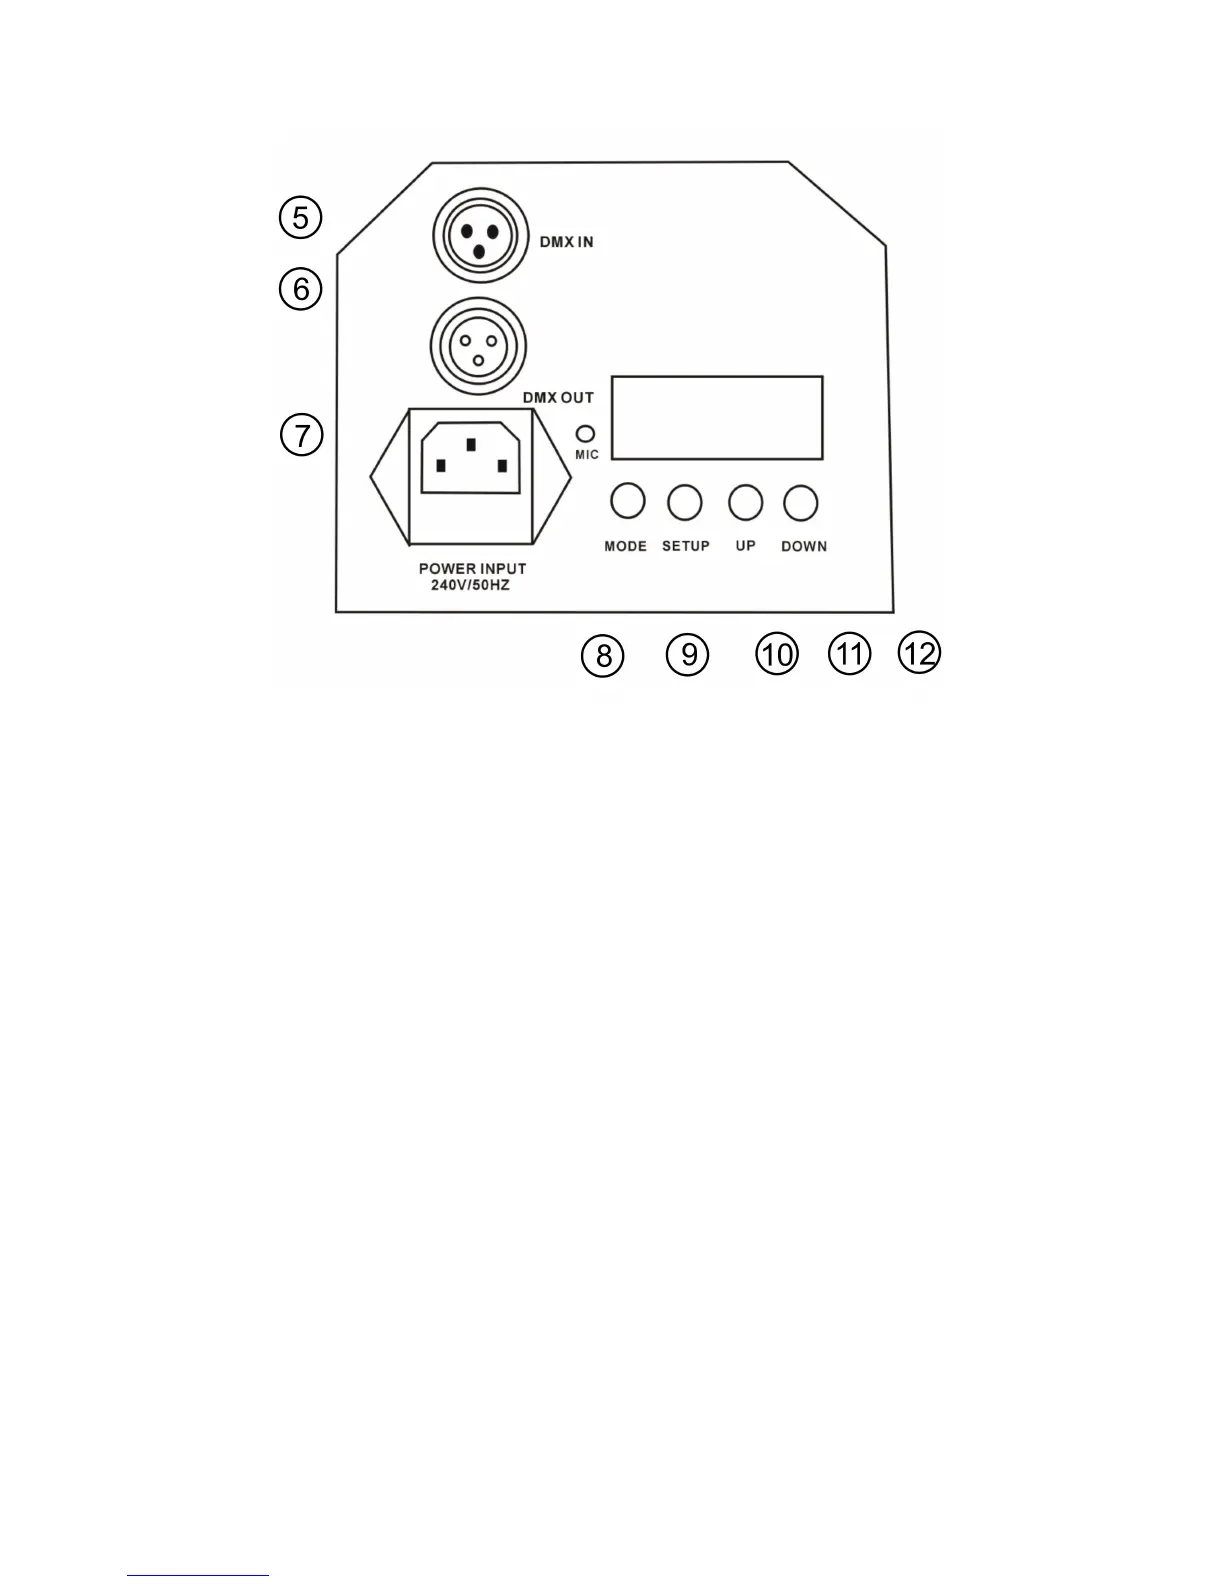
5) DMX Input
Standard 3-pin XLR male chassis socket for DMX input. Pin configuration for this product is Pin1=
Ground, Pin2= Negative (-ve) and Pin3= Positive (+ve)
6) DMX Output
Standard 3-pin XLR female chassis socket for DMX input. Pin configuration for this product is Pin1=
Ground, Pin2= Negative (-ve) and Pin3= Positive (+ve).
7) Mains Power Input
The QUADRA MOON operates from a standard mains voltage outlet (AC120-240V/50-60Hz). DO
NOT connect this to a dimmer pack as this can damage the unit and/or the dimmer pack. Dimming
or control of this product is done utilising the onboard DMX functions.
8) Mode
Press the “MODE” button to access the internal menu system and select from the different
operating modes.
9) Setup
Press the “SETUP” button to access the sub menu of a selected operating mode (ie speed control
within Auto mode)