www.PyleUSA.com
4
www.PyleUSA.com
5
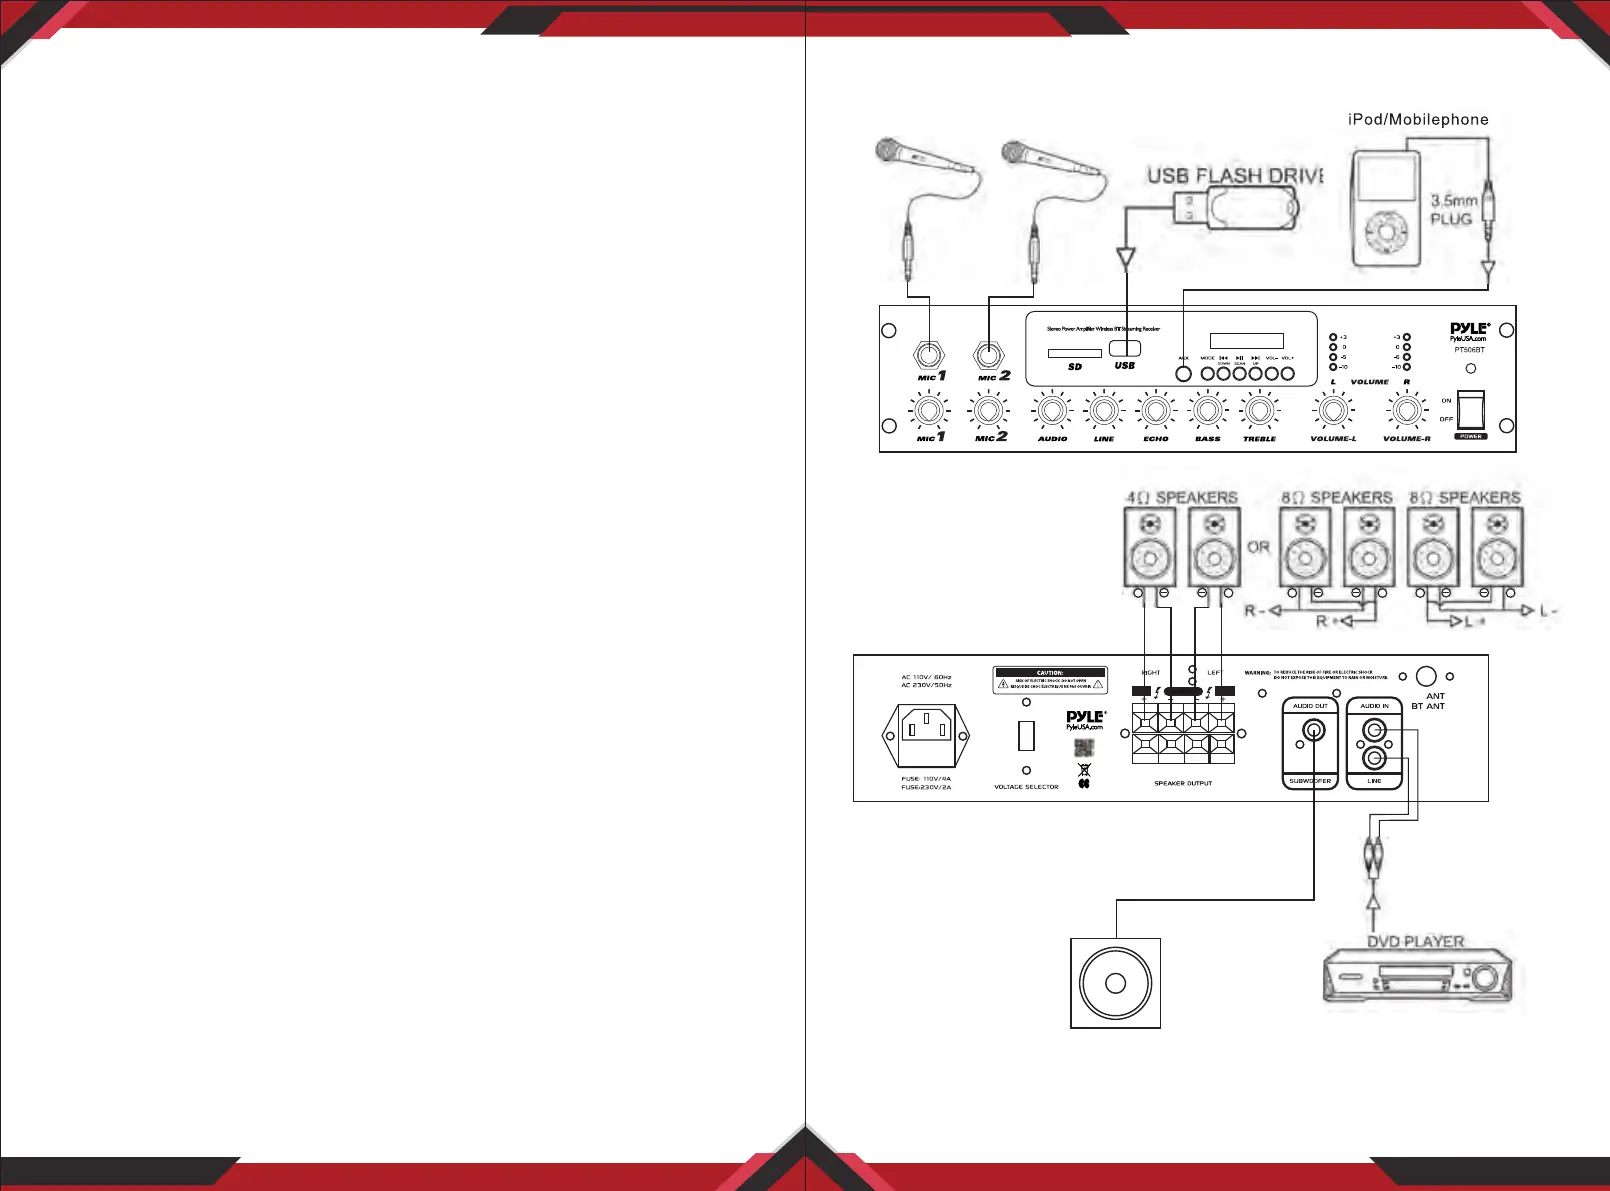
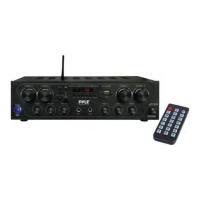
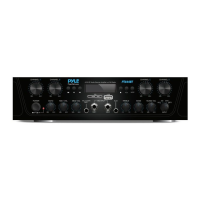
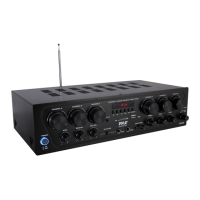
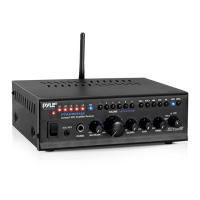
3. LED Output ( L & R) Level Indicators
4. Power On/ O LED Indicator
The Indicator Lights when the Amplier is Turned ON.
5. POWER ON/OFF
6. MASTER (L&R) Volume Control
Separate left and right channel volume control lets you control the level of
each channel, and it doesn’t aect the volume of the microphone.
7. TREBLE/BASS Controls
Allows you to boost or attenuate Bass and Treble for desired sound.
8. ECHO Control
Allows you to adjust the MIC Echo level
9. LINE Control
Allows you to adjust the LINE Input level
10. AUDIO Control
Allows you to adjust the Input level of BT/USB/SD/AUX/FM
11. Power Plug
Connect to AC 110V/60Hz, & AC 230V/50Hz Outlet
12. Voltage Selector
110V/60Hz and AC 230V/50Hz switch
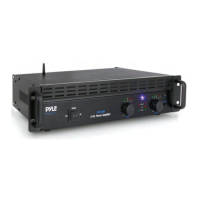
13. Speaker Output ( Push Type Speaker Terminal)
Lets you easily connect speaker wires directly to the amplier. The speaker
impedance can be ranged from 4- 8 Ohm for the general stereo output.
The total speaker impedance must be at least 4- Ohm per channel at stereo
mode.
14. Subwoofer RCA Output Jack
15. LINE RCA Stereo Audio Input
16. AM/ FM Antenna
Aux (3.5mm) Input Connection & Operation:
Once the unit is powered on, any device connected to the wall plate’s Aux
(3.5mm) jack, via audio connection cable, will play automatically. As soon as the
wall plate detects audio transmission via Aux Input, it will play-overriding any
Bluetooth connected audio signal transmission.
Connection Diagram:
FM
+ + + ++ +
SUBWOOFER