5
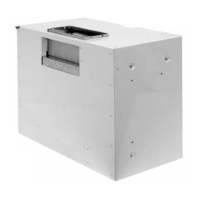
Installation instructions Fold Away model (FA)
1. The rangehood can now be installed by inserting screws in the three holes provided on each side or
to the top or back by drilling your own mounting holes as required.
2. When installed, cover the access holes to the side fixing screws with the plastic plugs supplied.
3. Fit filters.
Duct direction for MT model only
To change the duct direction, proceed as follows:
1. Remove the screws from the fan access panel and remove access panel.
2. Unscrew the 2 x 700 hex head screws fixing the fan to the hood.
3. Rotate the fan assembly so that the air outlet meets with the rangehood outlet hole through which
you are going to vent (top or back).
4. Replace the 2 x 7mm screws.
5. Refit the fan access panel.
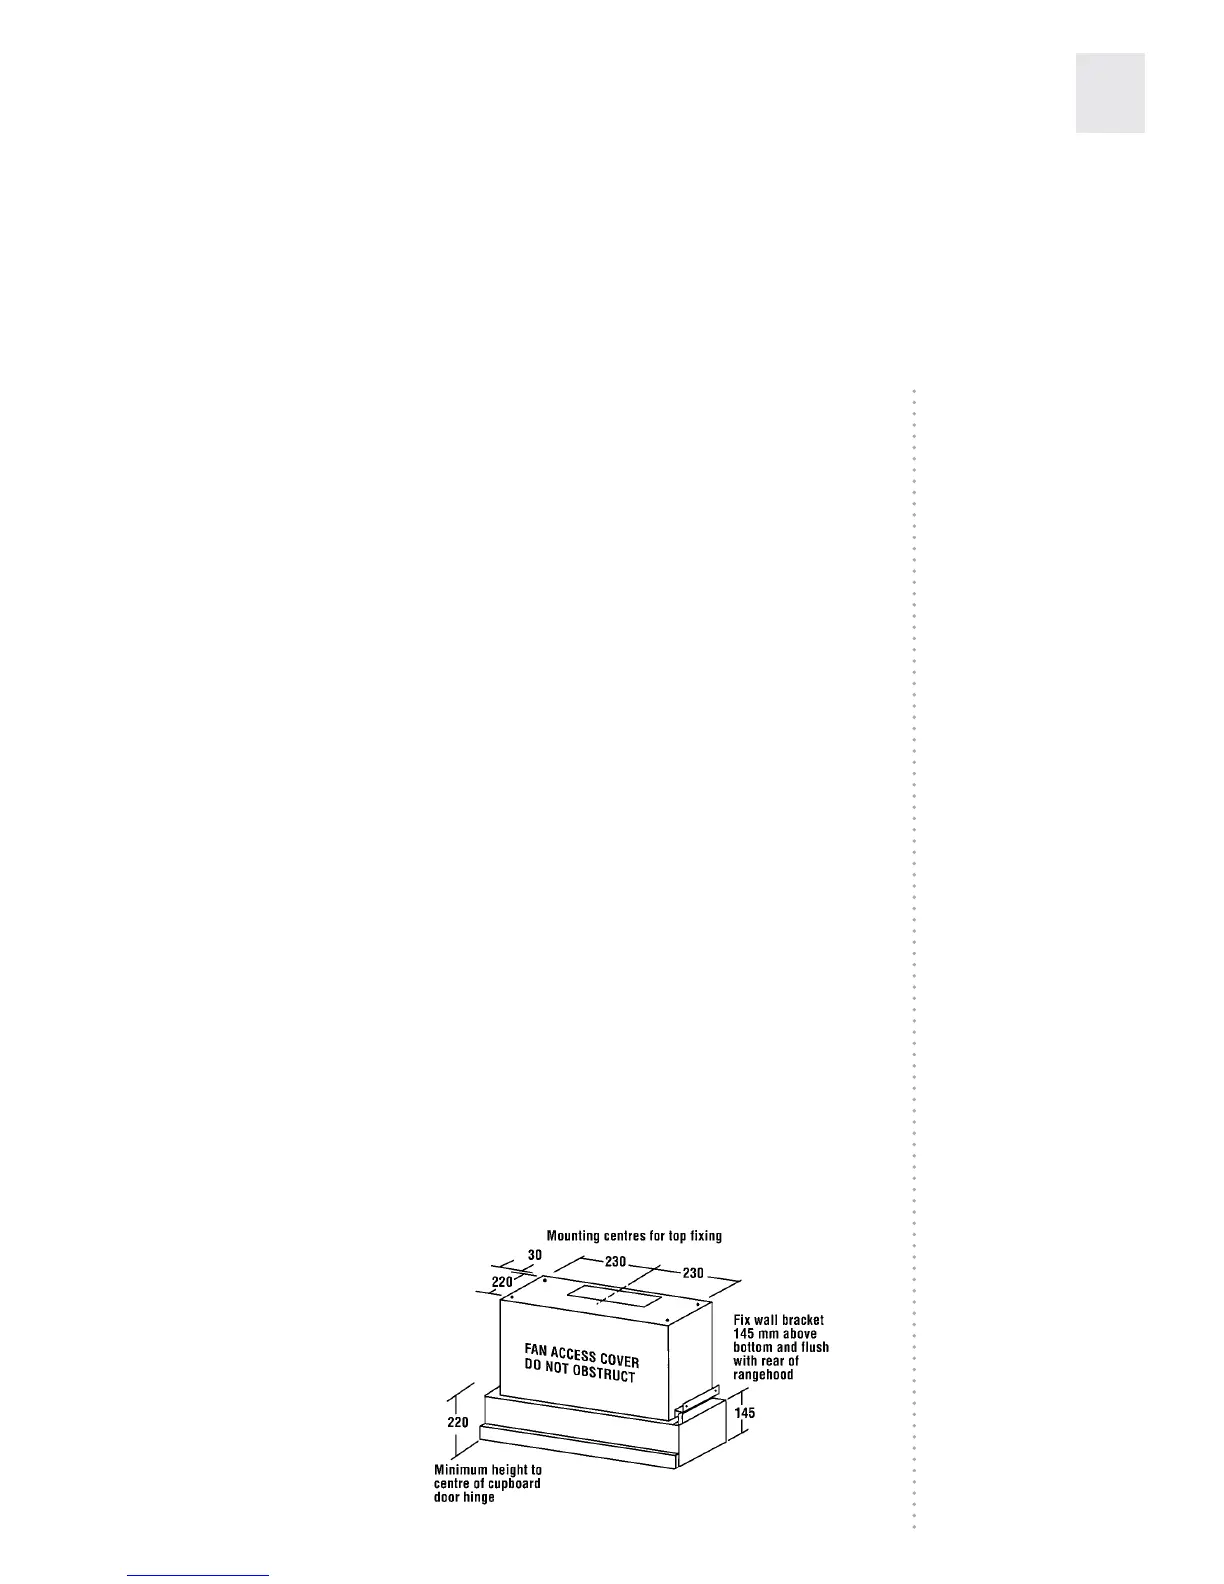
Installation instructions Mini Trim model & Marcel (MT & MC)
1. Fit a shelf at 410mm from the base of the cupboard.
2. Note hinge location prior to drilling.
3. Work from the centre line mark and drill 4 x M5 to M8 holes.
4. For top ducted models, cut out hole for the ducting allow 20mm clearance.
5. Fix left and right hand mounting brackets (supplied) 145mm from the base of the cupboard flush with
the rear of the unit. Notch to the back.
6. Lift rangehood onto mounting brackets by holding either end. DO NOT use the slide mechanism as
this may cause damage.
7. Insert the 4 x 50mm pan head screws supplied through the shelf and into the rangehood. Turn
clockwise to level the rangehood.
8. Fix the rangehood position by inserting 2 x no 8 1/2 inch screws through the left and right hand brackets.
9. Fit doors.
10. Minor adjustments may be required on the rangehood handle. Loosen the screws on the rear of the
handle and adjust handle position and re- tighten. The rangehood handle can be replaced.
11. All of the rangehoods shown on pages 1 and 8 are supplied with a 10AMP plug and lead for
connection to a 10AMP GPO, which must be in an accessible position.
12. The handle can be removed and replaced with one made by the cabinet maker to fit in with the
kitchen cabinets. The MT 90 has 3 screws and the MT 60 has 2 screws. These can be accessed by
sliding the facia out and un-screwing the front from underneath and behind the facia. The handle will
come off by tilting it forward from the top.
 Loading...