45
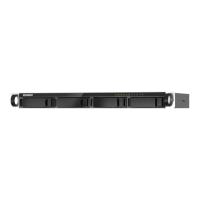
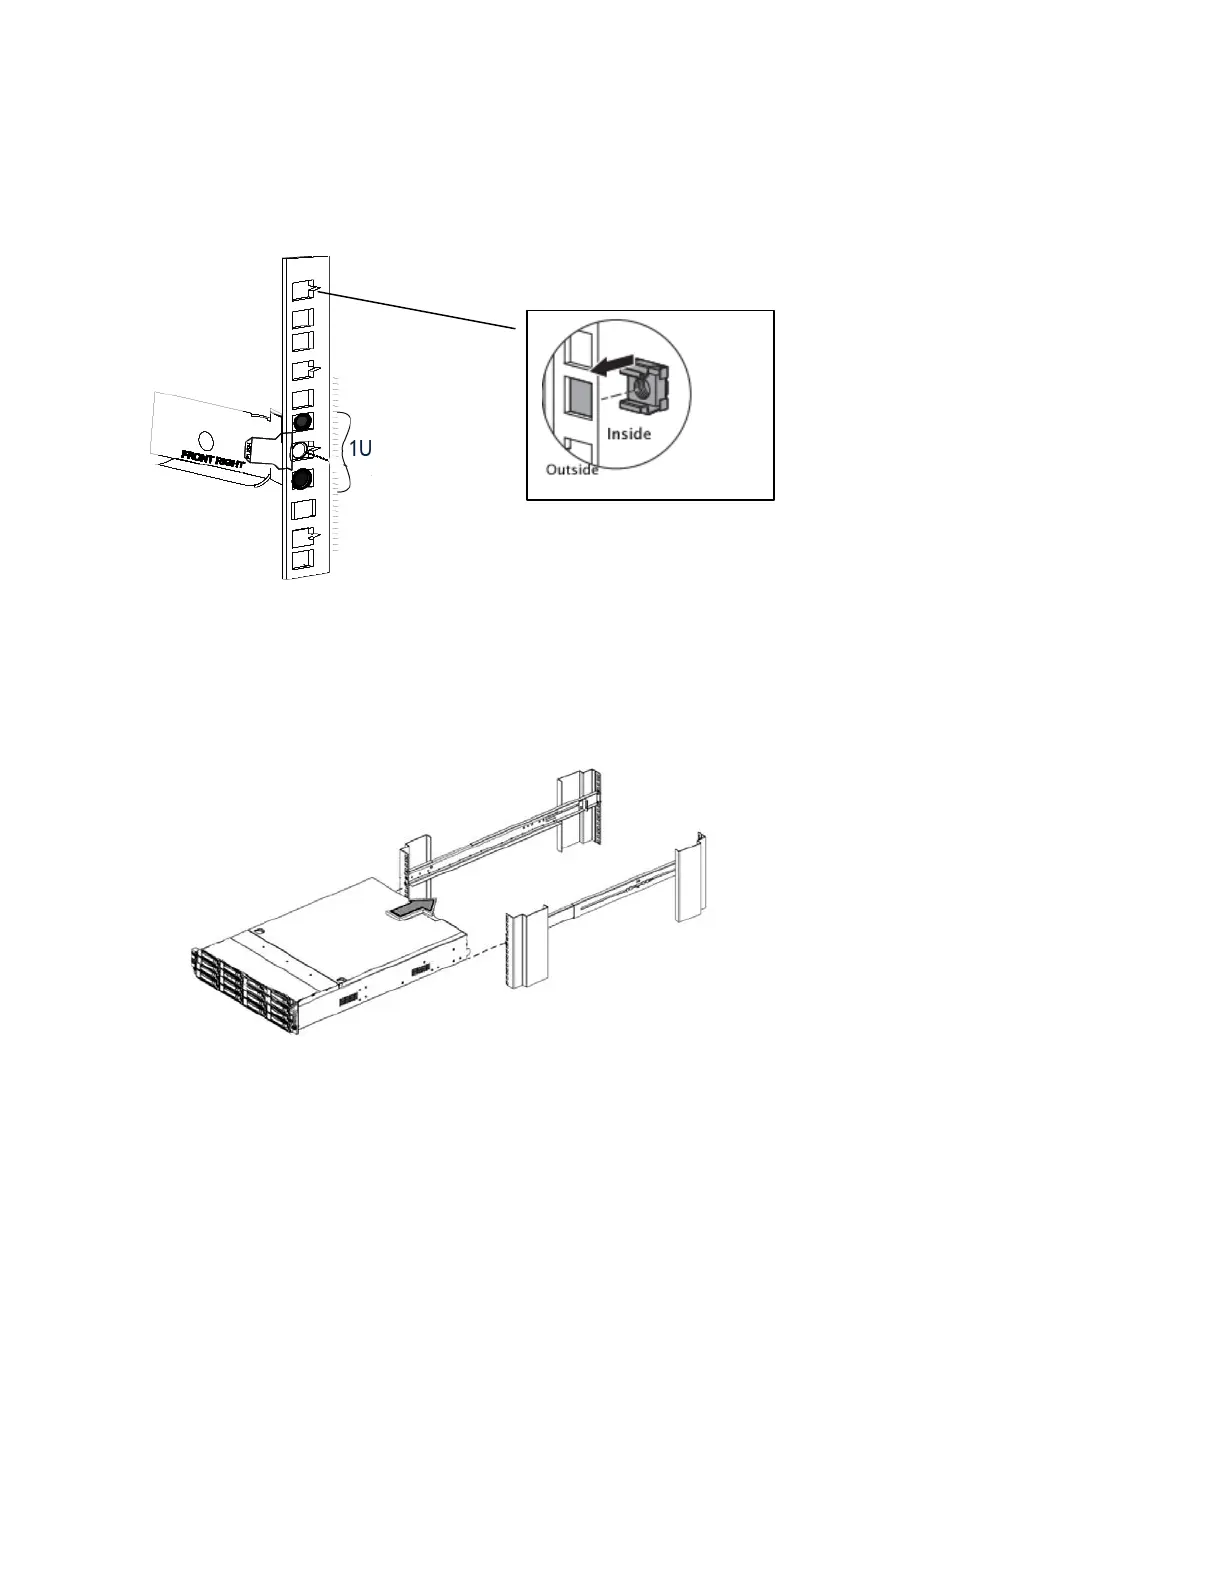
Place the cage nuts 6 holes (or 2U space from the centerline of the rail) above and snapt it into
the square holes of the front columns. Theses cage nuts will be used to attach the ES NAS to the
rack later (Figure 2).
Figure 2: Attach the cage nuts to the rack columns
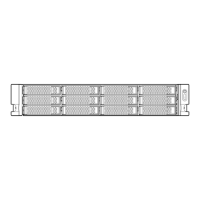
Slide the ES NAS into position on the rails (Figures 3).
Figure 3: Insert the device into the rack
Secure the device and the front end of the rails to the front rack columns by using the screws
provided (Step 1 in Figure 4). The bottom hole can be installed with only screws where as the
upper hole (the centerline of 2U space above or 6 holes above) should be installed with the cage
nuts (Step 3). Place the LED cap onto the device (Step 2 in Figure 4). (You might want to do this
after powering on your system since the power-on button will not be accessible after the cap is
attached.)
 Loading...