Step 1 – The tools & the Components
The tools you need:
• A good quality soldering iron with a fine point (max 30) Watt or a
soldering-station.
• A desoldering-pump
• A micro cutting nipper, a wire-stripper and a miniature pliers
• A Philips n° 2 and n° 1 screwdriver and a small flat screwdriver
• Tin/lead solder wire (no unleaded solder!)
• A digital multimeter
If you don’t have these tools you can order them in the Dada Electronics
webshop.
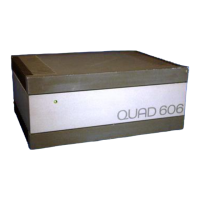
You should also have the 606 schematic and the corresponding Pcb layout at
hand. You will find them in the appendix of this document. The versions are
related to the serial number of the unit, but double check this on the amplifier
modules themselves! On the Pcb the issue number is marked on the copper
side. If you wish, you can order the complete Service manual, just send an e-
mail to info@dadaelectronics.eu and we will reply with the document
attached. Or download the document from our website.
There is one version of the 606 upgrade-kit, and two options. We strongly
advise to use the basic kit and option 2 as a minimum set.
1. The Basic version includes the input connectors, internal cabling,
capacitors for the driver-boards, PCB-connectors and other small
components.
2. The PSU Capacitor option contains 4x BHC Aerovox 10.000µF 63 V
capacitors (or 4x BHC Aerovox 15.000µF 63V for the 606 MKII).
3. The Power transistor option contains 12x 2N3773 transistors, four
driver transistors MJE15031 and in total 16 silicon pads.
The components in the 606 basic upgrade-kit:
Cables, connectors & mechanical components:
• 4x 1M flexible 0,75mm² flexible cable for internal wiring (Orange for
mass, Yellow for the LS-outputs, Black for – DC-current, Red for + DC
current).
• Shielded audio-cable, 50cm
• 12x Silver plated Faston connectors, female
• Thermal insulation-tube, 30cm
Components to be mounted on the driver-boards:
• 2x R 560R 1% for R1 (green-blue-black-black-brown)
 Loading...