Step 5 - When the ATV contacts the ground with all 4 wheels, and the mower between the ATV
wheels – shut off the ATV and place it in neutral for manual maneuvering.
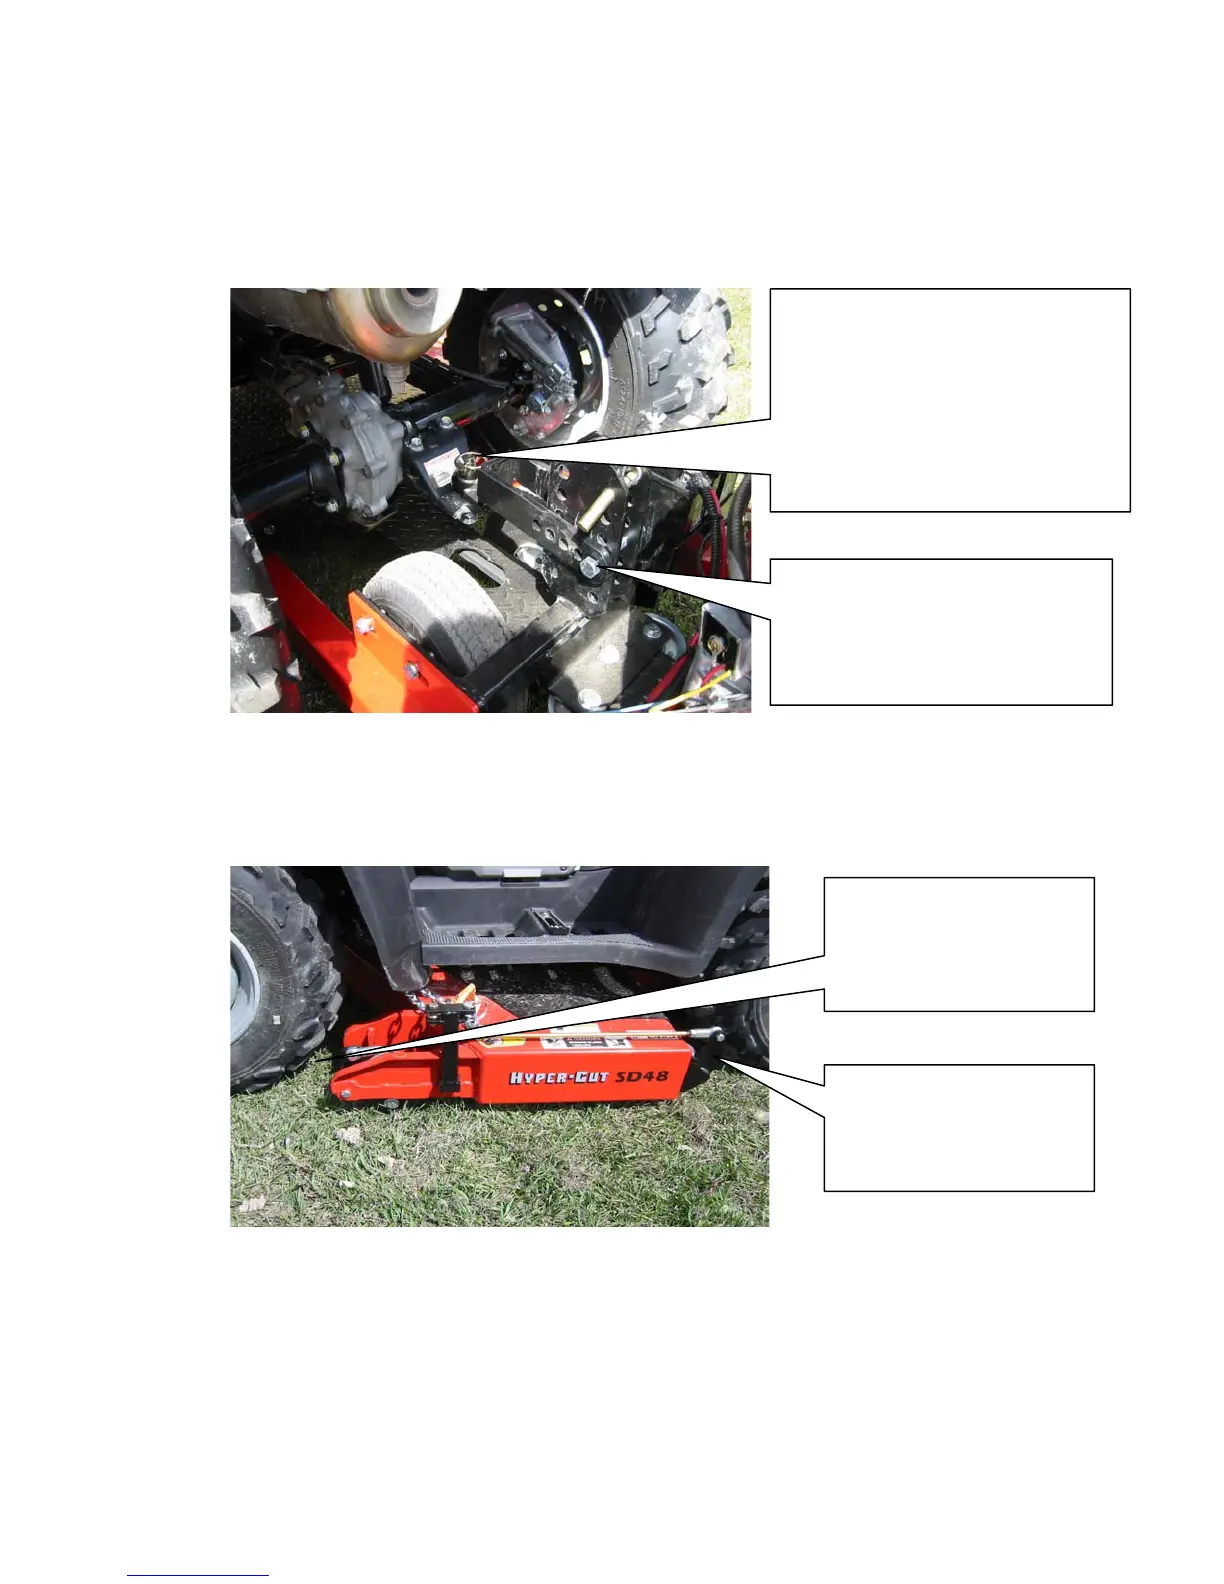
Step 6 – Remove the floating hitch (by removing the bolt/pivot – with the swivel and number of
holes) – from the hitch tower and attach it to the vertical hitch pin that was installed on the ATV
hitch pin, place the over center pin supplied to hold the hitch swivel bracket to the ATV hitch.
NEVER operate or even move your
ATV with mower attached without
the horizontal safety pin in place –
failure to have installed will allow the
mower to become disconnected from
the ATV and damage to the ATV or
Mower and/or the operator may
result.
NOTE – remove this bolt, then
slide the hitch onto the pin
mounted on the ATV – then
reinstall the bolt to make the front
to back adjustment!
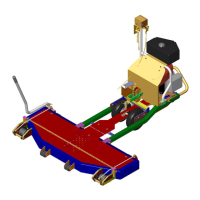
Step 7 – Center the mower (front to rear) in the space between the ATV wheels. Manoeuvre
the mower by grasping the rear curved nerf bar and push and pull it until the mower is centered
between the front and rear wheels of the ATV. Install the floating hitch bolt in position that
allows for a horizontal positioning of the hitch.
Check for clearance at the
front wheels at upper and
lower height extremes of
steering movement!
Check for clearance at the
rear wheels at upper and
lower height extremes of
steering movement!