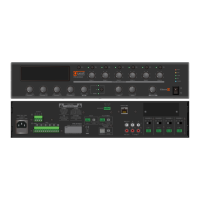
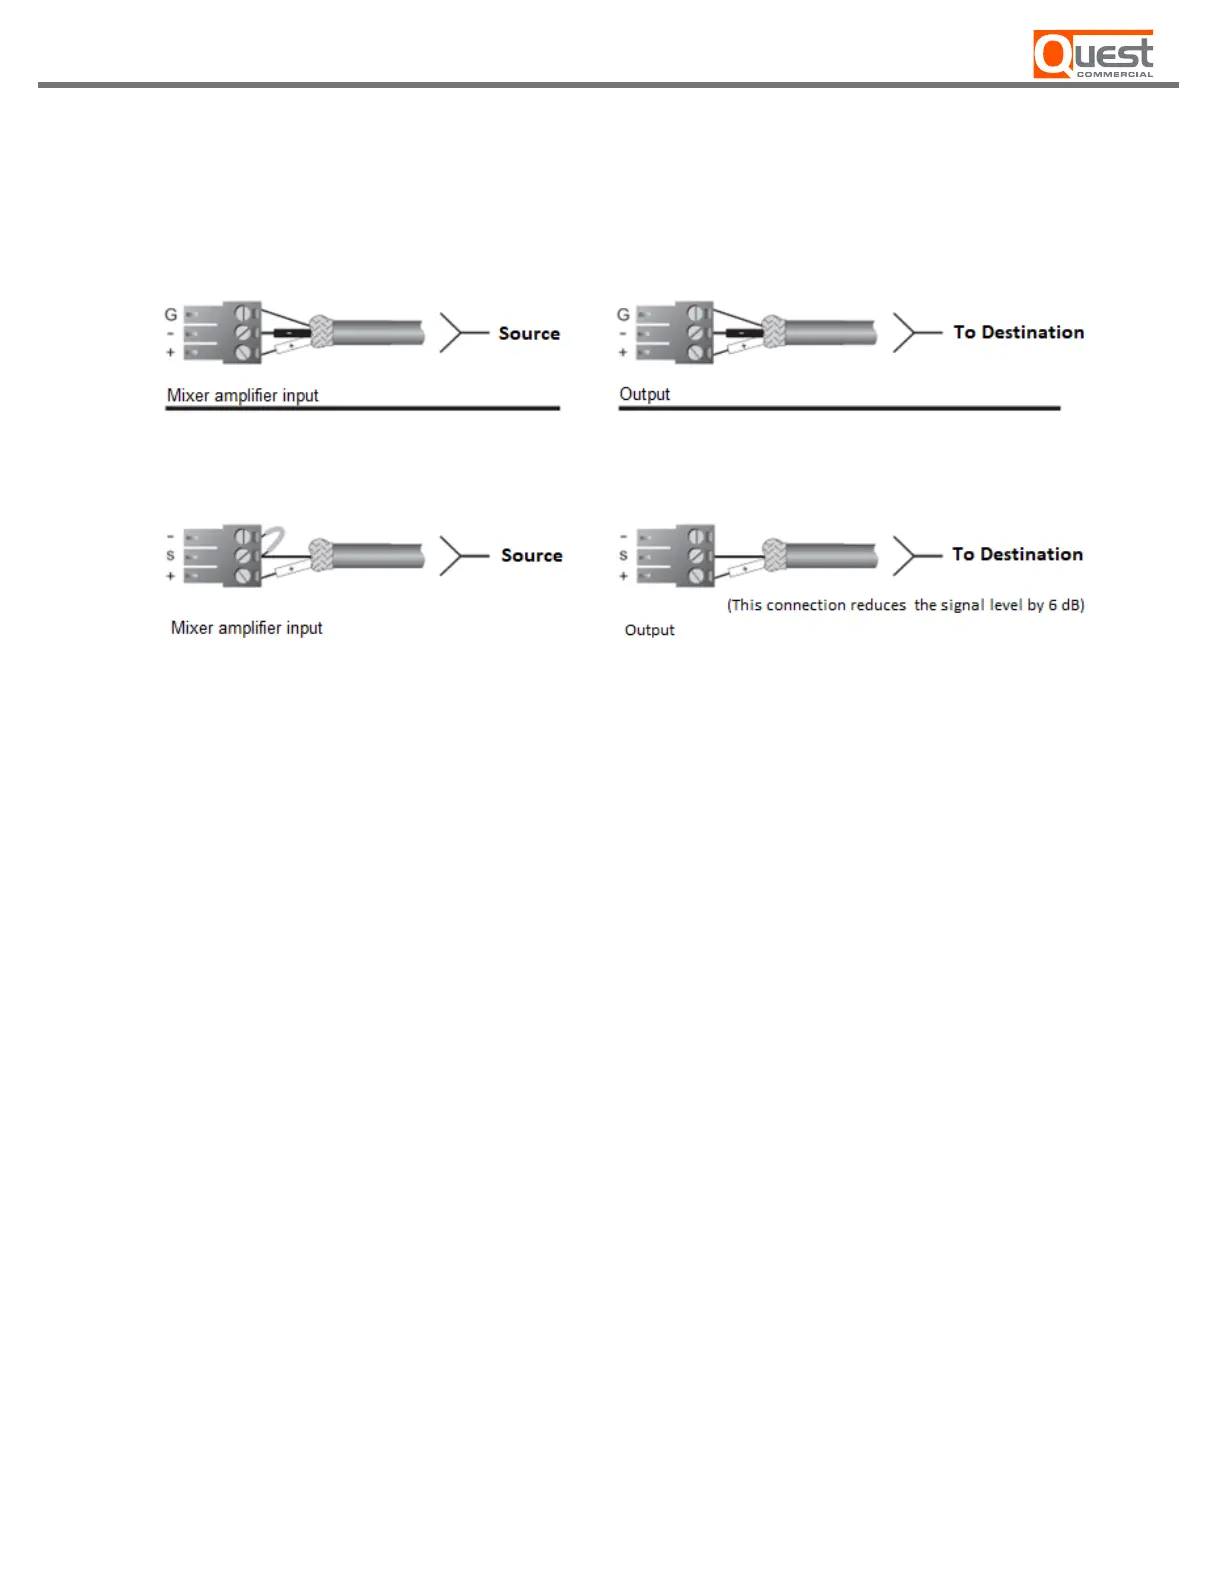
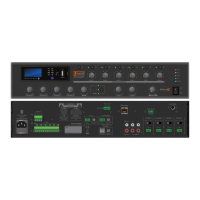
Wiring guide
Choose the input connector and the appropriate cable for each source.
We recommend the use of pre-assembled or professionally assembled 22-to-24-gauge balanced cables.
Figure 2.1 shows the connection diagrams for the different connectors. RCA input connectors can also be used as
unbalanced inputs.
[Figure 2.5 Input cables and connectors]
Connect microphones or balanced line-level sources to the balanced inputs of the mixer amplifier. Adjust the
Gain accordingly. Connect unbalanced line-level signals to RCA connectors.
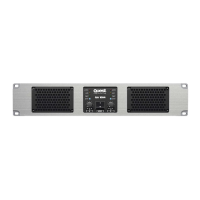
Choose the output connector and the appropriate cable for each source.
For the amplifier output connectors, we recommend the use of pre-assembled or professionally assembled speaker
cables of high quality and of sufficient gauge. You can use pluggable terminal blocks for your output connectors.
To prevent the possibility of shorting, wrap or insulate exposed speaker connectors.
Using the guidelines below, select the speaker wire gauge based on the distance between the amplifier and the
speakers. Wire gauges apply to 4-ohm output.
Distance Recommended Gauge
Up to 25 �. 16 AWG
26 ~ 40 �. 14 AWG
41 ~ 60 �. 12 AWG
61 ~ 100 �. 10 AWH
101� ~ 150 �. 8 AWG
151 ~ 200 �. 6 AWG
[Table 2.1 Recommended speaker wire gauge for 4-ohms operation]
NOTE: Custom wiring should be performed by qualified personnel only. Class 2 wiring is required.
– 12 –
PR-130A / PR-240A