Setup
Installation
CAUTION: Before you begin, make sure your mixer amplier is unplugged from the power source, the power switch is
in the "OFF" position, and all volume controls are set to minimum level (turned counterclockwise).
Location:
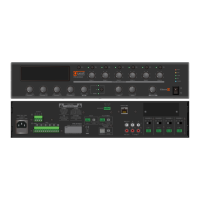
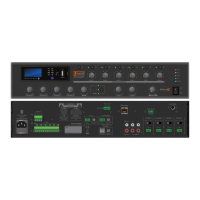
Take the unit out of its packaging (keep it for any return to the workshop). The PR-130A and PR-240A mixing amplifiers
can be installed in a standard 19” equipment rack or on a shelf. To install the unit in a standard 19” equipment rack,
please use the rack ears that are included with the unit. Do not mount mulple units directly on top of each other,
allow a 2U space between the units for convection cooling. If a table or shelf installation is the chosen route, be sure to
choose a at surface, with 12-inches (about 30cm) of air space around the unit for convecon cooling, and that is free
of liquids or other such hazards.
To select an appropriate locaon for your equipment, you must consider the distance between the mixer amplier and
the speakers, the need to access the equipment to change the source or adjust the volume, the proximity of the
sockets electrical, etc. You must determine the length of the cables used to connect your equipment to the speakers.
Depending on the type of loudspeakers and the length of the cables, you can choose to route the signals to the
loudspeakers in low impedance or in constant voltage.
If you are using low impedance speakers, you must connect them to one of the low impedance outputs (4 ohms) of the
mixer amplifier with speaker cables. However, pay attention to the diameter and length of the cables. If you are using
loudspeakers with built-in 70V transformers, oen referred to as constant voltage systems, please connect the to one
of the high impedance (70V/100V) outputs. The advantage of these systems is that they allow the use of long cables to
connect several loudspeakers to the same amplier. The PR-Series mixer ampliers are ideal for this type of
applicaon as they are equipped with 70/100V output transformers.
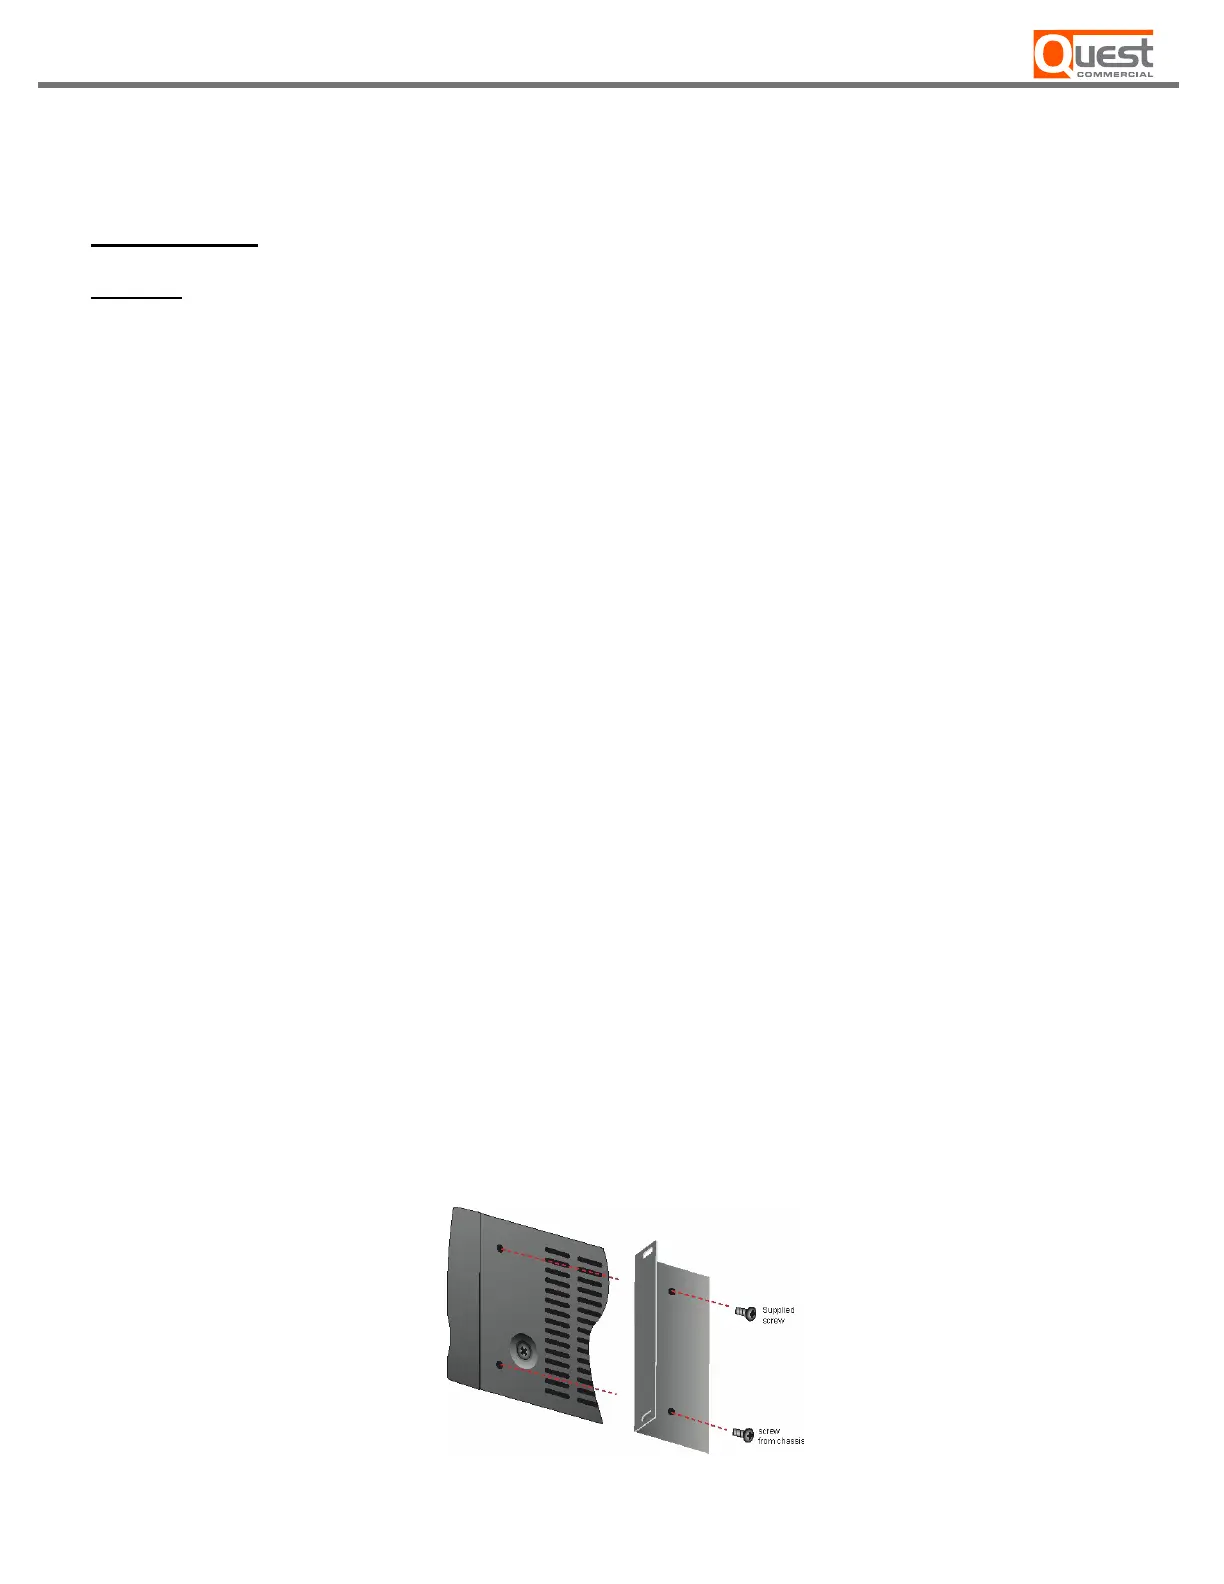
Using the rack ears
How to attach the rack ears.
1. Locate the two rack ears and four rack-ear screws supplied.
2. Place a rack-ear ush with the right front of the chassis.
3. Insert a screw into the bottom hole of the rack-ear and chassis. Screw it in.
4. Insert a screw into the top hole of the rack-ear and chassis. Screw it in.
5. Repeat steps 2 to 4 for the le side of the chassis.
6. Remove the four legs from bottom of unit.
7. Please refer to Figure 2.1
[ Figure 2.1 How to connect rack ears ]
– 8 –
PR-130A / PR-240A
 Loading...