11Instruction version: 5
Screen House and accessories full instructions
Optional Extras : Vehicle Connector (Pro only)
You can purchase a vehicle connector for your Screen House Pro, which gives you a covered
walkway between your Screen House Pro and a vehicle. The vehicle connector goes on the rear
accessory zip on your Screen House 6 Pro and the front accessory zip on your Screen House 4 Pro.
• First zip the vehicle connector onto your Screen House. There are two zips on the vehicle
connector. The screen house 4 zip is the longer of the two.
• Then attach the other end of the tunnel to the vehicle. This is done via various methods, some of
which are listed on the next page.
• Next un-clip the webbing strap located on the outside of the tunnel, that goes from the top corner
of the connector down to 180 cm from the ground.
• Then move the screen house away from the vehicle until the roof of the tunnel becomes tight.
This is the point where you peg your screen house (instructions shown earlier).
• Finally you adjust the connector as best you can. The tunnel is adjustable, but as the material can
only be cut once it only truly ts at one height (which is set to the maximum), all other heights are
a compromise and will require adjusting the connector. You can make the adjustment anyway
you wish, but we recommend using the method below.
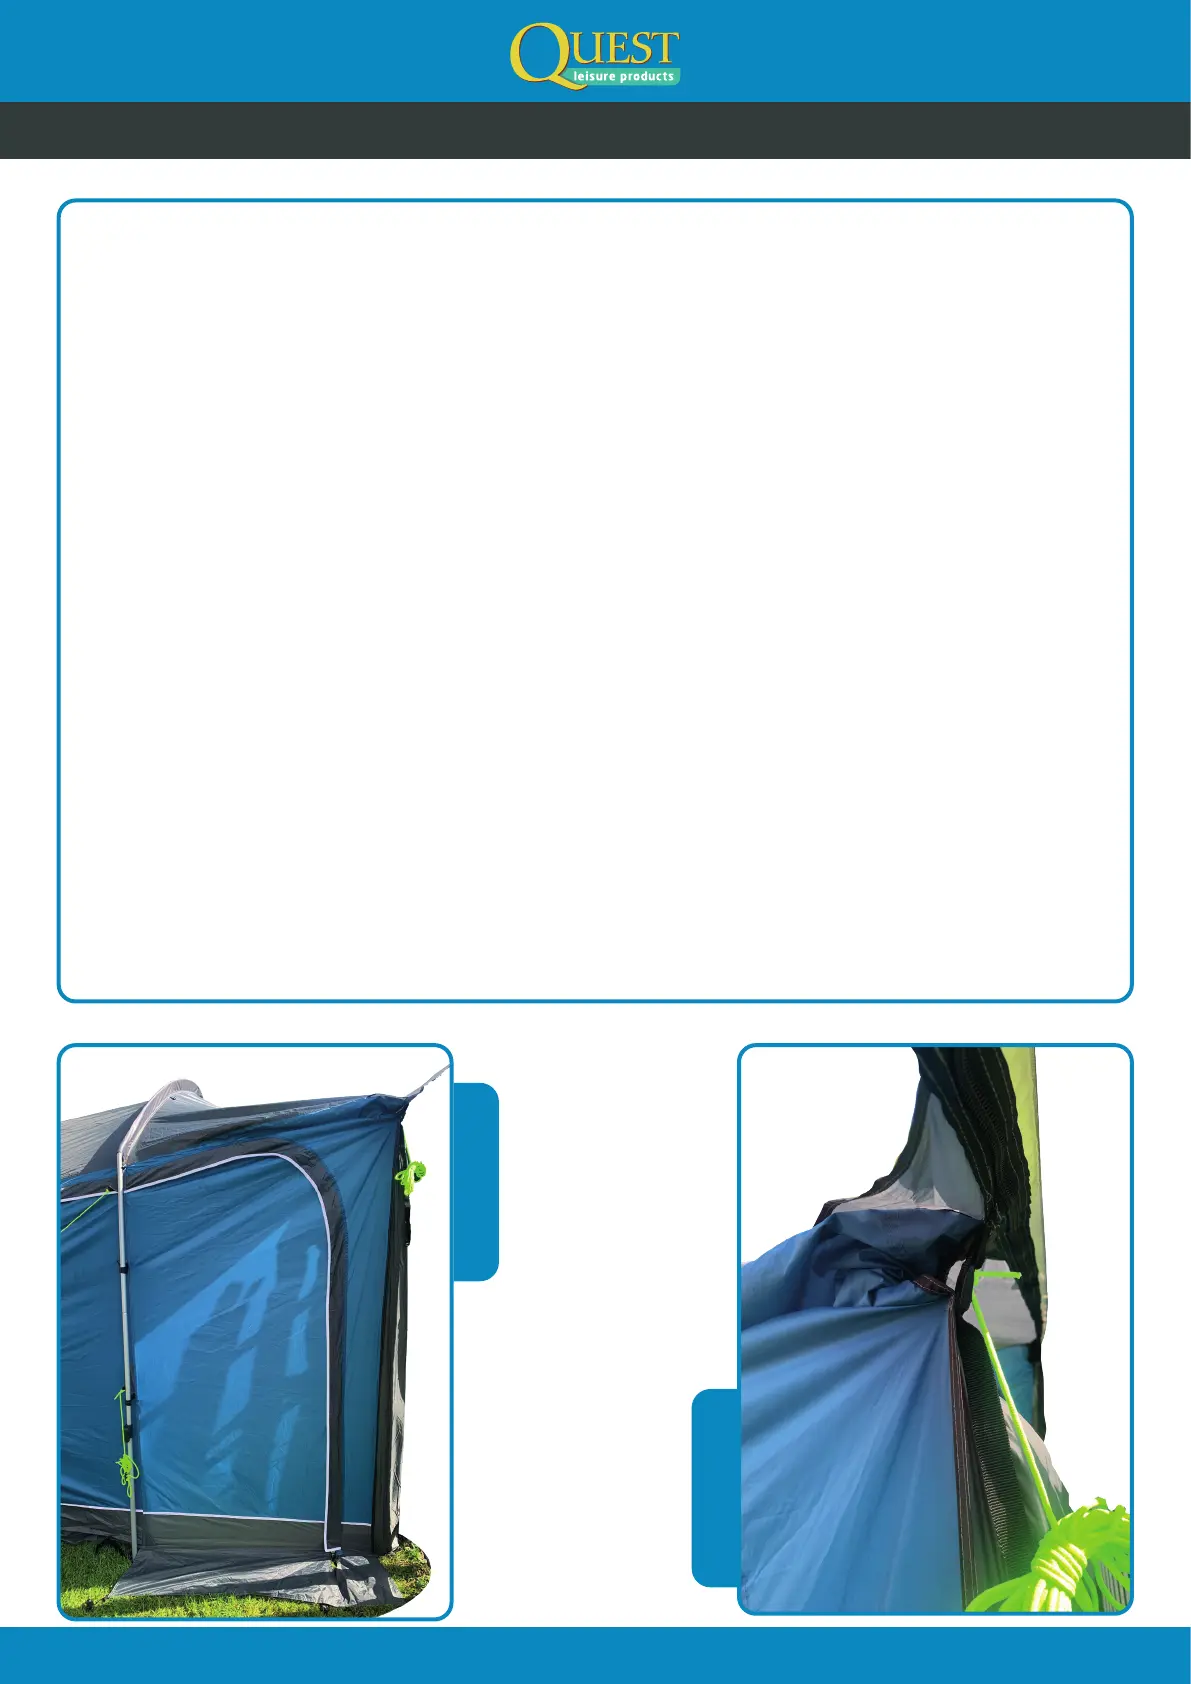
• Extend the webbing strap you un-clipped earlier to its full length.
• Then clip the webbing strap to the top of the connector and then adjust the webbing strap. Once
this is done the material at the top of the tunnel should become ‘rufed’ so it resides in the area
above the side door. If your vehicle is near the lowest setting (180 cm) then you may nd that it
does not all go above the top of the door. It should look like the photo below in image 1. Image 2
shows you a close up of the adjusted material.
image 1
image 2