Do you have a question about the Quooker VAQ E Series and is the answer not in the manual?
Explains how the Quooker VAQ E system functions, including tank connection and heating process.
Covers where and how to install the Quooker, maintenance requirements, and warranty details.
Describes the initial step of creating a hole for tap installation.
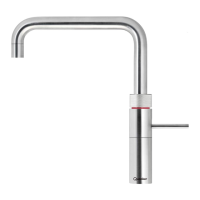
Details the process of installing the Nordic single tap.
Explains how to connect the Quooker to the water supply.
Outlines the steps for connecting the waste water outlet.
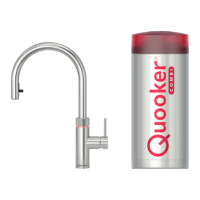
Covers the connection of the Quooker tank to the Nordic tap.
Describes the initial step of creating a hole for tap installation.
Details the process of installing the Fusion tap.
Explains how to connect the Quooker to the water supply.
Outlines the steps for connecting the waste water outlet.
Covers the connection of the Quooker tank to the Fusion tap.
Describes the initial step of creating a hole for tap installation.
Details the process of installing the Flex tap.
Explains how to connect the Quooker to the water supply.
Outlines the steps for connecting the waste water outlet.
Covers the connection of the Quooker tank to the Flex tap.
Guide to choosing the optimal location for the Nordic single tap on the sink or worktop.
Instructions for drilling a 32mm hole for the Nordic single tap.
Instructions for drilling a 35mm hole for Fusion or Flex taps.
Step-by-step guide for passing the tap through the work top.
Instructions on how to secure the tap using washers and a threaded ring.
Final step to tighten the threaded ring with the provided screws.
Step-by-step guide for passing the Fusion tap through the work top.
Instructions for securing the Fusion tap with the fixing plate and nut.
Guidance on using a tap support for thin work tops.
How to connect the inlet hose screens and water inlet hoses.
Instructions for fitting the hot, cold, and mixer water hoses to the tap.
Step-by-step guide for passing the Flex tap through the work top.
Guidance on positioning and tightening the metal washer and threaded ring.
Final step to tighten the threaded ring with the provided screws.
Connecting the pull-out hose to the coupling's quick-release fitting.
Connecting the mixer water hose to the coupling's quick-release fitting.
Connecting the hot and cold water inlet hoses to the mains.
Instructions for detaching mixer water hoses using the quick-release tool.
Instructions for cutting the cold water pipe to prepare for connection.
Details on fitting a T-joint between pipe sections for water connection.
Guidance on connecting the pressure reducing valve correctly.
Instructions for connecting the inlet combination valve to the pressure reducing valve.
Steps for drilling a threaded hole in the waste pipe for connection.
Guidance on screwing the PVC connector into the prepared hole.
Instructions for sliding the waste hose over the PVC connector.
Creating a u-bend and connecting the hose to the inlet valve for odour control.
Steps for positioning the tank and connecting inlet and tap hoses.
Connecting the LED cable and plugging the tank into the power socket.
Procedure for filling the tank, checking for leaks, and flushing.
Instructions for switching on the tank and initial flushing before use.
Procedure for switching off the tank using the on/off button.
How to drain the hot water from the tank by opening the tap.
Closing the main shut-off valve or stop valve to isolate the system.
Steps for unplugging the tank, disconnecting hoses, and removing the unit.
| Brand | Quooker |
|---|---|
| Model | VAQ E Series |
| Category | Water Heater |
| Language | English |