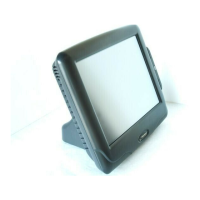
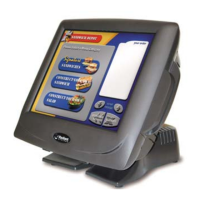
Configuring Radiant POS terminals 2
Configuring Radiant hardware for Terminal Services
Skip this section if you are not running CounterPoint over Terminal Services.
If you are running CounterPoint over Windows Terminal Services, you must perform
some preliminary steps to configure your Radiant POS terminals and peripherals to work
with Terminal Services.
When you finish installing CounterPoint, you must perform each of the tasks listed
below—as detailed on the following pages—to configure your Radiant POS terminals for
use with Terminal Services:
y Configure Remote Desktop Connection settings
y Configure MSR settings
y Configure 2x20 display settings
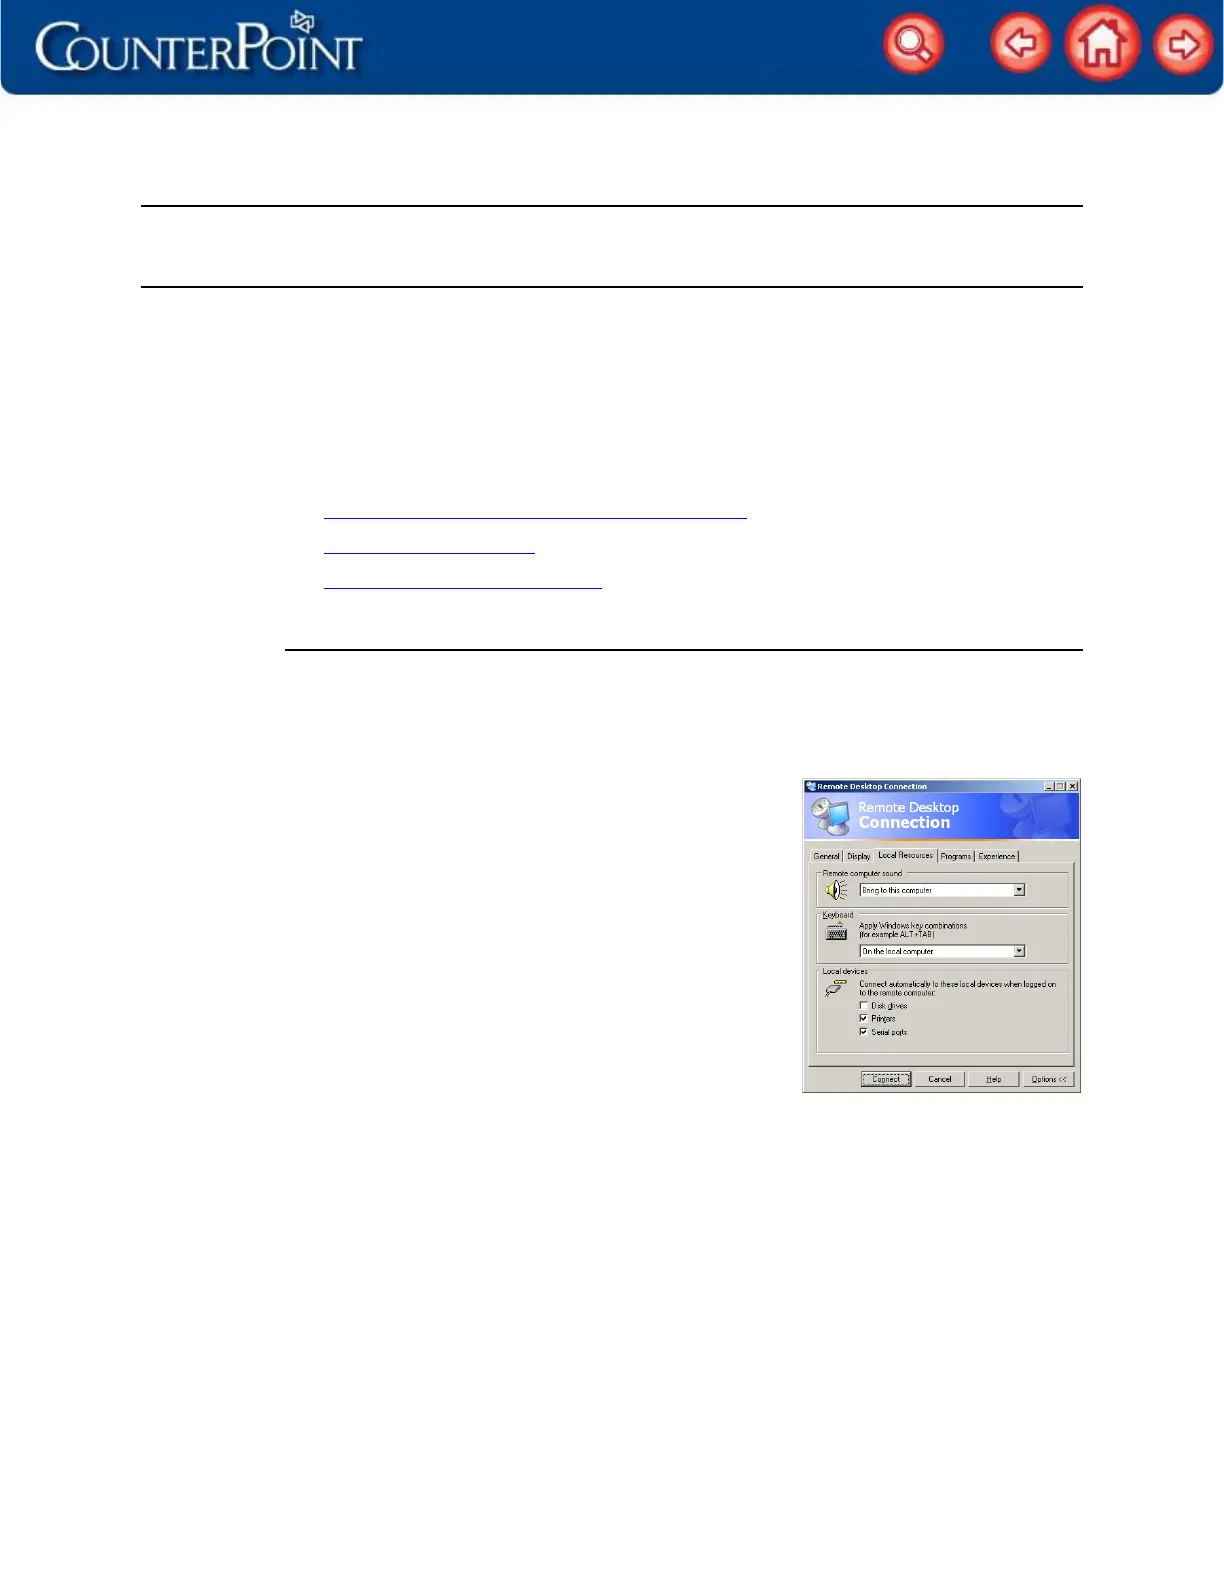
Configure Remote Desktop Connection settings
Follow these steps to configure the Remote Desktop Connection settings on each of your
Radiant POS terminals:
1. From one of your POS terminals, select Start > Programs > Accessories >
Communications > Remote Desktop Connection.
2. Click the Options button, and then click the Local
Resources tab.
3. Select the On the local computer option from the
Apply Windows key combinations list.
4. Under Local devices, select the Printers check box if
you are using a Windows printer with the POS
terminal.
5. Select the Serial ports check box.
6. Configure the settings on the remaining tabs to
allow your POS terminal to connect to your terminal
server and start a Terminal Services session.
7. Click Connect to connect to your terminal server.
NOTE: Repeat these steps for each of your Radiant POS terminals.