6 OF 28
2.0 GENERAL ALIGNMENT INSTRUCTIONS
2.1 TEST EQUIPMENT:
-1 STANDARD SIGNAL GENERATOR or TEST OSCILLATOR
-2 VACUUM TUBE VOLTMETER (P TYPE) (a-c / d-c) or equivalent
-3 DUMMY LOAD 8 OHMS
-4 I.E.C. DUMMY ANTENNA
2.2 GENERAL ALIGNMENT CONDITIONS.
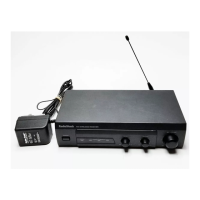
-1 Before servicing this receiver, disconnect from the power source
and remove all lead wires attached to terminal connections.
Remove the six screws which fasten the chassis to the bonnet,
speaker leads and remove the six screws which fasten the
chassis to the bottom plate. See Item 3.1 CHASSIS DIS-
ASSEMBLY, Fig. 2-1.
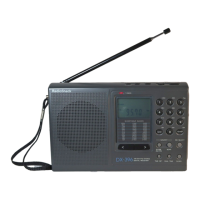
-2 Knob function and its nominal position.
Tuning Dial…………………… 0, on Logical Scale
Spread Dial……………………V.C. Minimum
A.N.L. Switch………………… OFF
Mode Switch…………………. A.M.
A.V.C. Switch…………………FAST
OPR Switch…………………...REC.
B.F.O. PITCH…………………--
A.F. GAIN….……………….….Adjust to Test Requirements
Band Selector…………………Adjust to Test Requirements
Antenna Trimmer…….……….Center
R.F. Gain………………………Maximum
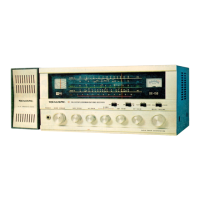
-3 I.F. AMPLIFIER ALIGNMENT
NOTE: The non-metallic alignment tool is required for complete
alignment. Unless otherwise specified, all front panel controls
shall be positioned as Item 2.2-2 knob function & nominal position
for complete alignment of the receiver. The receiver should be
warmed up for a period of at least ½ hour before proceeding with
the complete alignment.
 Loading...