Tip:Takeaphotoofyouroldtimerwiringforreference!
ForaninstallationvideopleasevisitourRainMachineYouTube
channel
1.Fasteningunit
• Usingthe2provideddrywallscrewsandtemplatecard,fasten
theunittothewallat4to5feethigh,oreyelevel.
2.Electrical
• Insertyourvalvewirestotheterminalblocksandtighten
screwstosecure(screwdriverincluded).
• Youcanuseanyorbothofthe“C”terminalsascommon.
3.PowerUp
• Connectthepowerleadstotheterminalsmarked“24VAC”
andplugtransformerintoACwallsocket.
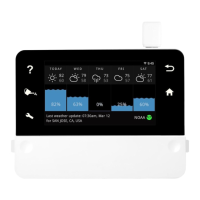
Thesystemwillbootupandwillenterintheinitialsetupmode.