Do you have a question about the Raspberry Pi S2Pi and is the answer not in the manual?
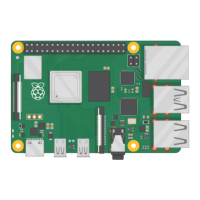
| USB | 1 x USB 2.0 port |
|---|---|
| Camera | Single-lane MIPI CSI-2 camera interface |
| Display | Single-lane MIPI DSI display interface |
| Storage | MicroSD card slot |
| Power | 5V/2.5A DC via USB-C |
| GPIO | 40-pin header with improved noise rejection |
| Video Output | MIPI DSI |
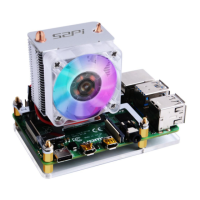
Attach mounting brackets to the ICE Tower Cooler with M2.5 screws, noting orientation.
Connect copper sticks and nuts to the prepared mounting brackets.
Paste thermal tape onto the Raspberry Pi's CPU SOC.
Attach the heatsink assembly to the Raspberry Pi using copper sticks.
Fasten the acrylic protection holder to the Raspberry Pi with M2.5 screws.
Connect the fan's red wire to the 5V GPIO pin and the black wire to the GND pin.
Relocate fan power cable to 3V3 pin to reduce speed, noise, and LED brightness.
Diagram showing Raspberry Pi GPIO BCM numbering for electrical connections.