Scanner Setup Guide
Getting started with Raven Scanner
1
WHAT’S IN THE BOX
2
SET UP THE SCANNER
3
CONNECT TO POWER AND INTERNET
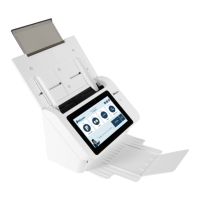
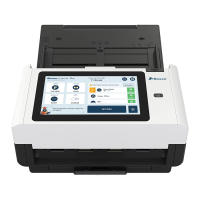
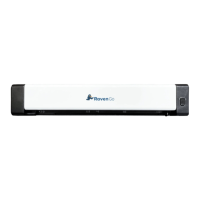
Scanner Main Unit Paper Tray
2.1 Hold the ADF Paper Tray and firmly insert the two
pins into the holes on the top of the scanner as shown
2.2 Pull out the feeder tray extension from the top of the scanner.
Firmly pull the Output Tray from the bottom of the scanner and raise
the paper stopper to prevent the paper from falling.
3.1 Connect one end of your Ethernet LAN cable to an
available port of your Ethernet Hub and connect the other
end to port marked at the back of the product, or
3.2 Connect one end of the power cable to the power
receptacle of the product. Connect the other end to an
appropriate power outlet. Turn on by pressing the power
Download the user manual and the TWAIN driver at raven.com/downloads
Our support team is available to answer any questions and take your feedback.
Call us at 1-800-713-9009 or email support@raven.com
Version 5
Ethernet Cable
Power Adapter
& Power Cable
until locked in place.
choose your WiFi network when prompted on the screen. button.
Claim Your FREE Product - visit Raven.com/freeproduct