20
Installation
When you attach the extension cable, be sure that the connections
are tight and watertight. Use Dow Corning DC-4 or an equivalent
sealing compound to protect the connector assemblies.
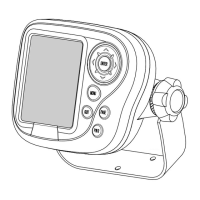
5. At the rear of the display unit, plug in the transducer cable using the
keyed connector.
Installing the Transducer Cable – Sidelooker Option
1. If the installation includes the optional Sidelooker transducer, there
will be two transducer cables. See Fig. 2-14. The cable from the
Sidelooker includes a “Y” connector.
2. Plug the cable from the depth transducer into the open end of the “Y”
connector.
Installing the Transducer Cable –
Installation with Separate Speed and Temperature Sensors
1. Optional depth-only and speed- and temperature-only transducers
are available for the FishFinder 465. In this optional configuration the
separate transducers are connected via a “Y” type receptacle cable
located on the optional speed- and temperature-only transducer cable.
Fig. 2-14
Cable for
Sidelooker
Transducer
Depth
transducer
Sidelooker
transducer
 Loading...