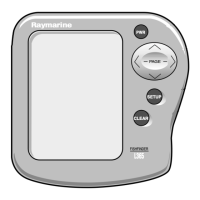
L750 Fishfinder: Installation and Operation Handbook
16
Fig. 2-11 Installing the Sidelooker Transducer
Installation Notes – In-Hull Transducer
Detailed instructions for this installation will be included with the
transducer. In this section, we will note just a few important points.
1. Choose the best mounting location:
For outboard powerboats – Install as far aft as possible
For inboard/outboard powerboats – Install close to the engine(s)
For inboard powerboats – Install forward of the propeller(s) and
shaft(s)
For sailboats – Install near the centerline of the hull and forward of
the leading edge of the keel
2. An in-hull transducer may only be installed in a fiberglass hull which
is no more than 1" (25 mm) thick. The in-hull transducer may not be
installed in wood or aluminum hulls.
3. Use the standard in-hull transducer if it will be installed in a flat part of
the hull, or a section with no more than 10° of deadrise. Use the
angled in-hull transducer if the mounting location has up to a 22° of
deadrise.
4. Do not try to compensate for the angle of the hull by fairing the epoxy
adhesive on the face of the transducer.
5. Use the epoxy supplied with the in-hull transducer, or an equivalent
 Loading...