3. Save any open documents on your computer and close all other programs before attempting this
update.
Update Process
1. Download the latest Razer Updater from the link above.
2. The Razer Updater will automatically download to your default download destination (this should
be the “Downloads” folder unless changed manually).Note: Be advised that during the update
process of your Razer Blade you will not be able to interact or save other applications’ progress.
As such, it is strongly advised that you save your progress and close all other applications or
programs before launching the Razer Updater and updating the system.
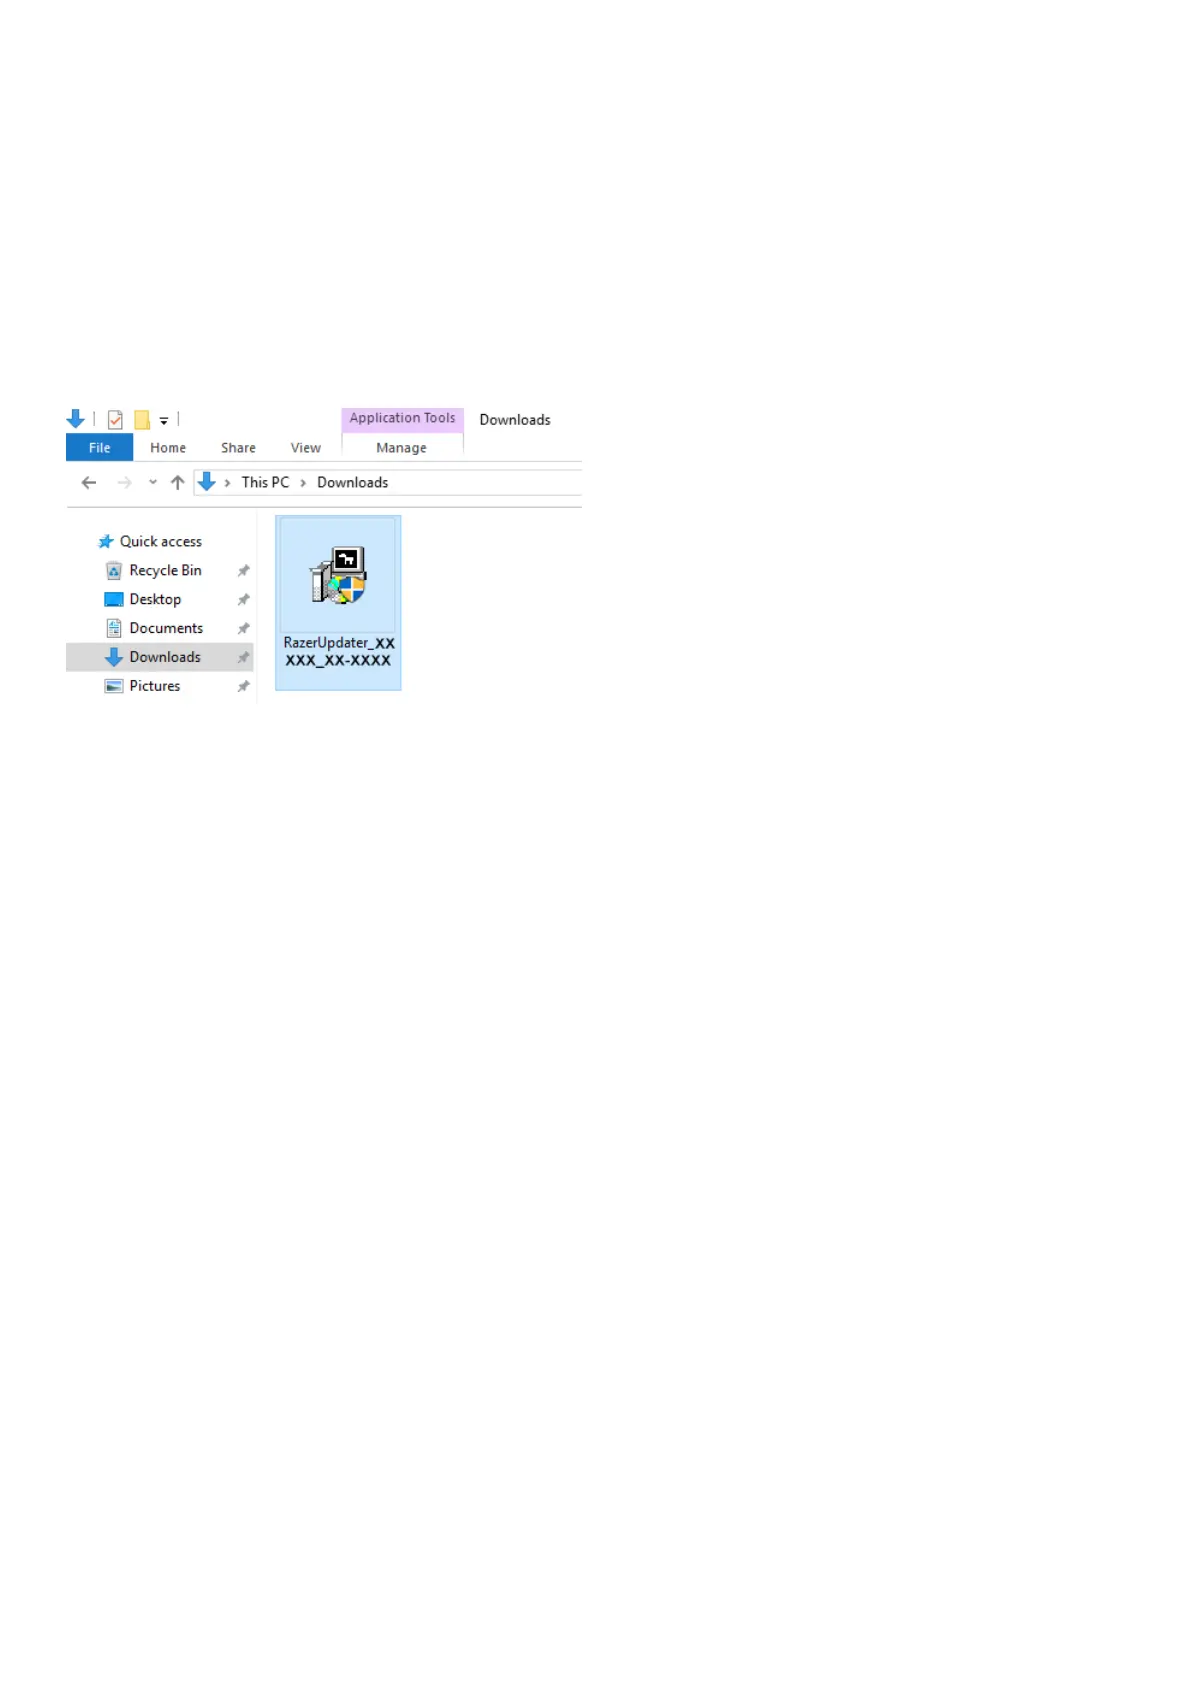
3. Click on RazerUpdater_ to begin the update process.Note: Filename on actual updater may be
different from what is shown below.
4. The User Account Control window may pop up to confirm changes that will be made by the
application. Click “Yes” to allow the RazerUpdater_ application to launch.
5. The Blade Updater window will appear with details regarding your current BIOS version and what
version your Blade will be updated to.
Note: Your updater’s version may be different from what is shown below. Also, If your Blade does not
need an update, the updater will not proceed from this point.
6. Click “UPDATE” to initiate the update process of your Blade.