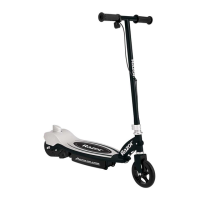
❑ Chain and Rear Wheel Replacement
Tools required: Phillips screwdriver, 10mm open wrench and two (2) 13mm open wrenches.
1 With a Phillips screwdriver,
loosen the two screws and
remove the chain guard.
2 Using two 13mm open
wrenches, loosen the locknuts
by turning the wrenches counter
clockwise.
3 To loosen the chain, push the
chain tensioner down to create
some slack in the chain.
5
4 Remove wheel and install
replacement wheel.
(Note the sequence of the
hardware)
REPAIR AND MAINTENANCE
5 Push the chain tensioner
down to install the chain on
both sprockets.
6 With two 13mm open
wrenches, re-tighten the
locknuts.
Note: Rear wheel hardware
sequence
Left Side
22-1 13mm nut
22-2 Split washer
22-3 Flat washer
Frame
22-4 Long spacer
Right Side
22-1 13mm nut
22-2 Split washer
22-3 Flat washer
Frame
22-5 Short spacer
7 Re-attach the chain guard.
1 Using two (2) 5mm Allen
wrenches, loosen the axle bolt.
Remove wheel and install
replacement wheel. (Note the
sequence of the hardware)
❑ Front Wheel Replacement
Tools required: Two (2) 5mm Allen wrenches.
Right Side
11-4 - Center spacer
11-3 - Bearing
11-2 - Spacer
Fork
11-1 - 5mm coupling bolt
Left Side
11-3 - Bearing
11-2 - Spacer
Fork
11-5 - 5mm coupling screw
Note: Front wheel hardware
sequence

 Loading...