HEADLINE
44
ASSEMBLY AND SET-UP
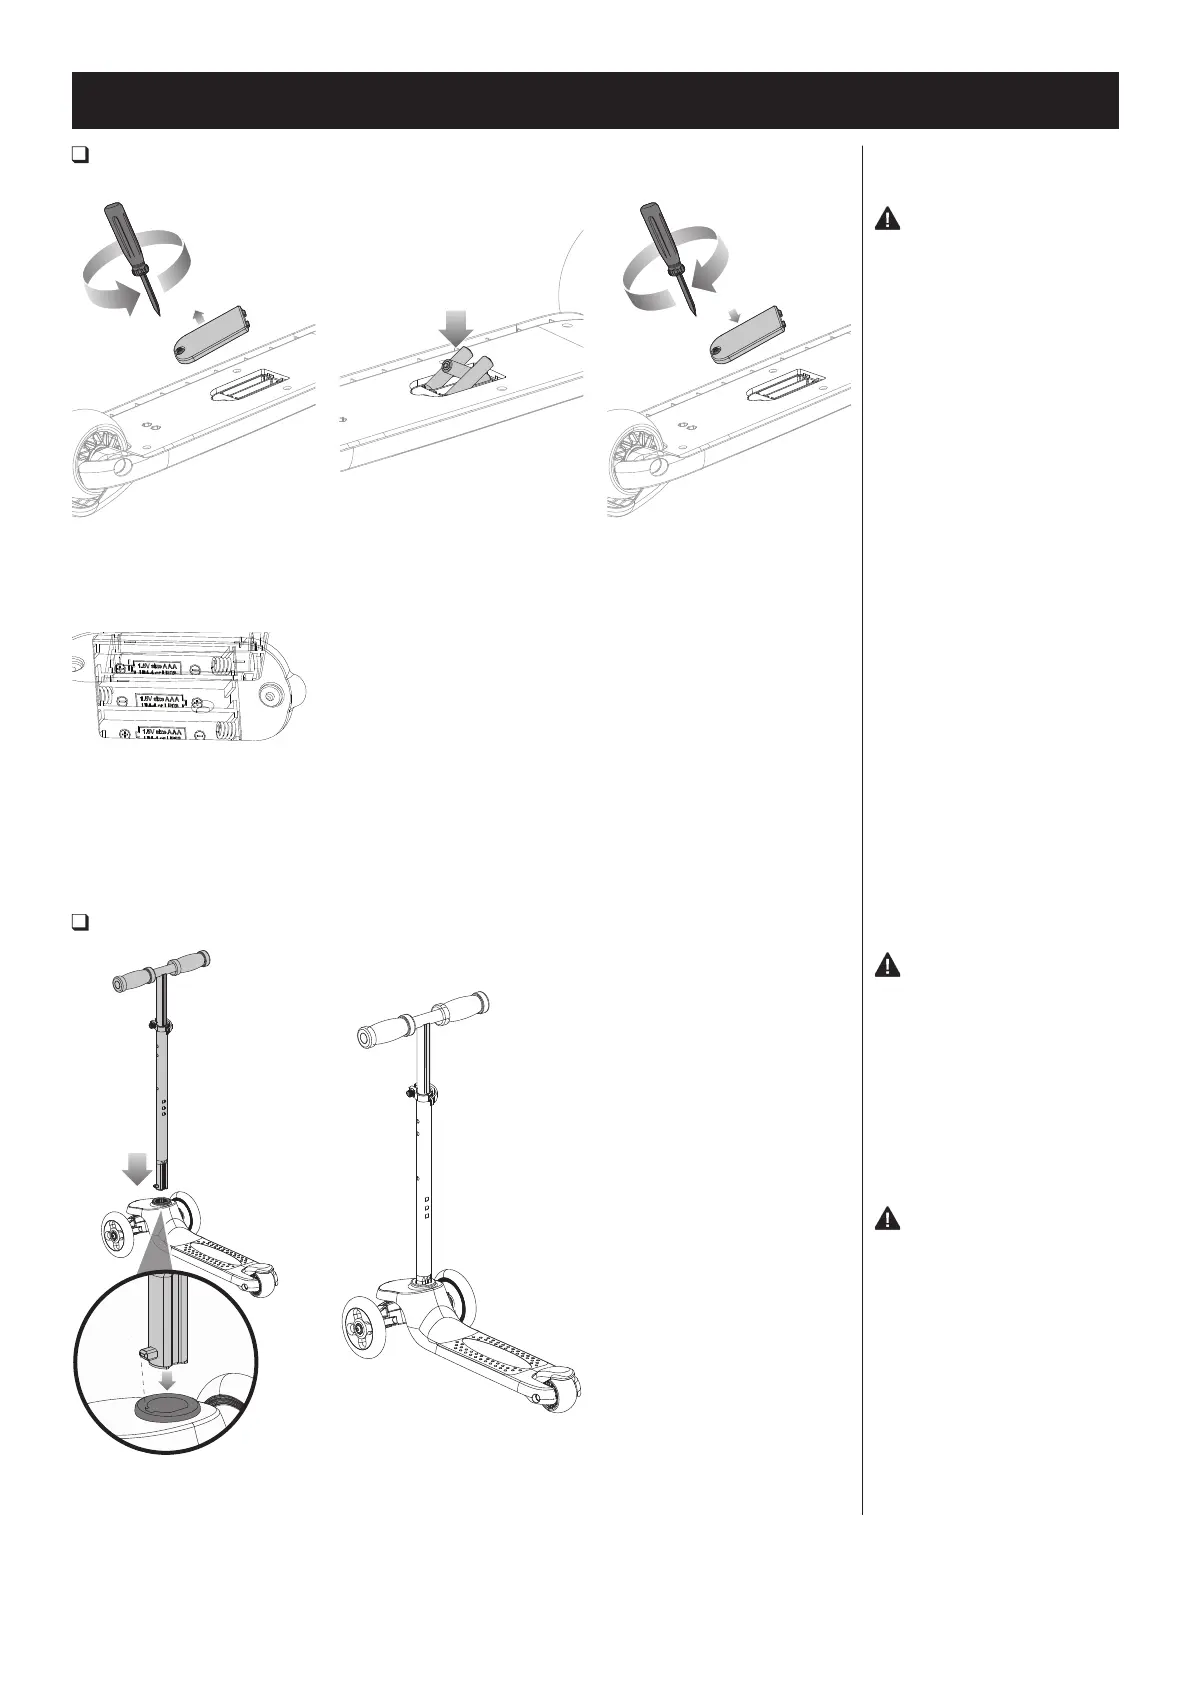
Installing and Replacing the Batteries (Rollie DLX models only)
Required Tool: Phillips Screwdriver (not included)
1
Using a Phillips screwdriver,
loosen the screw from the top of
battery cover. Remove the battery
cover and set aside.
2
To install batteries, insert three (3)
AAA batteries (included) into battery
housing. If replacing batteries,
remove and discard the old batteries
before inserting new batteries.
3 Replace the battery cover
and tighten the screw using a
Phillips screwdriver.
Note: When installing the batteries,
please pay attention to the
batteries’ positive and negative side
which must align with the positive
and negative markings in the
battery housing.
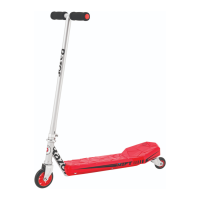
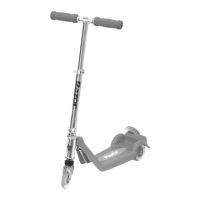
Attaching the Handlebars
WARNING: Failure to
properly engage the spring-loaded
buttons may cause the handlebars
to dislodge while riding and may
cause you to lose control and
fall. When correctly engaged the
handlebars will not rotate nor will
they move sideways. Note that
when properly engaged, the spring-
loaded buttons are clearly visible in
the holes on the extension tube.
WARNING: Check hand
grips regularly for wear or damage,
as grips are designed to aid in
gripping handlebars and to provide
some protection against possible
impact. Replace immediately if
worn, torn, damaged or missing.
NOTE: Make sure the Razor logo
is facing outward when inserting
the T-bar.
Align the spring pin with the bottom
mounting gap, press the spring pin
and insert the T-bar into the frame
bottom plate until the spring pin
ejects from the specified position.
WARNING:
• AAA batteries included for lights
- adult attention for installing,
changing and disposal.
• Batteries should onlvy be
installed or replaced by an adult.
• Loose batteries could present
a choking hazard and should be
kept away from small children.
• Do not mix old and new batteries.
• Do not mix alkaline, standard
(carbon-zinc) or rechargeable
(ni-cad, ni-mh, etc.) batteries.
• Dispose of batteries properly.
Note: Batteries are not covered
under the Limited Warranty.
Note: After attaching the
handlebars. Step on the deck and
pull up on the T-bar to confirm the
T-bar is in a locked position.