Do you have a question about the Razor Scream Machine Jr and is the answer not in the manual?
Recommendations for wearing properly approved helmets, including selection and fit.
Guidance on avoiding night riding, low-light, and wet weather conditions.
Instructions to keep body parts away from moving components and general riding safety.
Check integrity of loose parts, cranks, pedals, brakes, frame, fork, handlebars, and bar ends.
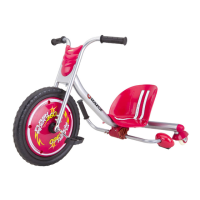
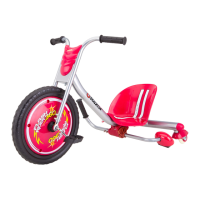
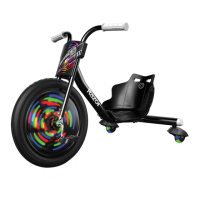
Check and maintain front tire pressure (35-45 psi); Jr. model has airless tire.
Remove contents, check for shipping damage like scratches or dents.
Install rear wheels using a 6mm Allen key and special wrench, ensuring proper spin and minimal play.
Insert steering tube into frame and slide handlebar assembly, engaging spring buttons.
Fasten the seat to the frame using screws in one of three positions based on rider size.
Connect the brake cable to the lever and thread through the adjusting barrel and jam nut.
Adjust cable slack using the barrel at the lever for optimal brake engagement.
Adjust brake lever screw for different hand sizes to ensure comfortable operation.
Install crank arms and pedals, noting reverse threads for the left pedal.
Guidelines on where and how to ride, including avoiding streets and riding at night.
Caution about driveway accidents due to obscured vision and avoiding fast roll-outs.
Emphasizes stopping at all stop signs/lights and checking traffic before proceeding.
Advice on turning safely, looking over the shoulder, and crossing only at intersections.
| Brakes | Coaster brake |
|---|---|
| Frame Material | Steel |
| Fork | Steel |
| Number of Gears | 1 |
| Rims | Steel |
| Tires | 12-inch |
| Frame | Steel |