Thank you
f
‘r
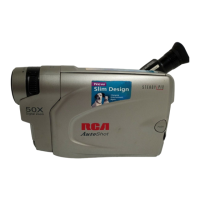
choosing an RCA camcorder.
9
You have selected a precision-engineered camcorder designed to
give you years o performance and enjoyment.
Although your c
mcorder
is very simple to use, it is important
that you read an
carefully follow the instructions in this manual
until you are co
:
pletely familiar with the proper operating
procedures. If y u should experience a problem, always refer
first to
“Trouble hecks”
on pages 32-33. Many times a simple
solution is all
th
t
is needed, and it could save you a costly
service call. If
y,
ur
camcorder should require service during the
warranty period,
~
refer
to
page 34
for a description of what we
will do and
inst&tions
on how to request service.
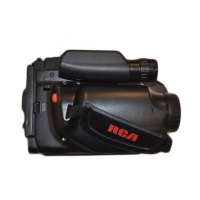
camcorder and ticcessories.
accessories and information
e packed with the camcorder.
materials and box in case you ever need to
l The items
sywn
below are packed with your camcorder. If
any of the
ityms
are missing or appear damaged, contact
your RCA dealer immediately.
AC Adapter/Charger
Stock No. CpSO16
WARNING: NIC L
CADMIUM BA RY
MUST BE DISPO ED
OF PROPERLY.
4
Rechargea
k
6-V&
Battery
Cassette Adapter
Stock No. F
096s
Stock No.
VCAll5
c
.y,
I
Shoulder Strap
Cassette Adapter Battery
Stock No.
AC!391
(Size “AA” 1.5 Volt)
AudidVideo Output
Cabk
Stock No.
VAA016
1
8
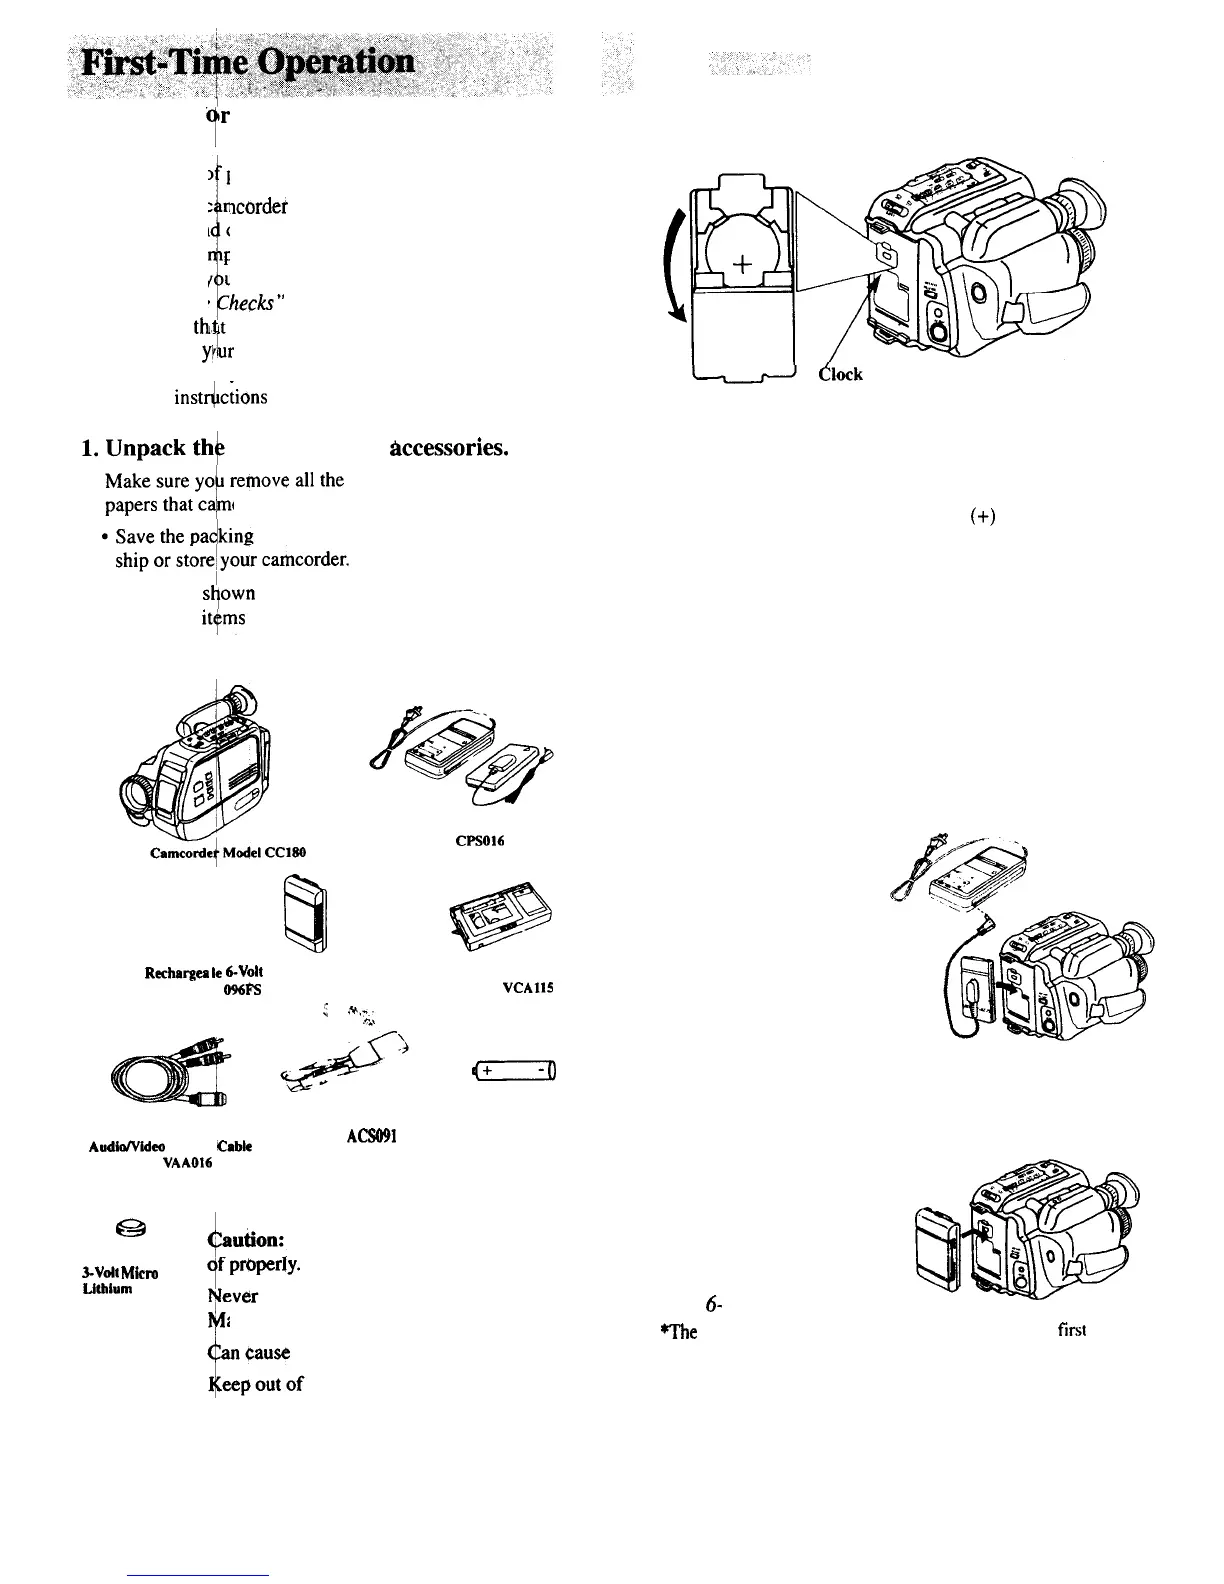
Ckek
Battery:
3-V&
Mkra
Llthlum
Cell
Lithium battery. Must be disposed
handle punctured or leaking batteries.
ay cause burns or personal injury.
death or injury if swallowed.
hands of children.
2.
Install the clock battery.
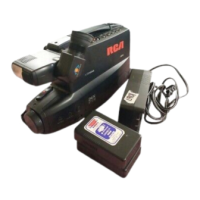
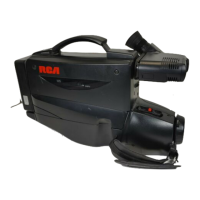
3. Attach a power supply to the camcorder.
Attach a power supply to the camcorder-either the
adapter/charger or charged battery.
Adapter/Charger:
Connect the power
connector’s small plug into
the
DC OUT
jack on the
adapter/charger. Align the
reference mark on the
power connector with the
mark on the camcorder.
Hold the power connector
flush against the back of
the camcorder and slide it
in the direction of the arrow as shown. Plug the
adapter/charger’s plug in to an operating outlet.
Details are
on page 6.
Charged Battery:*
Attach the battery to the
camcorder. Hold the battery
flush against the camcorder
and slide it in the direction of
the arrow.
Details are on
pages 6- 7.
*The battery
must
be charged
before it can be used the
first
time.
&ock Battery Compartment
(Press down on tab and pull
to open.)
Install the clock battery.
Details on setting the date, time, and
age are on pages 12 and 13.
l Open the battery compartment on the back of the camcorder.
l Insert the clock battery with the plus
(+)
side facing out
under the tabs in the battery compartment.
l Press the battery compartment cover shut until it locks into
place.
Notes: The battery should last for about one year. When the
waming’appears in the electronic viewfinder, this battery
needs to be replaced.
2