If the temperature of hatching room is lower than setup value there might be misted or dripping water inside due to dew condensation.
2. BEFORE USE
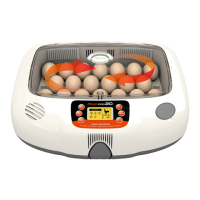
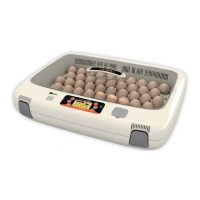
(2) Preparation of incubation / Start incubation
Preparation / Start of Incubation
What is a hatching room? This is the location where the incubator is installed and operated. As the environment affects the hatching rate the place of
installation must be a place with low nearby noise or vibration, and nearby temperature must be 22~25℃ (71.6~77℉) with low temperature difference.
Especially in night time the temperature is lowered than daytime therefore it surely must be verified, and in daytime the device must never be exposed
directly under the sunlight. Also the place must not have direct ventilation as air conditioner to the device.
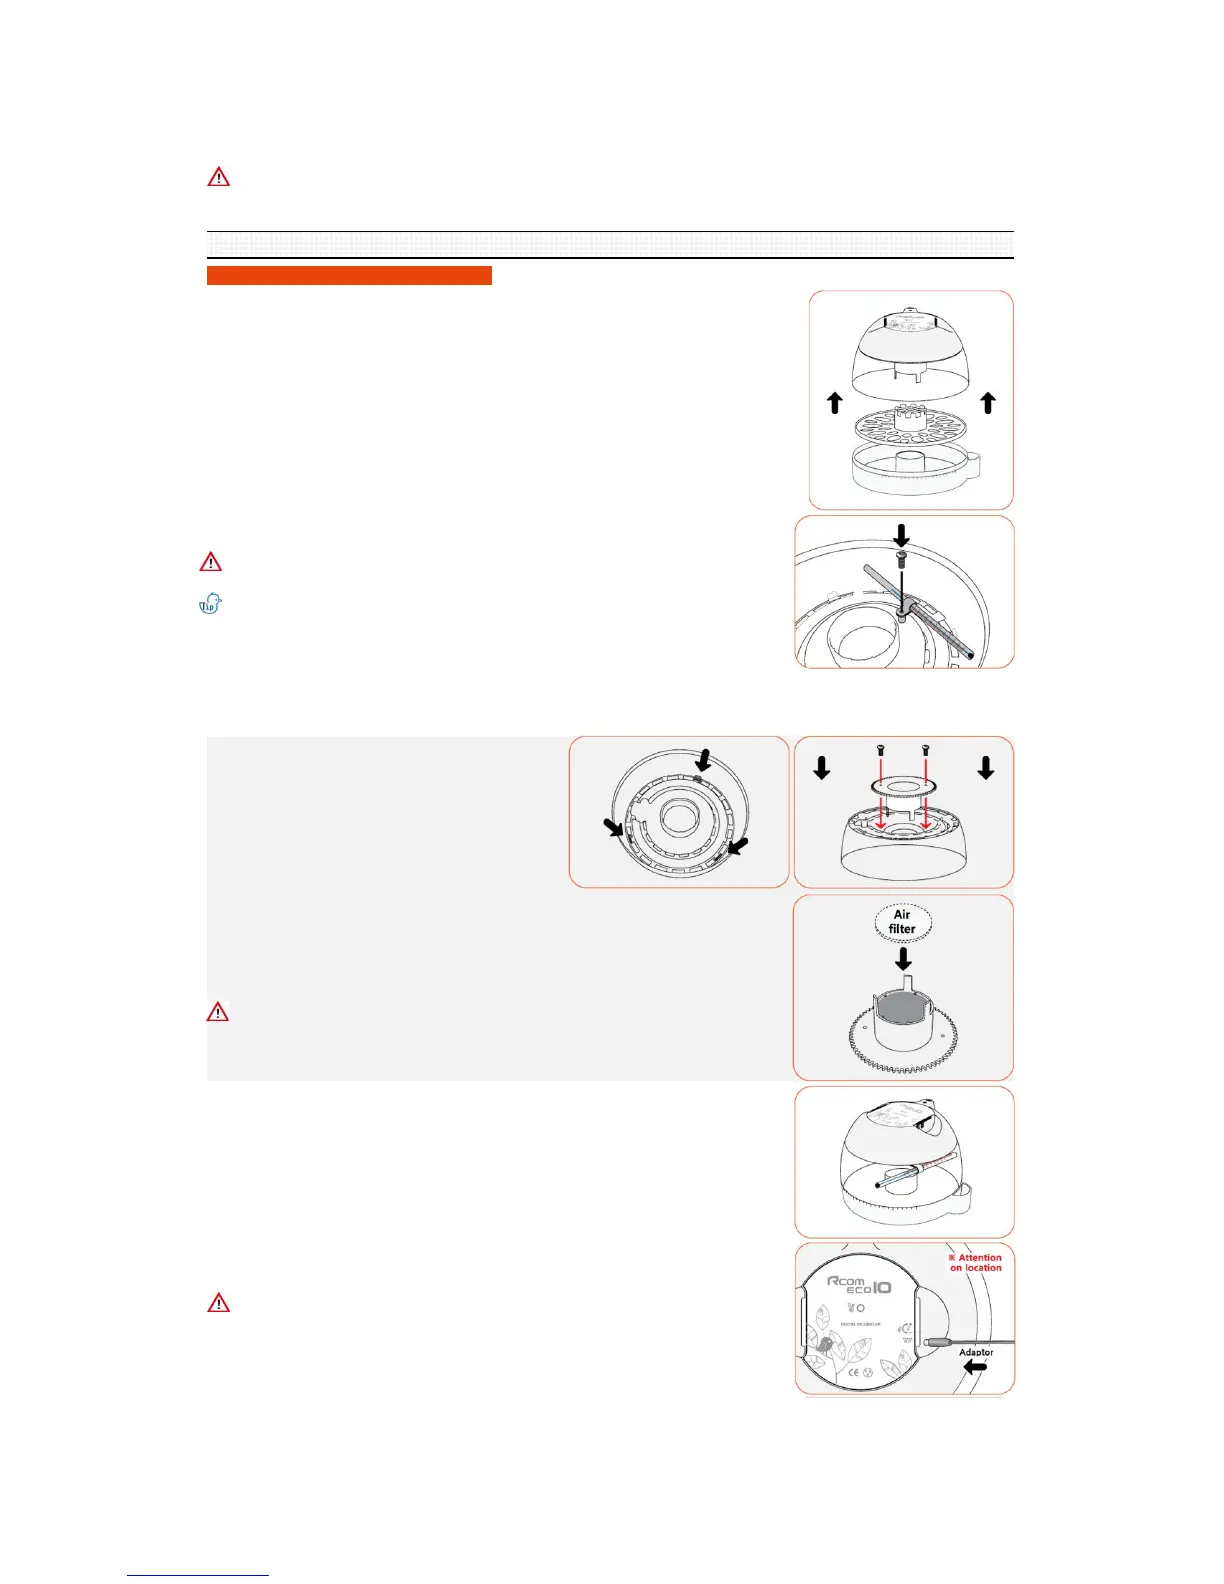
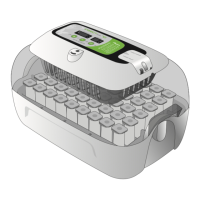
▶ There are 3 hooks connected to the main controller in the
inner side of the view-window. Squeeze the 3 hooks in and
separate the main controller and the view-window.
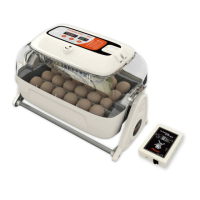
▶ The view-windows and turning disk to be fixed by utilizing
the two bolts.
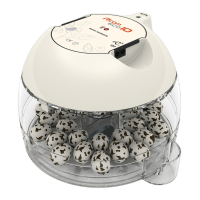
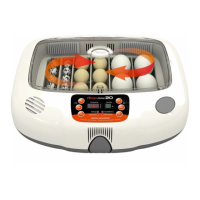
▶ Please insert air filer into the lower groove of egg turning disk as shown in the picture
3 day before hatching.
(Turning disk, egg tray and air filter are optional for ECO 10.)
Please wash the air filter before use, as dust in the air filter during use this may disrupt
proper air circulation.
▶ Please assemble in reverse order of disassembly.
▶ Separate the parts for assembly and verify all parts are present and not damaged. Please
do not discard the product box and use it to safely store the product furthermore.
(Turning disk, egg tray and air filter are optional for ECO 10.)
▶ Register the Serial No. of the left side of the main controller's handle.
The free guarantee term will be extended to 2 years.
Reference the details in the Rcom home page.
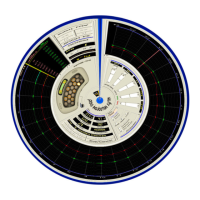
▶ Fix the thermometer to the inner side of view-window as shown in the image.
Use the thermometer holder and screwdriver to affix the thermometer.
Carefully install thermometer as force or impact will cause damage. Check thermometer
spirit is intact. Install according to the directions shown in the image.
When the spirit thermometer from ECO has an inaccurate reading
(separations look like blue dots) caused by transit, please dip the thermometer in very
warm water. When the thermometer spirit reaches maximum, please take the
thermometer out of the warm water. Please check the spirit has joined together.
The dipping method may need to be repeated to remove separations in spirit.
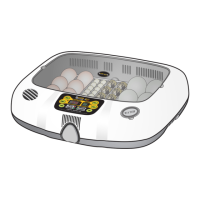
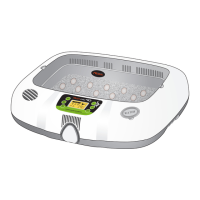
[In case of ECO PLUS 10 model]
▶ Insert the adaptor to the proper located in the upper part of the product.
Please pay special attention not to insert into the temperature adjustment volume plug.
▶ Attain correct temperature before placing eggs into incubator. If you want to adjust to
specific temperature, use the provided + shape driver to turn the temperature adjustment
volume and so adjust the temperature.