3
Before assembly, locate instructions and hardware. Take out all parts
and compare them to the photograph and the assembly illustrations. Be
sure you have all parts identified.
Check for screws that are wrapped in the packaging to be sure you don't
discard them. You may have extra screws.
A helping hand is always good. Assemble fireplace with an adult
assistant if possible.
The cement log is heavy. Put the fireplace in the desired location before
inserting cement log.
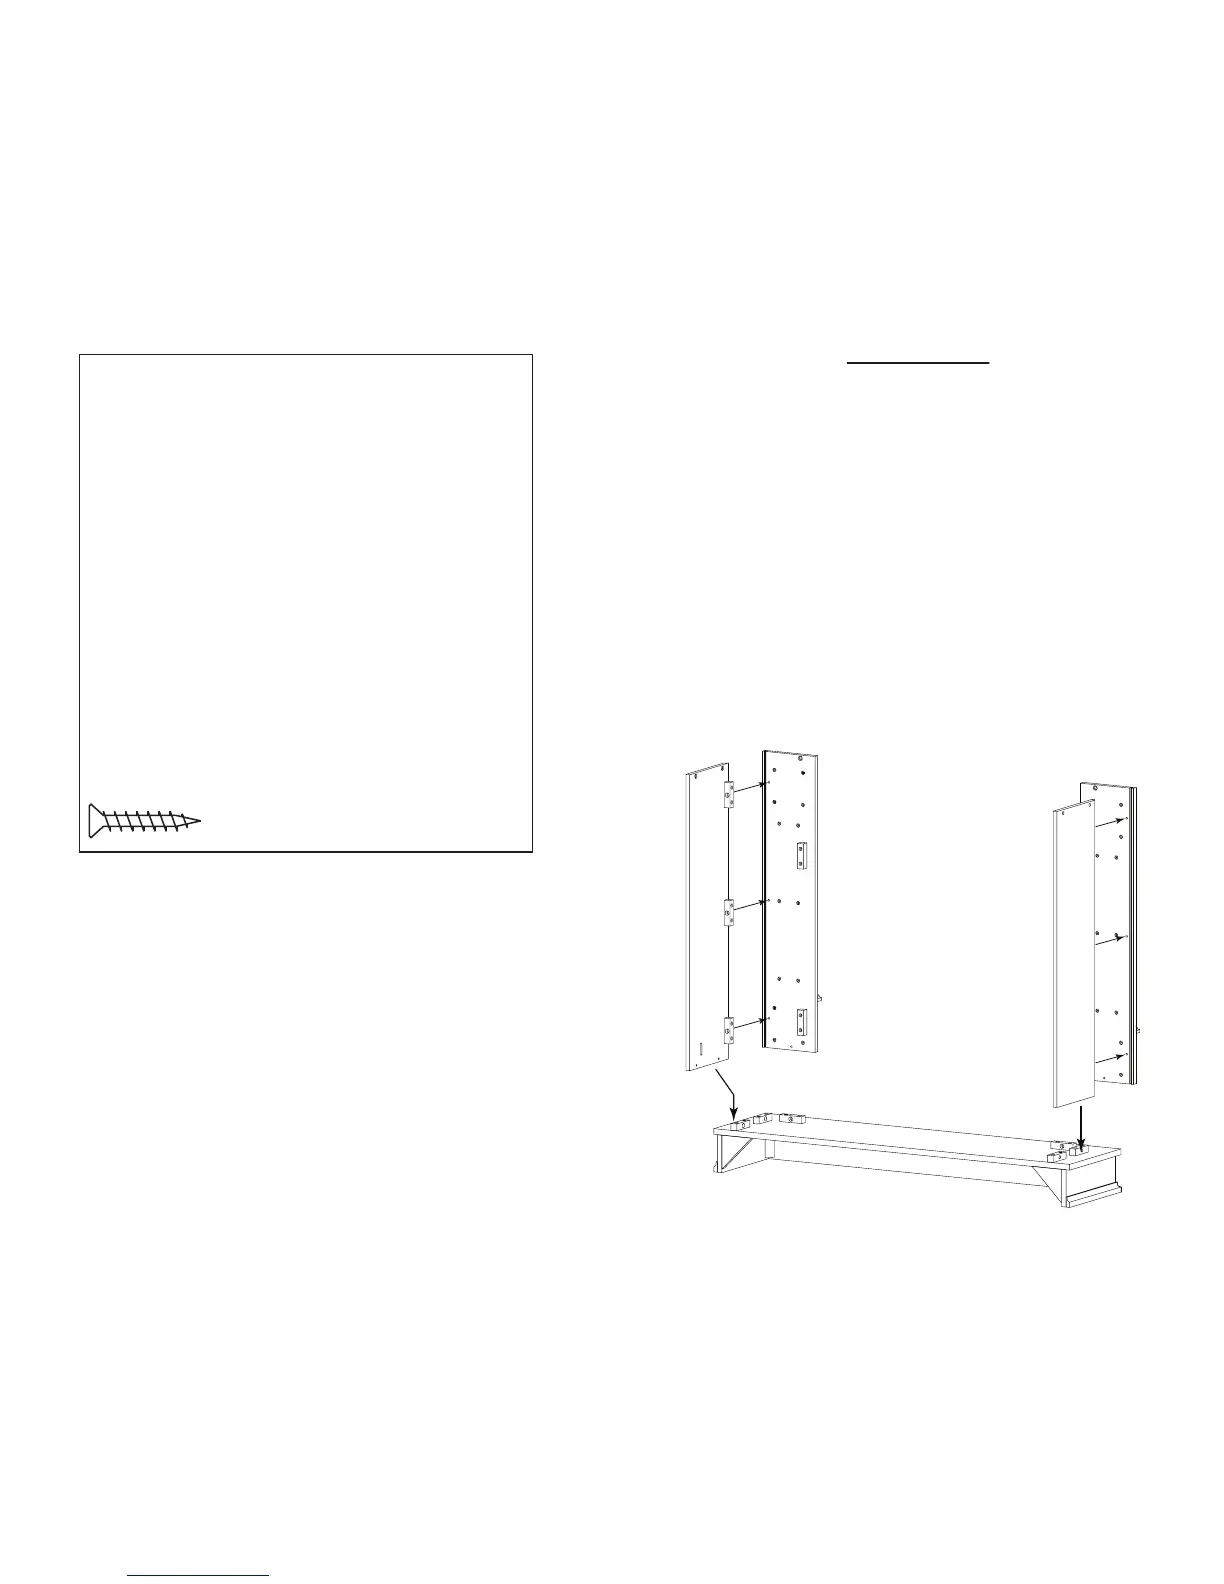
Use caution not to over tighten screw
s.
Parts List
Number Description Part Number Quantity
1 Base 1
2 Left Side Panel 1
3 Right Side Panel 1
4 Left Trim Panel 1
5 Right Trim Panel 1
6 Center Panel 1
7 Mantel Top 1
8 Left Firebox Trim 1
9 Right Firebox Trim 1
10 Lower Firebox Trim 1
11 Top Firebox Trim 1
12 Firebox Support 1
Not Shown:
G8601
G8602
G8603
G8604
G8605
G8606
G8607
G8608
G8609
G8610
G8611
G8612
1” Phillips Screws 9713 Bag
4
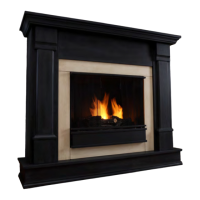
Step One
- Set base (1) on a at surface as shown.
- Using tongue and groove t the Right Side Panel (3) into the Right
Front Panel (5). Make sure the bottom edges of the Right Side Panel
and Right Trim Panel are ush. Attach together with three 1” screws
through mounting blocks.
- Repeat with Left Side Panel (2) and Left Front Panel (4).
- Place assembled Right Panels on base with mounting block on
the inside of Right Side Panel (3) against inside of base as shown in
gure 1. Attach with three 1” screws through mounting blocks.
- Repeat process using assembled Left Side Panels.
3
4
5
2
1