EasyManua.ls Logo

Realistic LAB-2100 - Advanced Operation and Notes; REPLACEMENT OF CARTRIDGE

Realistic LAB-2100
10 pages
Print Icon
To Next Page IconTo Next Page
To Previous Page IconTo Previous Page
Loading...
7.
Press
the
PLAY/CUT button.
lf
you
want
to
hear the
record again,
push
the
REPEAT
'
button;
repeat LED
will
light.
8.
The
tone arm
will
automatically
move to set
the stylus
at the
beginning
of the
record.
9.
At
any time
during
the
play
cycle,
you
can
gently
lift the tone arm
from the
record by
pressing
the CUEing
button.
10.
At the
end
of the
record, the tone
arm
will automatically
return to
the arm
rest and
the
turntable
platter
will
stop.
lf
you
have set
the
REPEAT
button,
the tone arm
will
return to the
first
groove
and
repeat
playing.
1 1. To stop
playing
before
a
record
finishes its
playing
cycle,
push
the
PLAY/CUT
button.
The tone
arm lifts and
returns
to
its rest and
the turntable
platter
will
stop.
12.To
stop
repeat
play, push
the
REPEAT
button
again;the
indicator
LED
will
go
out.
13.
lf
you
want to
play
manually:
1.
Press and
release the CUEing
button;the
tone
arm comes
up.
b. Shift
the tone arm
horizontally
over the
desired
part
of the
record, using buttons
on
your
choice.
c.
Press and release
the
CUEing
button;
the tone
arm
will descend and
play,
beginning
at the selected
groove.
NOTE:
1.
Before
playing,
if the stroboscope
dots
move,
rotate
the
PITCH control
until
the
relevant
dots
appear
motionless.
lf dots
move
toward
the
left,
rotate
PITCH toward
"-".
lf dots
move
to
right,
rotate
PITCH
toward
"+".
Figure
I
ooooo
PITCH
2.
3.
When the
tone
arm is moving
automatically,
do
not touch
it.
lf the
power
fails, the tone arm
raises
automatically.
When
power
is
restored,
the
tone
arm
will
return to the arm
rest. Never
move
the tone
arm
manually.
45
R.P.M.
adapter
When
playing
a
45 R.P.M.
record with
a
large center
hole,
place
the adapter
over the
turn-
table
spindle.
REPLACEMENT OF
CARTRIDGE
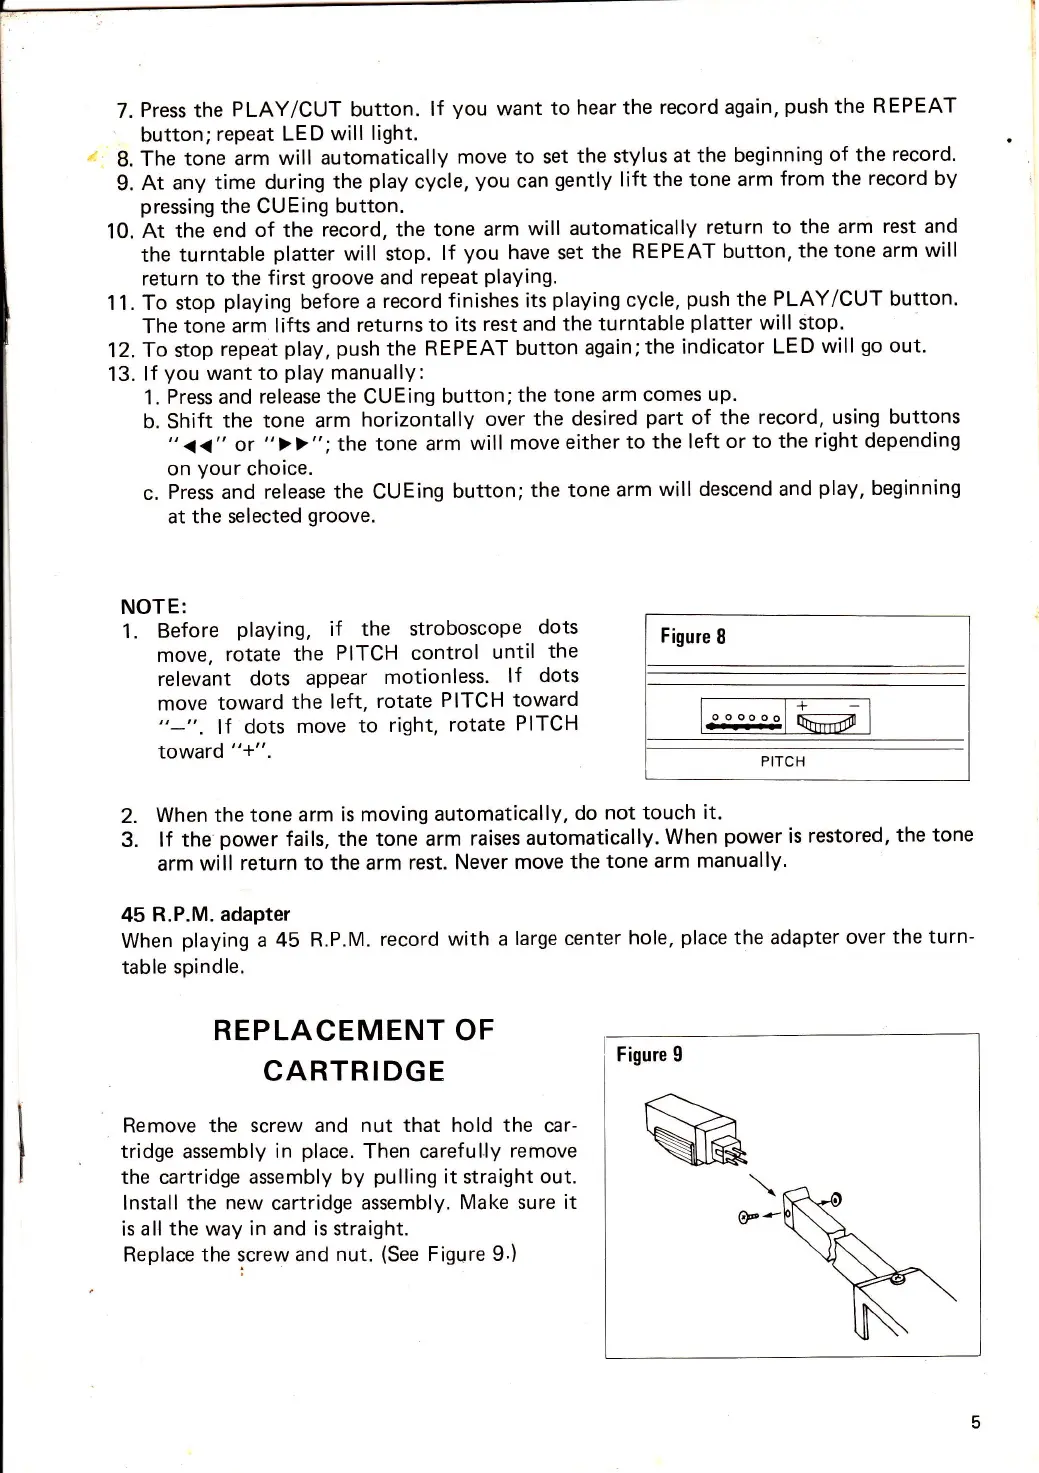
Remove the
screw and nut that hold the
car-
tridge
assembly
in
place.
Then careful.ly
remove
the cartridge assembly by
pulling
it straight out.
Install
the new
cartridge
assembly. Make
sure it
is
all the way in and is straight.
Replace
the screw and
nut.
(See
Figure 9.)

Related product manuals