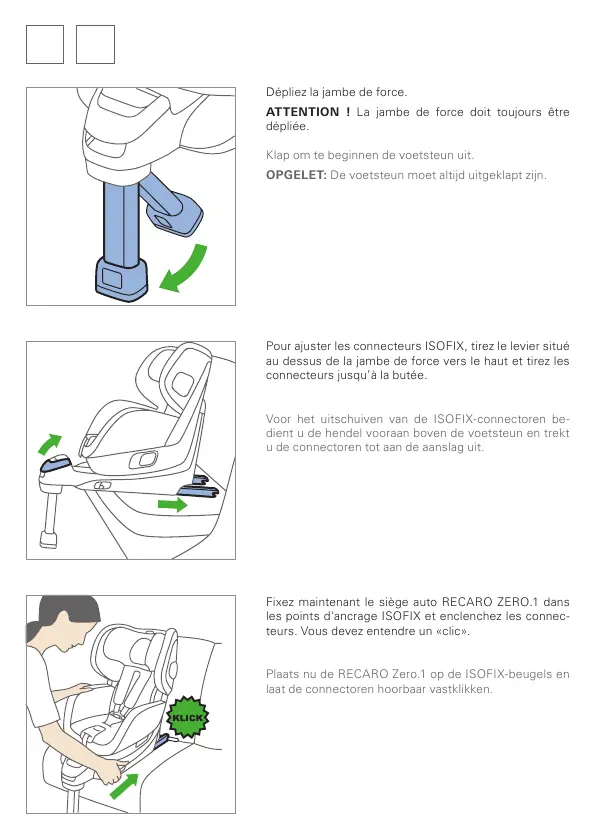
Klap om te beginnen de voetsteun uit.
OPGELET: De voetsteun moet altijd uitgeklapt zijn.
Voor het uitschuiven van de ISOFIX-connectoren be-
dient u de hendel vooraan boven de voetsteun en trekt
u de connectoren tot aan de aanslag uit.
Plaats nu de RECARO Zero.1 op de ISOFIX-beugels en
laat de connectoren hoorbaar vastklikken.
Dépliez la jambe de force.
ATTENTION ! La jambe de force doit toujours être
dépliée.
Pour ajuster les connecteurs ISOFIX, tirez le levier situé
au dessus de la jambe de force vers le haut et tirez les
connecteurs jusqu’à la butée.
Fixez maintenant le siège auto RECARO ZERO.1 dans
les points d'ancrage ISOFIX et enclenchez les connec-
teurs. Vous devez entendre un «clic».
 Loading...