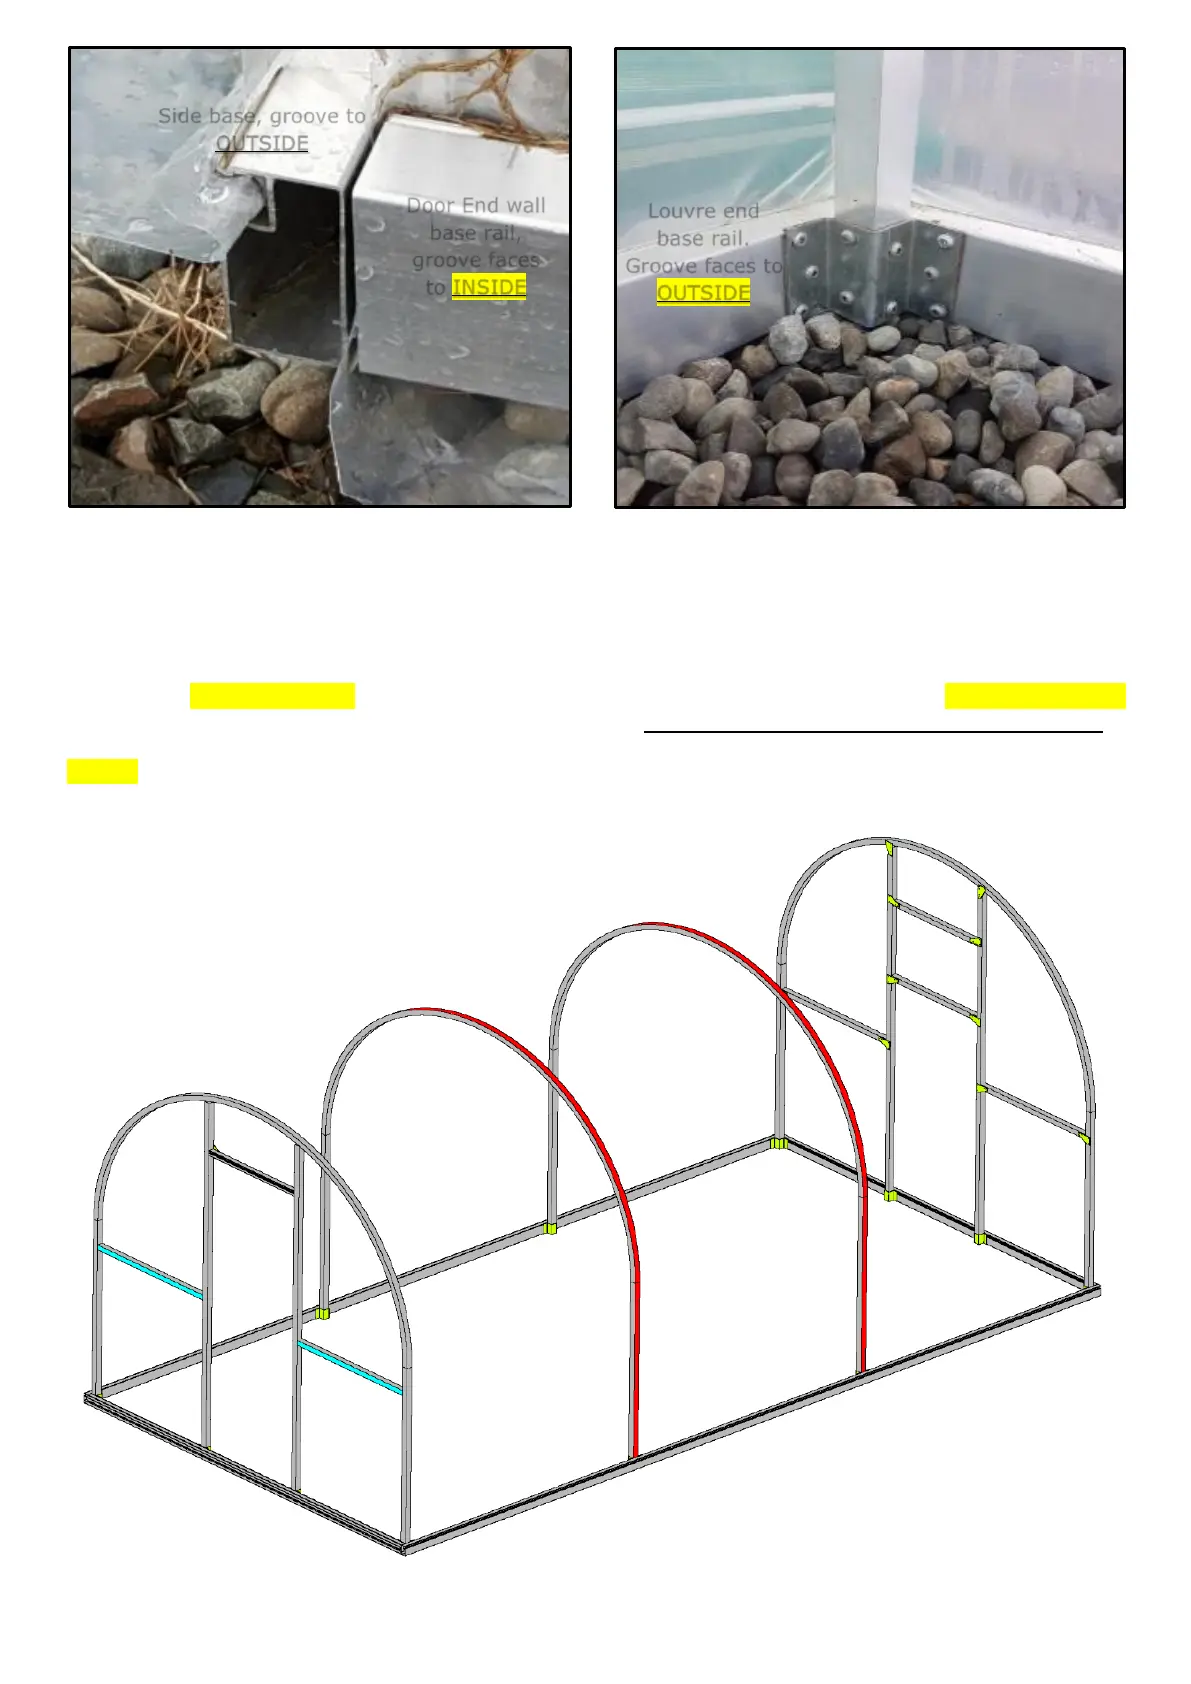
Stage 2: Position the internal hoop(s).
*For the 15m, 18m 21m & 24m models fit the horizontal collar tie to each central hoop. See image below.
NOTE: Select and position the correct hoops for where the roof vent (if any) is to be positioned See below.
Position the internal hoops into the pre-fitted saddles on side base rails, do not screw them into place at this stage see Pic Page 5
IMPORTANT: *If there is a roof vent - those hoops that will have the roof vent located between them will have a gap in the Polyguard
protection soft tape at their apex. And they should also be positioned so that their smooth/flat side faces, - face toward each other.
NOTE 1: We suggest not securing the internal hoops with the two screw(s) at their base saddles until after the covering has been
fitted. This allows the hoops to be lifted ‘upward’ slightly after the covering is in place to help with tensioning of the covering.