9
Zero Adjustment
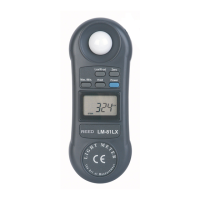
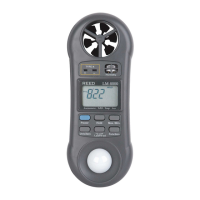
• For best results you should zero the light sensor prior to rst use in a
dark environment. To achieve this, place the light sensor end of the
meter under a desktop or at surface to block any light. Press the
Unit/Zero button to perform the zero adjustment.
• The zero value can drift due to environment temperatures, battery
power, as well as various other reasons. It is recommended that the
zero be checked frequently using the above procedure.
Data Hold
1. While taking a measurement, press the HOLD button to freeze the
current readings on the display.
2. While in this mode a "HOLD" symbol will appear on the LCD.
3. Press the button again to resume normal operation.
Recording Maximum and Minimum Readings
1. Press the MAX/MIN button to enter recording mode as indicated by
"REC" on the LCD. The meter will now begin recording maximum
and minimum readings.
2. While in recording mode:
A) Press the MAX/MIN button once and the maximum value will
appear on the display as indicated by "REC MAX" and will
automatically update when a new maximum data value
is measured.
B) Press the MAX/MIN button again and the minimum value will
appear on the display as indicated by "REC MIN" and will
automatically update when a new minimum data value
is measured.
C) To exit recording mode and resume normal operation, press
and hold the MAX/MIN button for two seconds.
Note: When in recording mode the POWER button is disabled and the
meter cannot be turned off.
continued...
www.GlobalTestSupply.com
Find Quality Products Online at: sales@GlobalTestSupply.com
 Loading...
