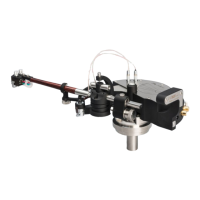
6. Armtube replacement (Figure 18):
a) Take off the counterweight [2].
b) Disconnect armtube cable from Phono
connector [5]
c) While holding armwand cylinder [3],
unscrew [1a] and [1b] screws using
s=1.5 mm Allen key and pull out
armtube [6] from the cylinder [3].
d) Insert and push the new armtube into a
cylinder [3] and tighten it with the
screws [1a] and [1b]. Connect armtube
cable to Phono connector [5]. Put back
the counterweight [2] and adjust VTF
and azimuth according to Manual steps 3
and 5 respectively.
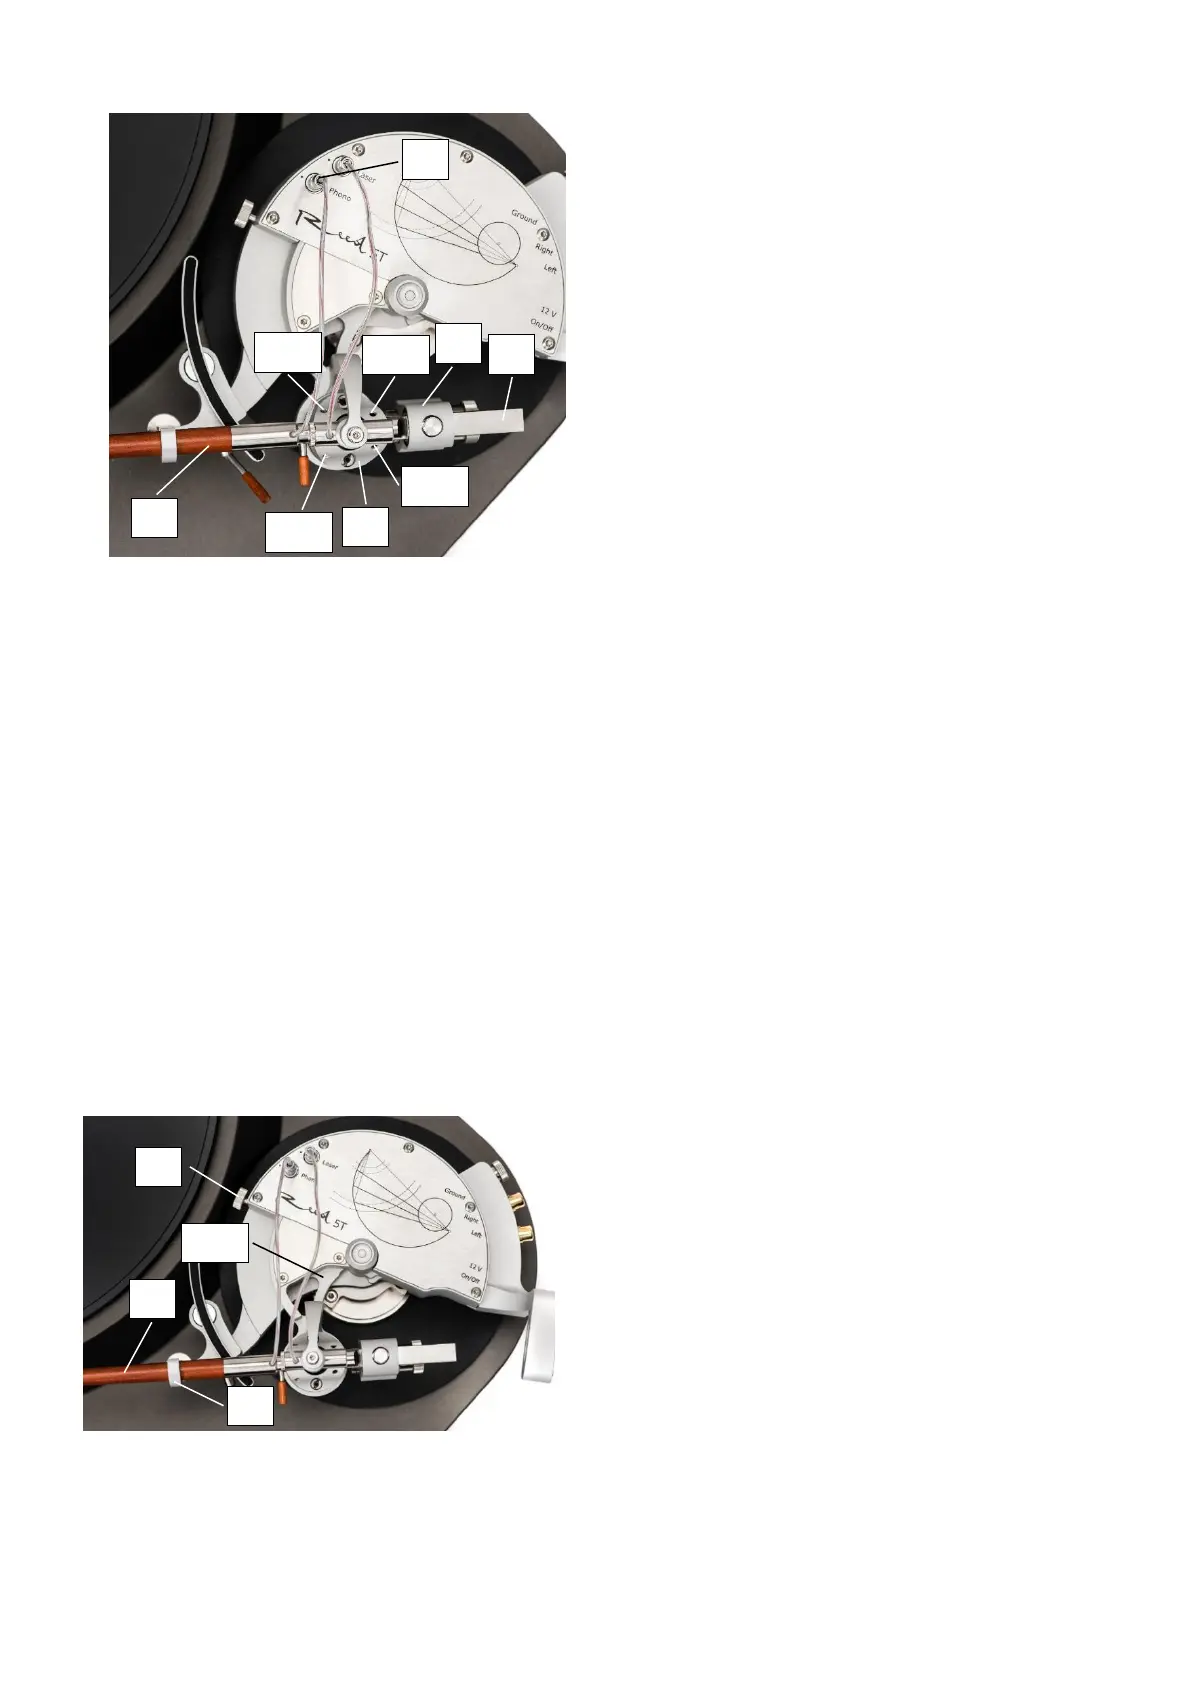
7. Counterweight holder [4]
replacement (Figure 18):
a) If you’re using cartridge, which is lighter
than 5,2 g and a light armtube, you will
have to replace counterweight holder to
shorter one*.
b) Take off the counterweight [2].
c) While holding armwand cylinder [3],
unscrew [4a] and [4b] screws using
s=1.5 mm Allen key and pull out
counterweight holder [4] from the
cylinder [3].
d) Insert and push the new counterweight
holder into a cylinder [3]. A flat side of
the holder [4] should be facing top.
Tighten the screws [4a] and [4b], put
back the counterweight and adjust VTF
according to Manual step 3.
8. Loosening of armwand base pad [3b]
(Figure 19):
a) Screw out armwand base pad [3b]
rotation limiter screw [1] in a way that
first spiral of its thread would match
tonearm body edge (Figure 20).
b) Make sure that armtube [2] and
armwand base pad [3b] can rotate freely
(microlift should be lifted up).
c) Return armwand base pad to initial
position (push counter-clockwise until it
stops) and armtube to its rest position
[4].
 Loading...