20
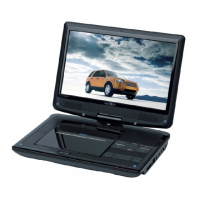
BATTERY CHARGING PROCESS
Fully charge the battery of the main unit and the second monitor before using the unit for
the first time. To do this, connect the main unit and the second monitor with the connection
cable included in the scope of delivery. Then plug the power supply unit into the DC IN
socket and the power outlet.
Note:
Please note that the unit may only be connected to a compatible voltage source
(DC 9V 1.5A) as specified on the unit type plate and in the operating instructions.
Use of a voltage other than that specified may result in malfunction or defect and
will invalidate the warranty.
- Only use original accessories.
1. During operation, a red LED lights up in the left loudspeaker of the main unit.
2. When charging the unit, a green LED flashes.
3. When charging is complete, the LED is constantly green.
Note:
Charging may take up to 2 hours.
Once the charging process is complete, disconnect the mains cable from the
device.
To ensure that the battery contained in the device can always show its full
performance and is not damaged, we recommend fully charging the integrated
battery once a month even when not in use.
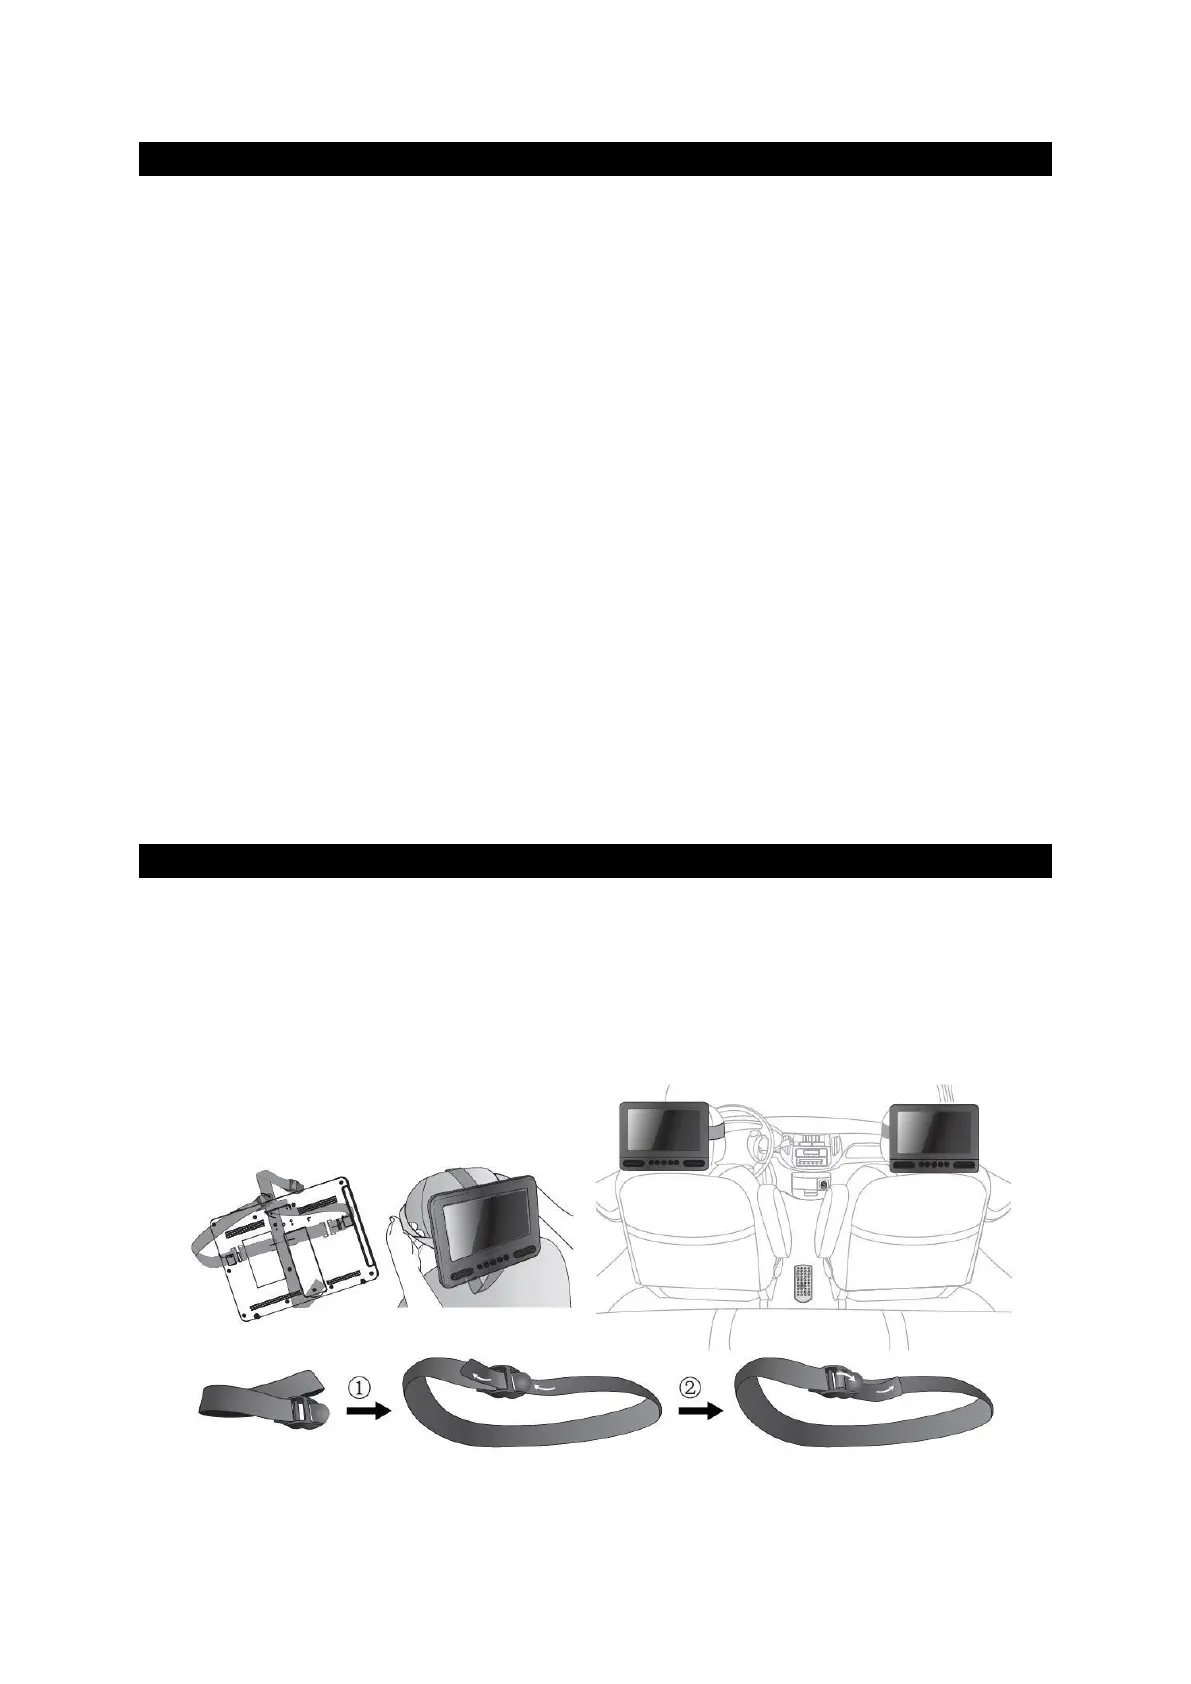
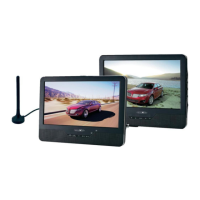
MOUNTING IN THE VEHICLE
Use the supplied car fastening straps to attach the main unit and the
and monitor to the back of the front seat head restraints.
head restraints. Tighten the mounting straps around the head restraints.
tighten the mounting straps around the head restraints.