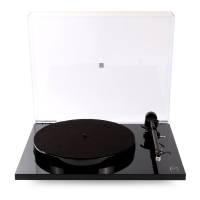
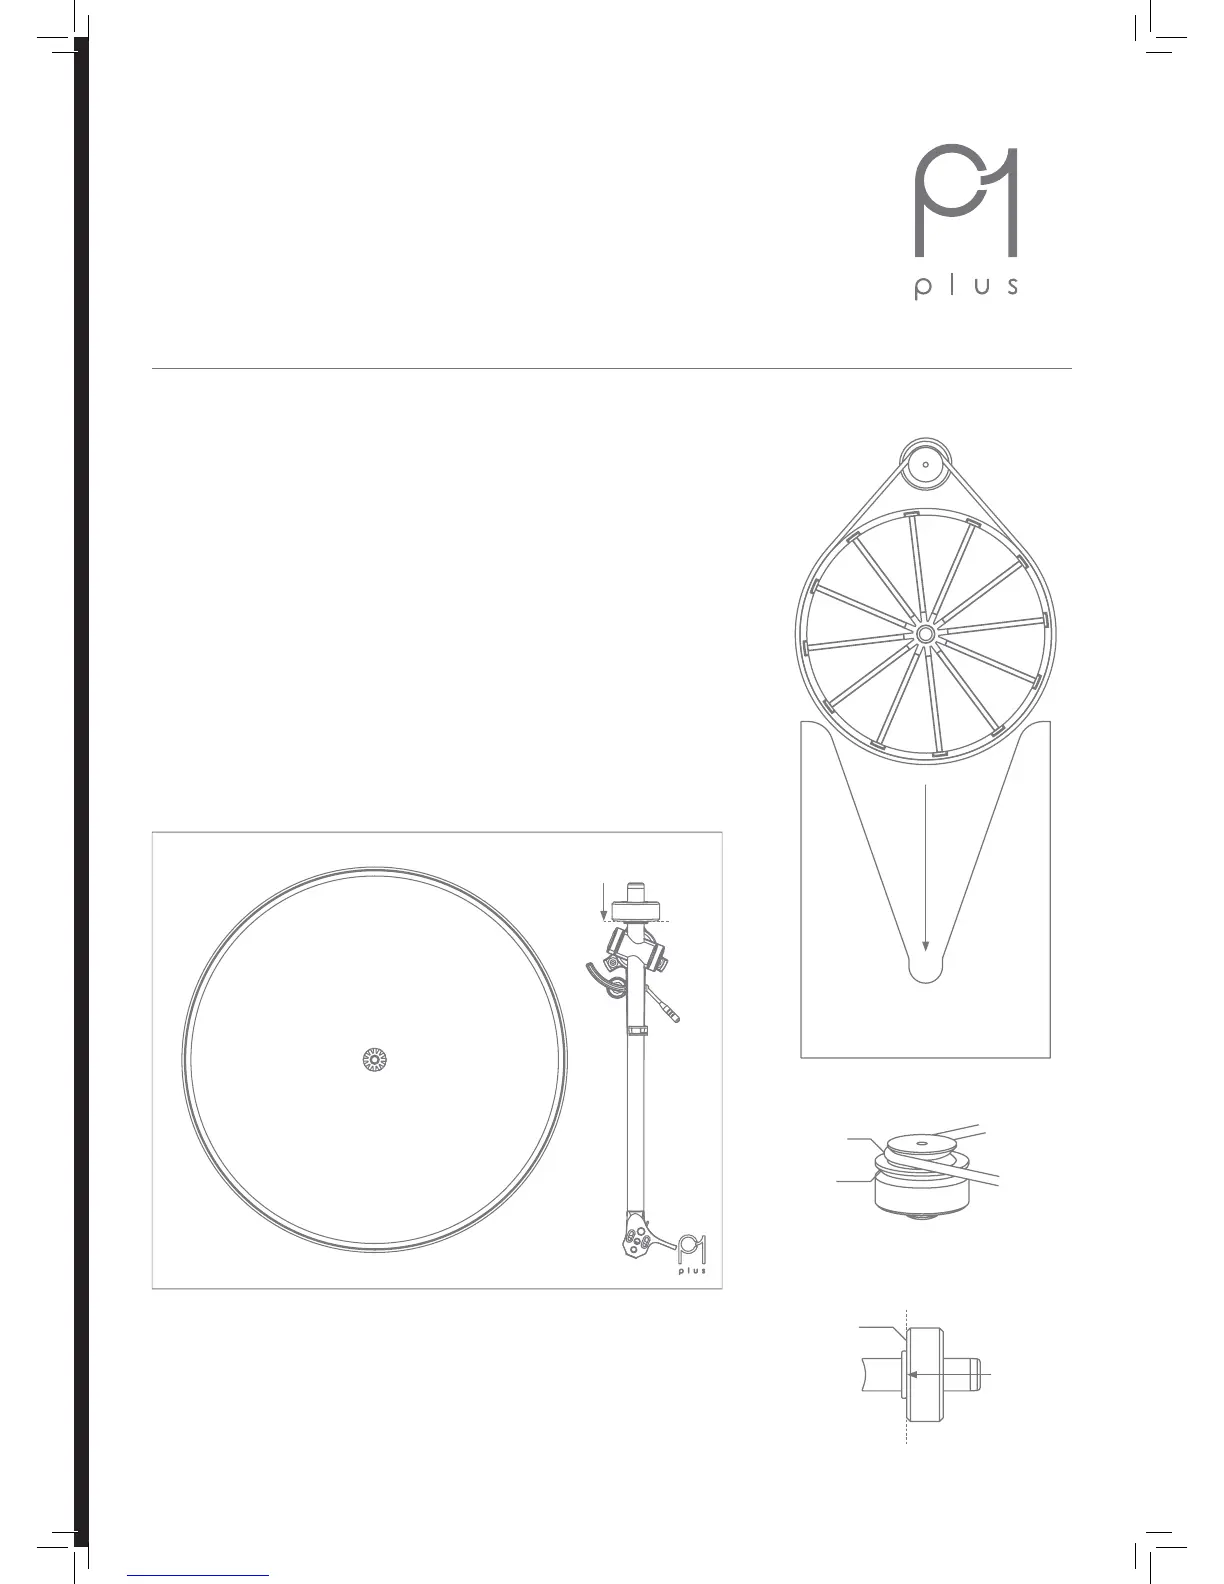
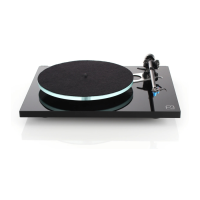
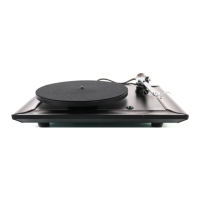
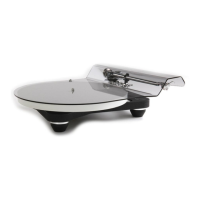
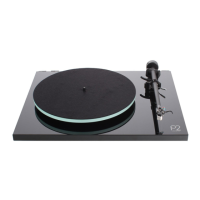
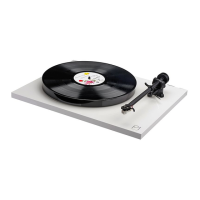
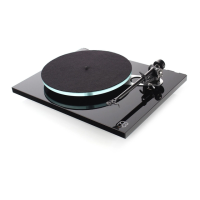
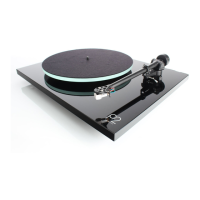
Setting Up Your Planar 1 Plus
• Carefully unpack the turntable, always keeping it upright.
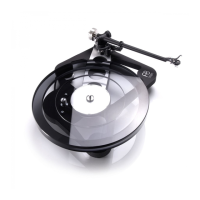
• Check the belt is tted around the drive pulley (A) and sub-platter (B).
• Remove the packing card (C) from beneath the sub-platter (B) and t the
platter (1) and mat.
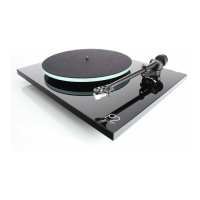
• Push the balance weight (4) fully onto the rear of the tonearm (3) until it
reaches the stop point as shown (D).
• Connect the phono output to an appropriate line level input (see page 2).
• Connect the power supply to the rear of the turntable (see page 2).
• Carefully remove the stylus guard from the cartridge (2).
• Turn on the Planar 1 Plus via the on/o switch located on the underside of
the plinth (5).
• Change the speed by moving the drive belt from the 33 ⁄ and 45 steps of
the pulley (A).
• The RB110 tonearm (3) is preset for bias adjustment, no other set-up is
required.
D
D
A, B & C (located
beneath the platter)
B
C
A
A
33 ⁄ RPM
Stop point
45 RPM
• IMPORTANT: Please turn down the volume on the amplier before
switching the unit on or o.
1
2
3
5 (the on/o switch is located
underneath the plinth)
4
1