6
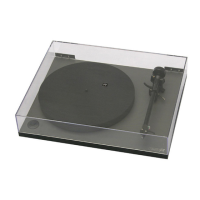
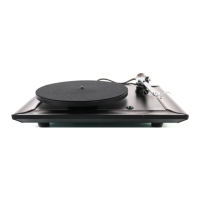
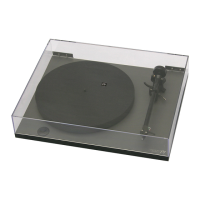
Setting up your Planar 1
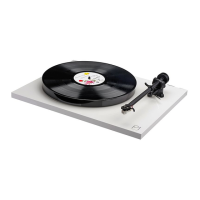
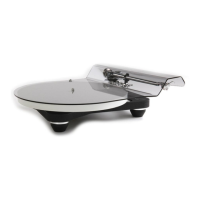
1. Carefully unpack the turntable. Always keeping it upright.
2. Remove the packing card (9) from beneath the sub platter (12)[A].
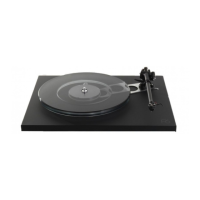
Push the balance weight (5) onto the rear of the tonearm until it reaches the stop point [B].
Connect the power supply to the rear of the turntable (2).
5. Connect the phono output (4) to an appropriate phono stage.
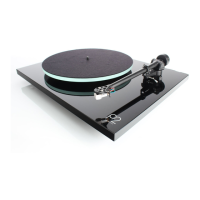
6. Carefully remove the stylus guard from the cartridge (8).
7. Turn on the Planar 1 via the on/off switch located on the underside of the plinth (10).
(14) [C].
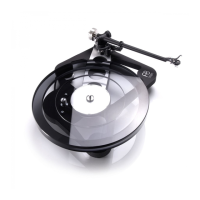
Bias is automatically set on the RB110 tonearm (7), no setting is required.
Mains specications
Input 100V AC 50/60Hz 100mA
English
Warning
Only use the supplied Rega PS2 mains adaptor with this product.
Click to return to top