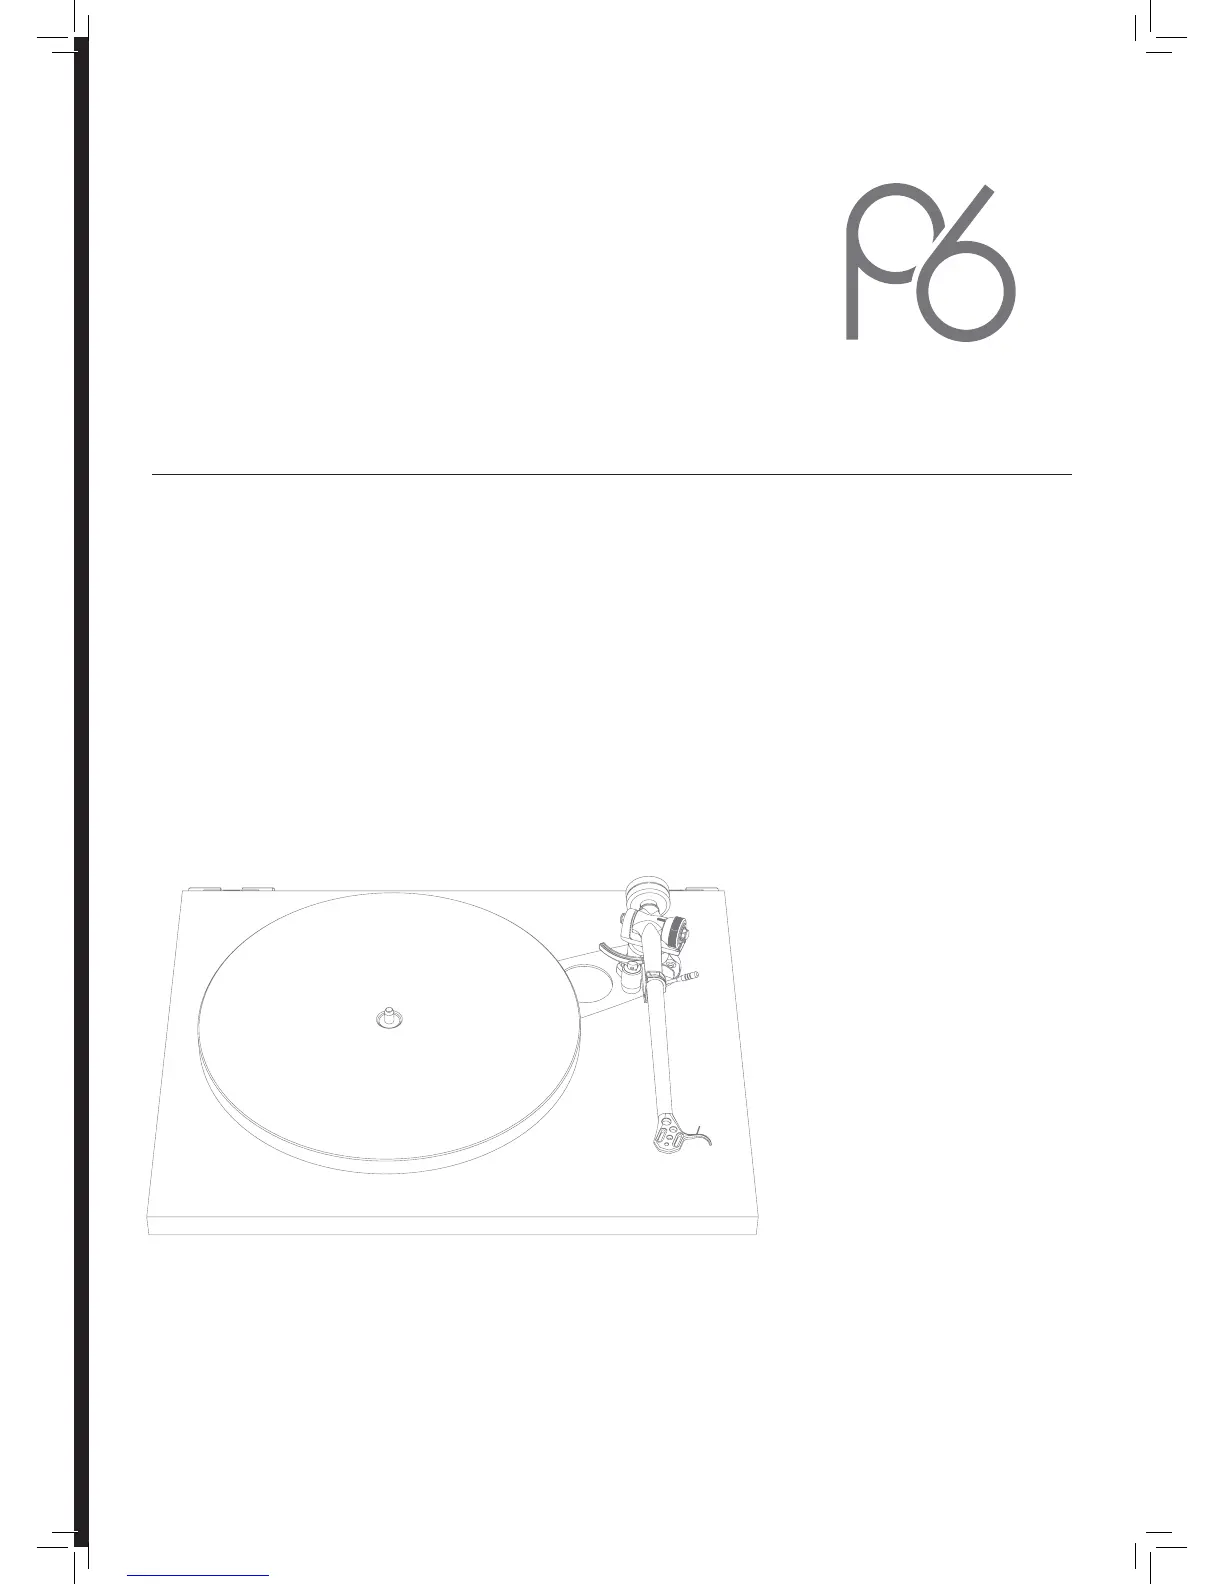
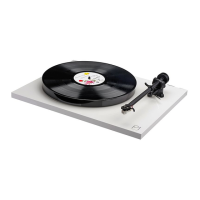
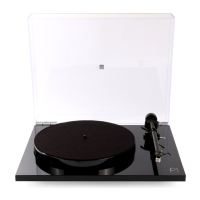
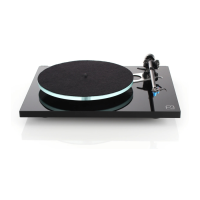
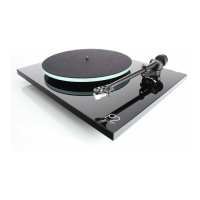
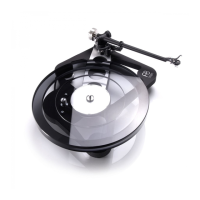
1. Platter
2. Drive Belt & Pulley
3. Tonearm
4. Balance Weight
5. Plinth
6. Power Input
7. Phono Output
8. Finger Lift
8
3
4
6
1
2
5
7
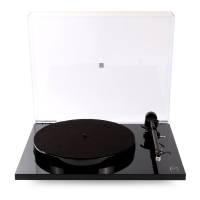
Unpacking and Setting Up the Planar 6 and Neo Power Supply
Setup and Connections
Connection to the Amplier
Cartridge Mounting and Setting Up the RB330 Tonearm
Speed Adjustment
Adjusting the Speed
Returning the Neo to Factory Settings
Use of Mobile Phone Apps to Check and Adjust the Speed
Rega Strobe and Stroboscopic Disc
Using the Strobe Kit
Safety and Warranty
Neo Specications
Warnings
1
2
2
2
2
3
3
3
3
3
4
4
4
Thank you for purchasing this Rega product.
Please follow this quick set up guide to ensure optimum performance and perfect operation. Failure to do so may invalidate your warranty. For more
information on this product, please visit www.rega.co.uk.
Unpacking and Setting Up the Planar 6 and Neo Power Supply
• Always keep the turntable at.
• Follow the unpacking guide printed inside the front of the box.
• Save the packaging in case you need to transport your turntable in the future.
• Place the turntable on a rigid level surface.
• Ensure the drive belt is in place and remove the transport hub card from beneath the sub platter.
• Carefully place the glass platter on the hub and t the turntable mat.
1