4
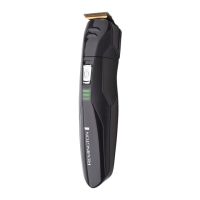
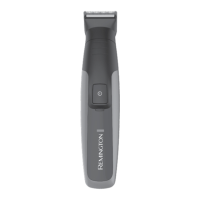
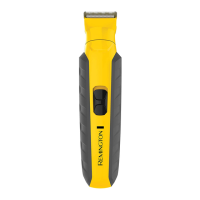
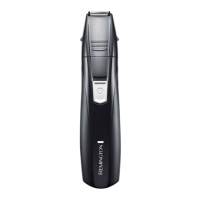
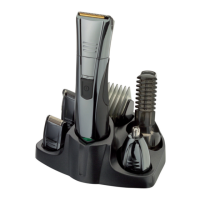
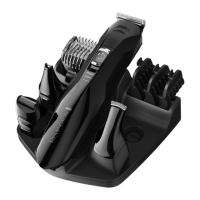
PARTS
1. On/o switch
2. Groomer
3. Wide trimmer
4. Precision trimmer
5. Mini foil shaver
6. Nose, ear, eyebrow trimmer
7. Attachment guide combs
8. Charging indicator
9. Stand
• Adaptor (not shown)
GETTING STARTED
CHARGING YOUR APPLIANCE
• Before using your groomer for the rst time, charge for 14-16 hours.
• Ensure the product is switched o.
• Place your groomer into the stand, connect the adaptor to the product and then to
the mains.
• The charging indicator will illuminate.
• The charging indicator will remain illuminated once fully charged.
• Your appliance cannot be overcharged. However, if the product is not going to be
used for an extended period of time (2-3 months), unplug it from the mains and
store.
• Fully recharge your appliance for 16 hours when you would like to use it again.
• To preserve the life of your batteries, let them run out every 6 months then recharge
for 14-16 hours.
INSTRUCTIONS FOR USE
ATTACHING AND REMOVING GUIDE COMBS
To attach:
With the trimmer blade facing away from you, slide the guide comb on top of the
trimmer blade and click into position.
To remove:
With the trimmer blade facing away from you, carefully push the guide comb away from
the trimmer blade.
BEFORE YOU BEGIN
• Comb facial hair with a ne comb before you start trimming.
• Hairs should be dry and without any waxes or lotions before using the groomer.
TO THIN AND TAPER THE BEARD/MOUSTACHE
• Attach the wide trimmer blade.
• Place the hair length attachment on the trimmer blade, select the desired length
and switch on.
 Loading...