4
1. Connect the device to a computer USB port using the micro USB
cable included in the package.
2. R1+ can also be charged with a USB power adapter. (Adaptor’s
not included) We recommend using GoPro, or Apple iphone
adaptors.
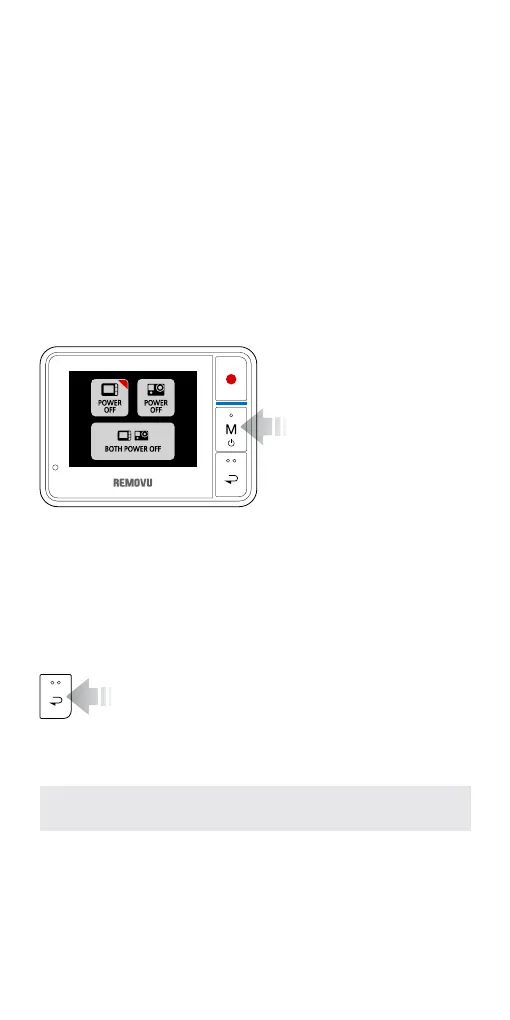
You will be given 3 options to choose from.
- REMOVU Power Button: Turns On / Off
- GoPro Power Button: Turns On / Off
- Power Button for both: Turns Off both
*The RED triangle at the top-right corner of the buttons indicate that the device is turned on.
1. Turning it On: Press and
hold the M button for
about 2 seconds to turn
the device on.
2. Turning it Off: Press and
hold the M button until
the Power control menu
appears.
3. How to use REMOVU
Charging the Battery
Turning it On / Off
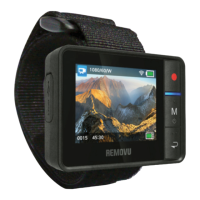
Navigating Your Device
To Adjust Settings
The settings can be adjusted in the Setting Mode. Please navigate
to the settings mode using the M (Mode/Power) button, and enter
the menu by pressing the REC (Shutter/Select) button.
After the device is powered on and Wi-Fi connection
is established, it goes into the Live View mode auto-
matically. From there, you can simply navigate through different
functions using the Back button. The order of appearance of the
functions are illustrated below.
*The battery should be fully charged before using R1+ the rst time.
1. Live View Mode ► 2. Hide OSD ► 3. Screen Saver ►
4. Clock ► 5. Playback Mode ► 6. Settings Mode