7
www.renishaw.com
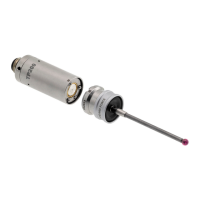
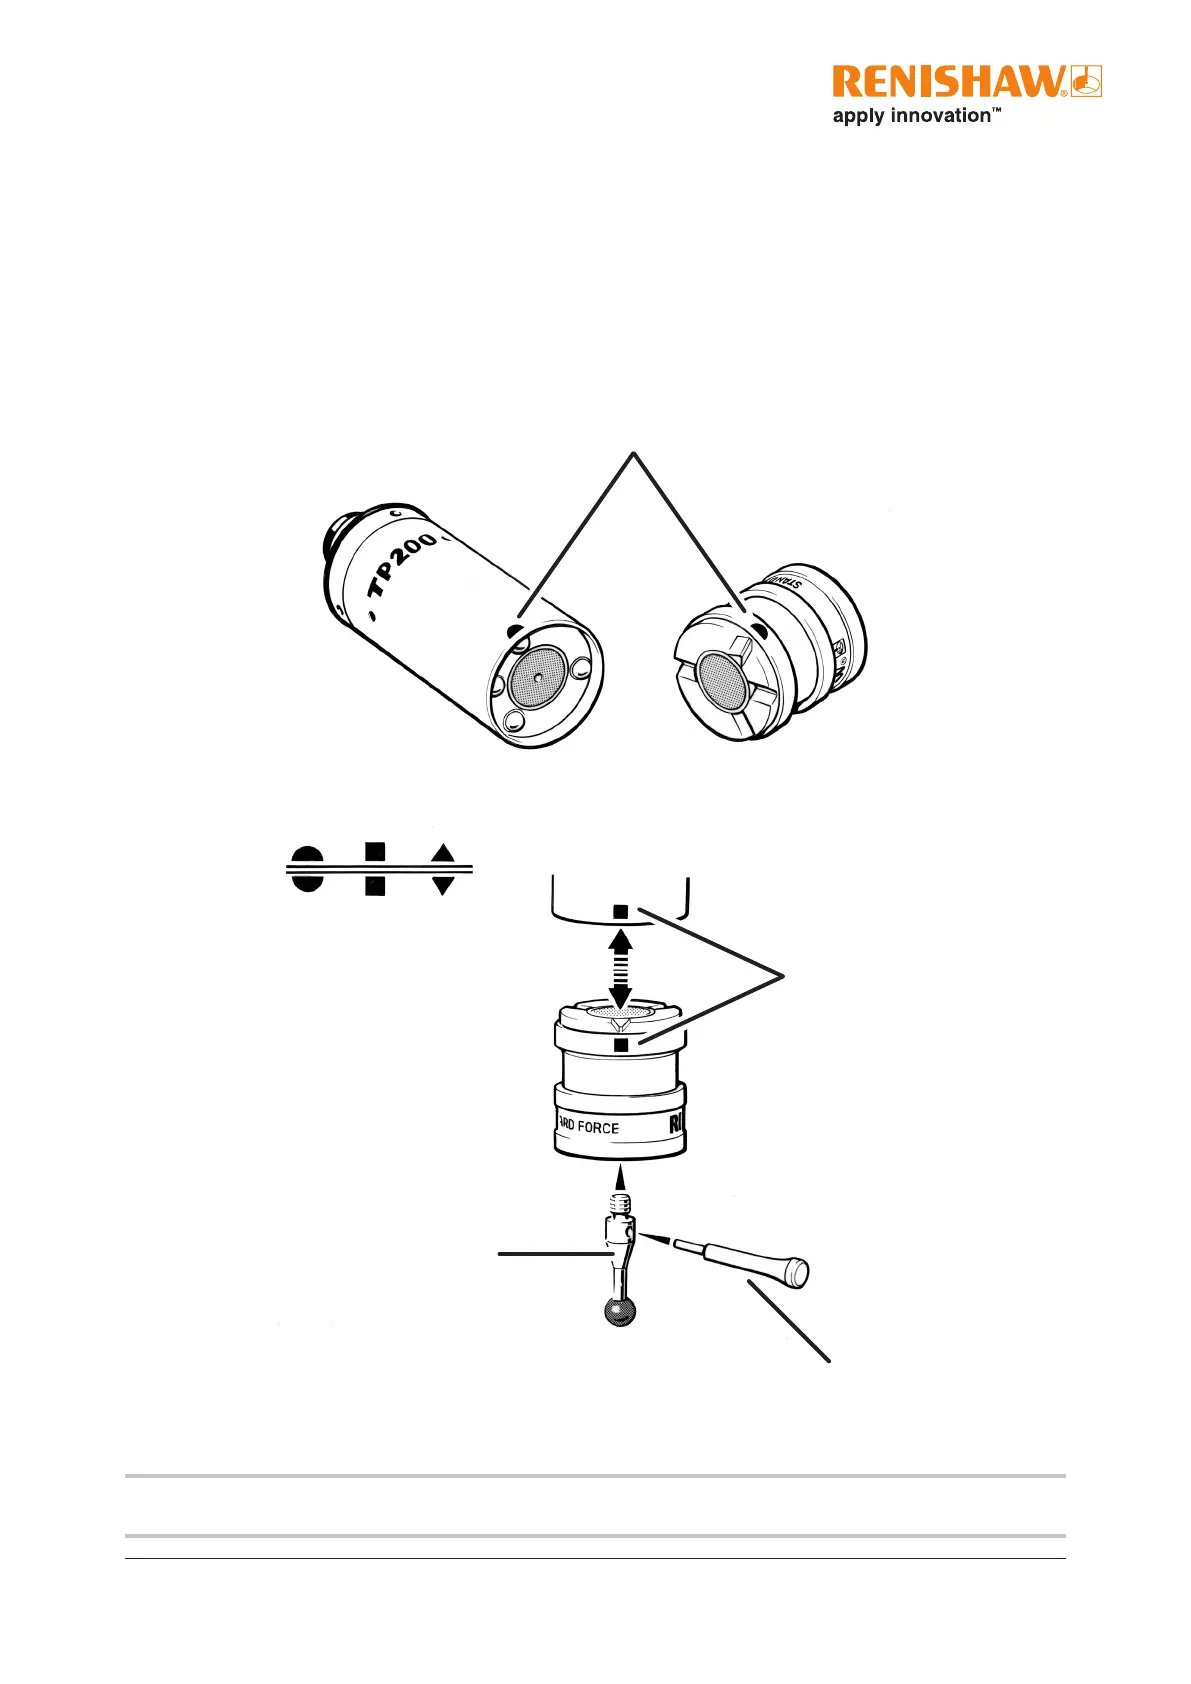
3.4 Mounting the stylus module on the probe body
1. Visually examine the mating faces of the stylus module and probe body for dirt or other contamination. Clean if necessary using
CK200 cleaning material (supplied).
2. Offer up the stylus module to the probe body ensuring that the alignment symbols are matched. Allow the stylus module to
engage under the pull of the magnetic force. It is suggested the module is rolled onto the contacts and not snapped into place as
severe shock can damage the TP200 sensor.
3. Reset the probe by pressing the RESET button, on the front panel of the PI 200-3 interface, for two seconds to reset the probe to
the seated (armed) state.
Alignment marks
Alignment
symbols
Autojoint mount
S7 pin spanner
M2 stylus
NOTE: An automatic change rack (SCR200) is available which will reduce the risk of damage of the TP200 probe sensor when
changing the modules.