General Introduction
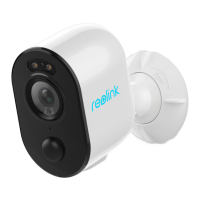
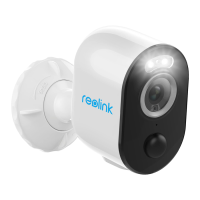
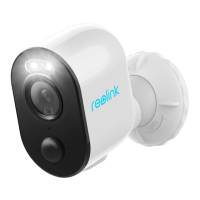
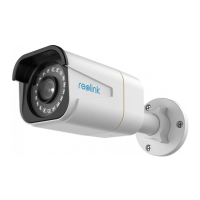
Built-in Mic
Lens
Status LED
Daylight Sensor
Built-in PIR Sensor
Micro SD Card Slot
Battery Status LED
Speaker
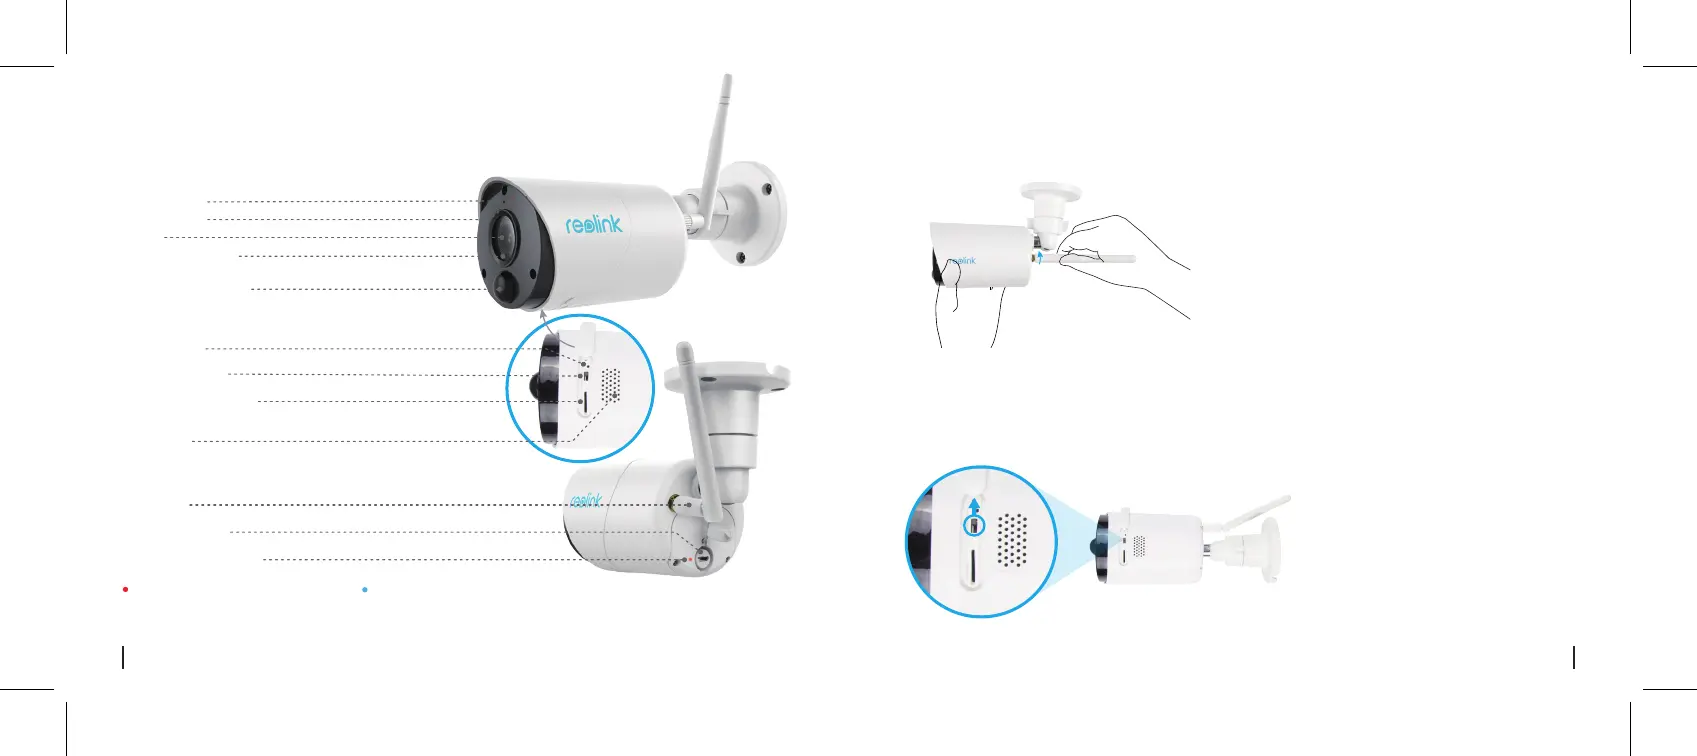
Reset hole
On/o switch
Micro USB Port
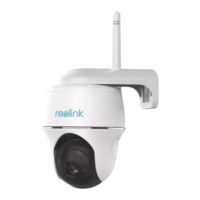
Antenna
Turn on the Camera
Install the Antenna
1. Reolink Argus Eco is turned o by default, please turn it on before setting up the camera.
Note:
If the camera will not be
in use for a very long time,
it’s suggested to turn it o.
The LED in Red (Wi-Fi connection failed)
Blinking: Standby status
On: Working status
The LED in Blue (Wi-Fi connection succeeded)
Blinking: Standby status
On: Working status
Please install the Antenna to the
camera. Turn the antenna base in a
clockwize motion to connect. Leave
the antenna in a vertical position for
best reception.
3English
2 English

 Loading...