English English15 16
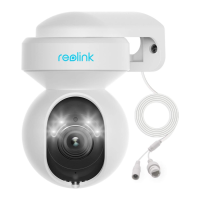
Set up the CameraCamera Introduction
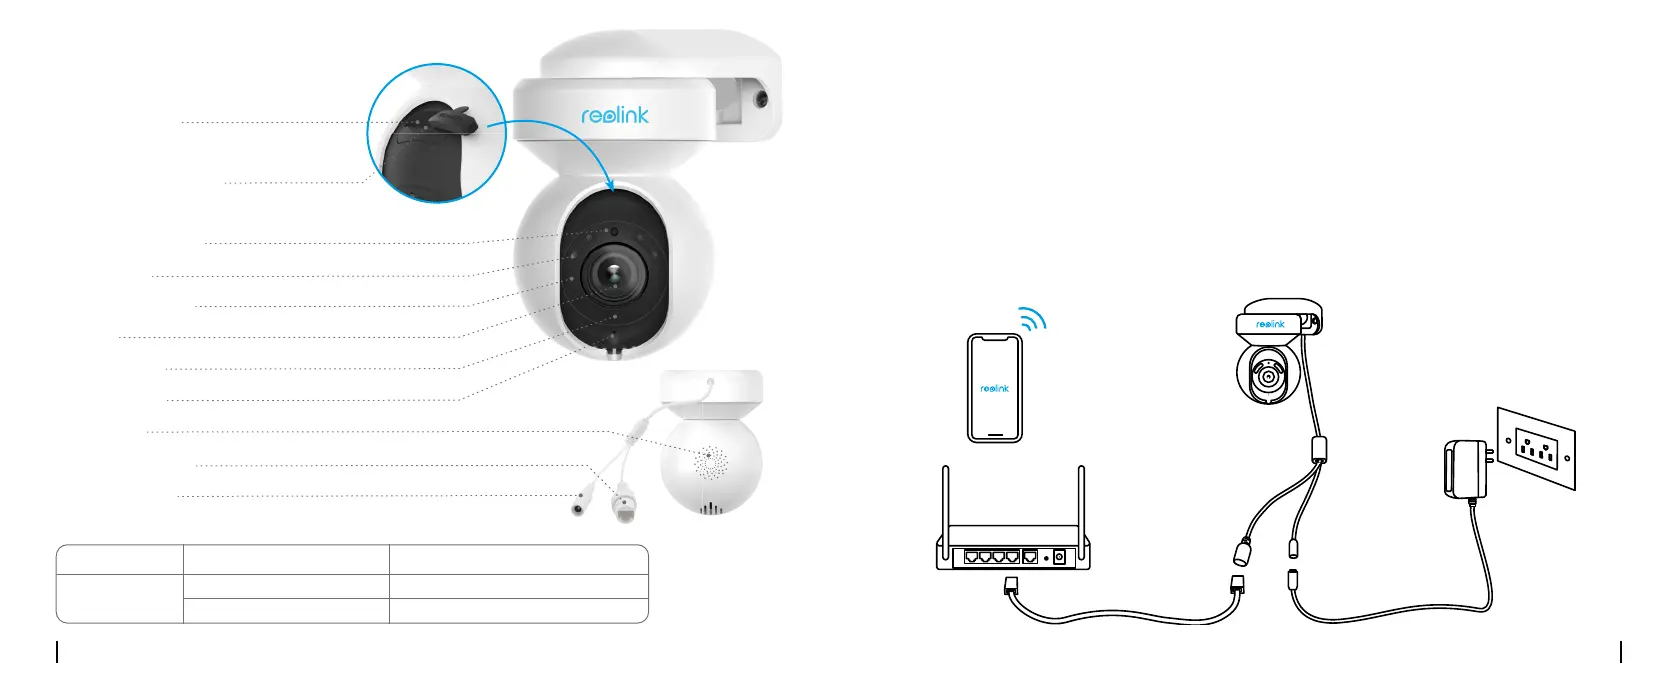
Wired Setup
It is recommended that the initial setup be completed with the Ethernet cable. You may follow the
steps below to set up your camera.
Step 1 Connect the camera to a LAN port on your router with an Ethernet cable.
Step 2 Use the power adapter provided to power on the camera.
Your Smart Device
Power Cable
Reolink E1 Outdoor
Power Adapter
Network Cable
Router
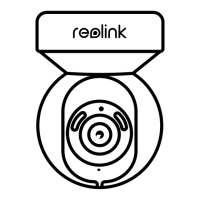
Reset Button
Micro SD Card Slot
Daylight Sensor
Spotlight
Infrared Lights
Lens
Status LED
Built-in Mic
Speaker
Network Cable
Power Cable
Meaning of the Status LED:
Status/LED Blinking Solid
LED in Blue
WiFi connection failed
Camera is starting upWiFi is not congured
WiFi connection succeeded
* Press for more than ve seconds to
restore the device to default settings.
* Rotate the lens to nd the
reset button and the SD card slot.
You haven't added any device. Please click
the"+"button in the top right corner to add
 Loading...