English English17 18
Step 3 Download and launch the Reolink App or Client software, and follow the onscreen
instructions to nish initial setup.
Scan to download the Reolink App.
Download path of the Reolink Client: Go to https://reolink.com > Support > App & Client.
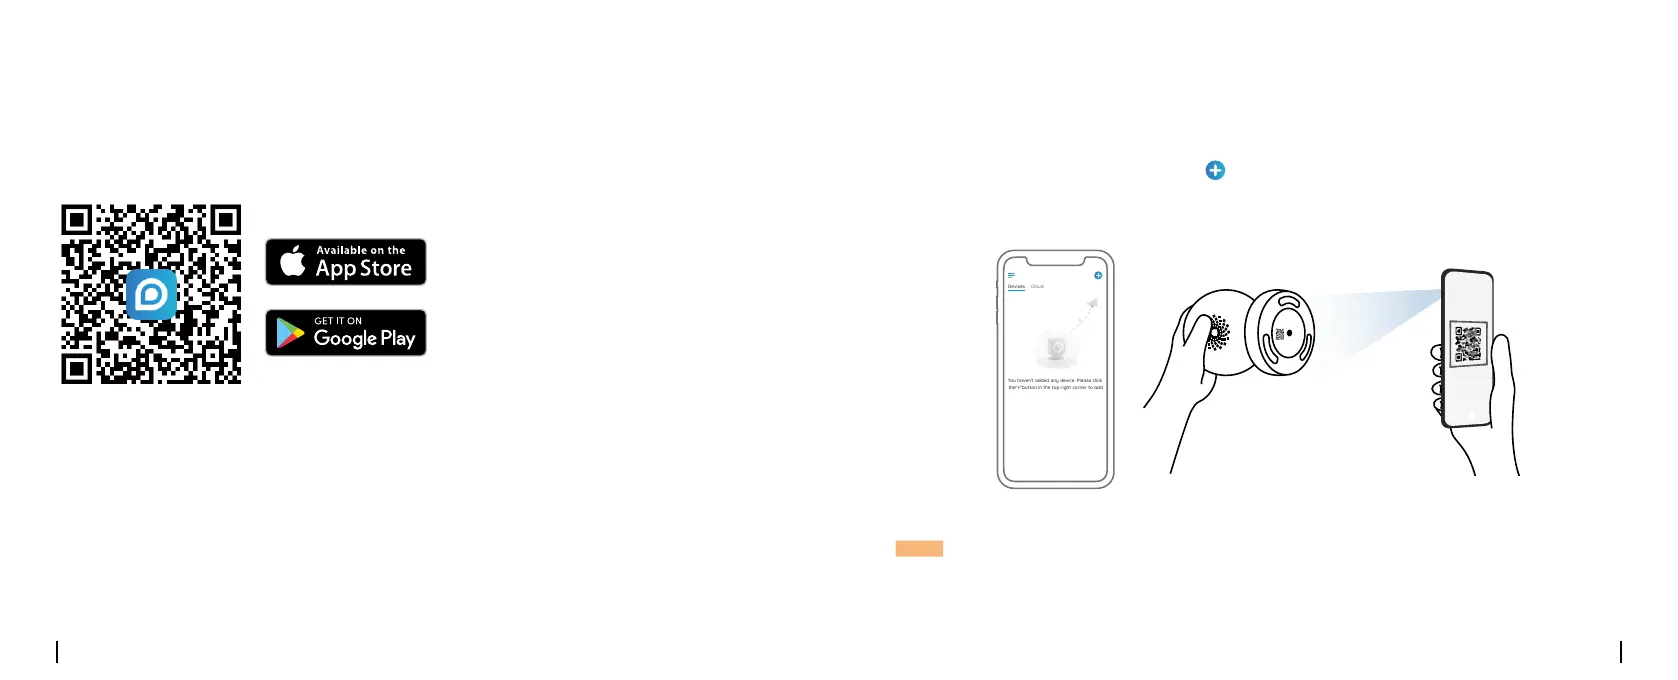
Wireless Setup
If you set up Reolink E1 Outdoor without the Ethernet cable, you may follow the steps below.
Step 1 Use the power adapter provided to power on the camera.
Step 2 Launch the Reolink App, click the “ ” button in the top right corner to add the camera.
Scan the QR code on the device and follow the onscreen instructions to nish initial setup.
NOTE: If you access the camera via the Reolink Client, you may click the Add Device icon and
choose the UID option to enter the UID of your camera. The UID is on the camera body
(right below the QR code).
You haven't added any device. Please click
the"+"button in the top right corner to add
• On Smartphone
• On PC
 Loading...