English English7 8
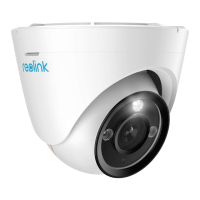
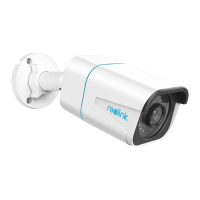
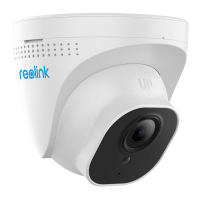
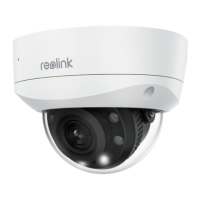
Mount the Camera
•Donotfacethecameratowardsanylightsources.
•Donotpointthecameratowardsaglasswindow.Otherwise,itmay
resultinpoorimagequalitybecauseofthewindowglarecausedby
infraredLEDs,ambientlightsorstatuslights.
• Do not place the camera in a shaded area and point it towards a
well-litarea.Otherwise,itmayresultinpoorimagequality.Toensure
bestimagequality,thelightingconditionforboththecameraandthe
captureobjectshouldbethesame.
•Makesurethepowerportsarenotdirectlyexposedtowateror
moistureandnotblockedbydirtorotherelements.
•Thewaterproofcameracanworkproperlyunderconditionslikerain
andsnow.However,itdoesn’tmeanthecameracanworkunderwater.
• Do not install the camera at places where rain and snow can hit the lens
directly.
Installation Tips
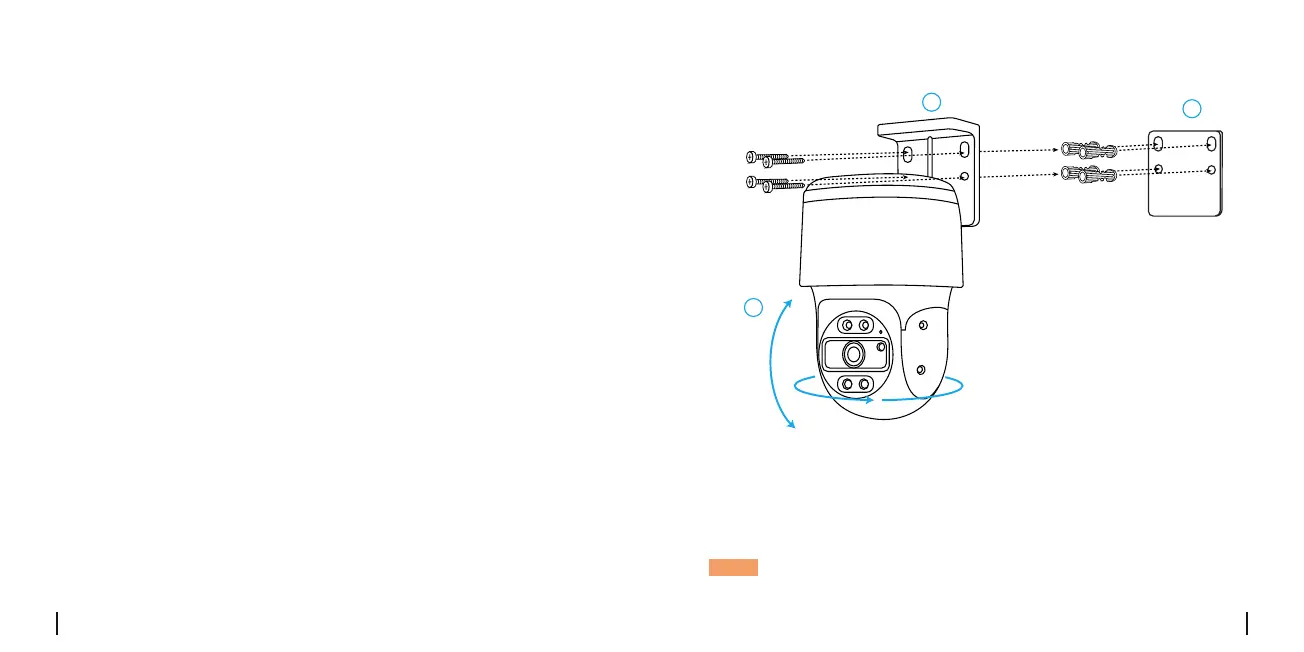
Mount the camera to the wall
1.Drillholesinaccordancewiththemountingholetemplate.
2.Installthemountbasewithscrewsincludedinthepackage.
3.Toadjustthecameradirection,youmaycontrolthecameratopan
andtiltviaReolinkApporClient.
1
3
3
VGAHDMIUSB
AUDIO
OUT
DC 48V
ON
2 4 6 8
1 3 5 7
OFF
LAN
eSATA
NOTE:Usethedrywallanchorsincludedinthepackageifneeded.
 Loading...