Copyright 2011-2020, RFXCOM
RFXtrx Version 5.68 page 55 / 70
17.3.
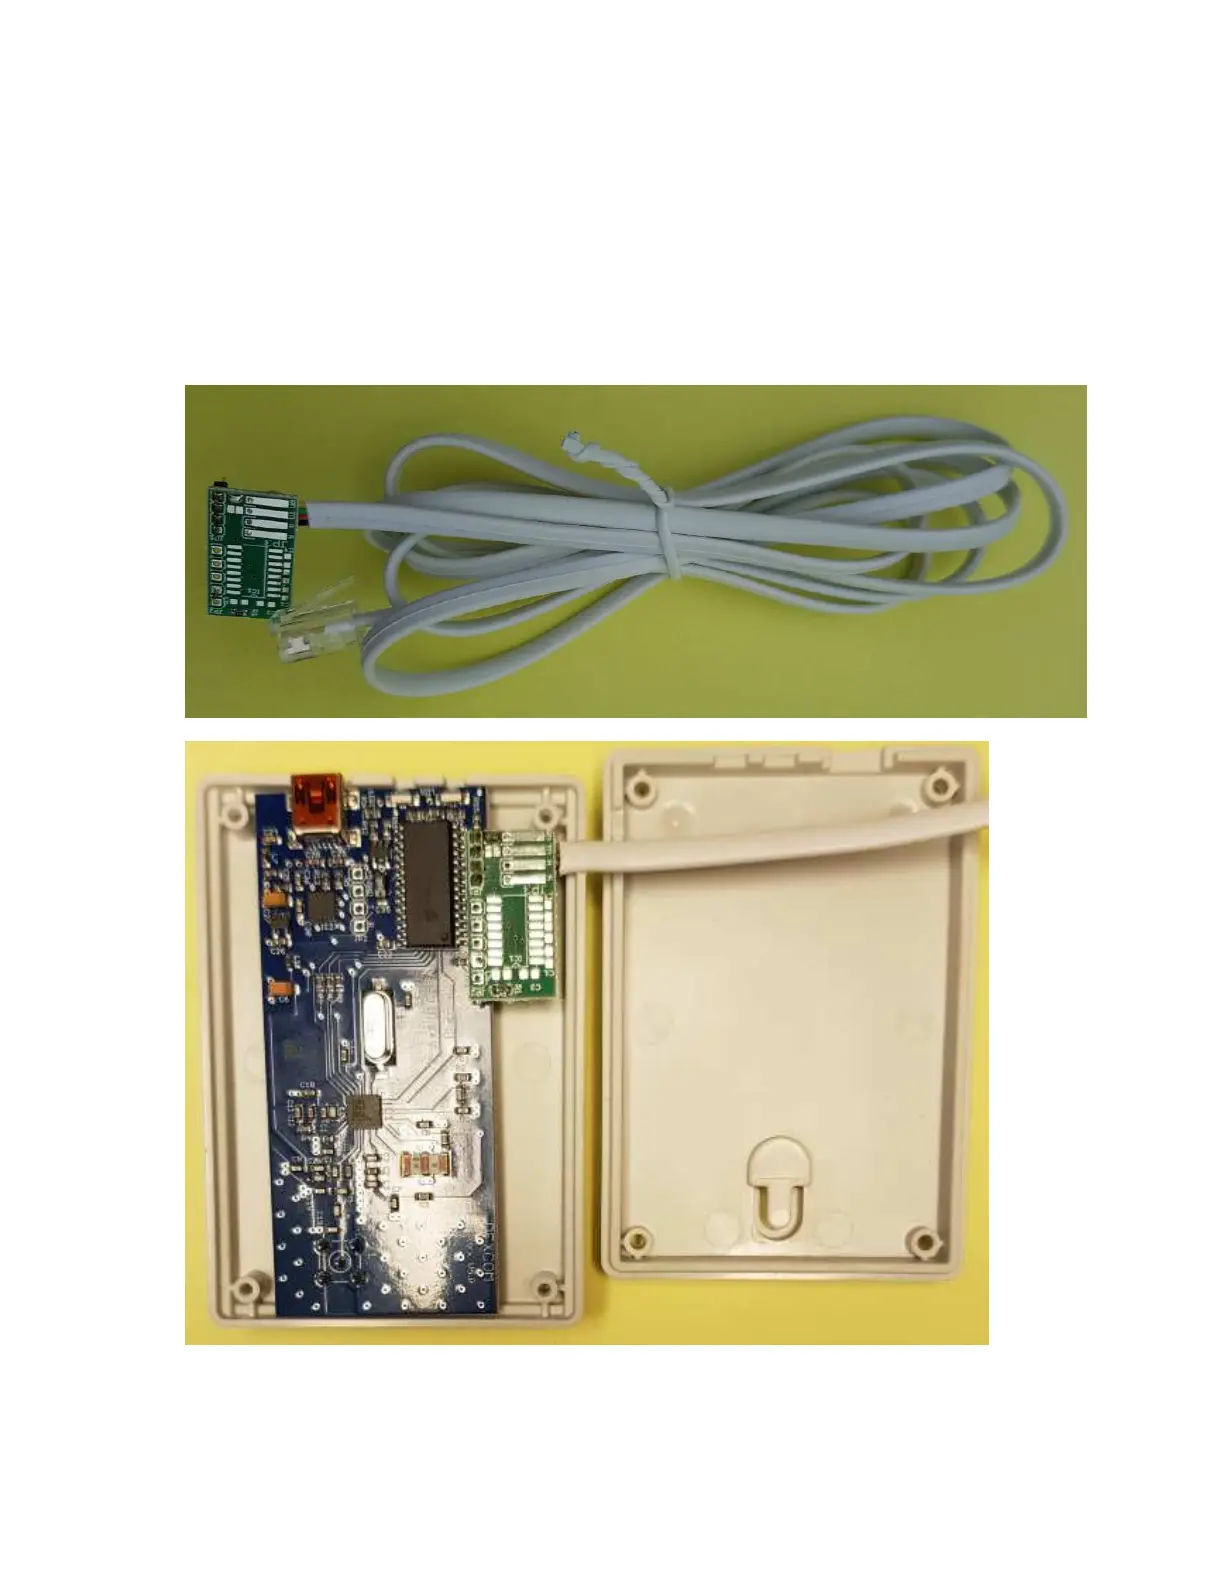
P1 option PCB Type 1 for RFXtrx433XL batch 3618 and 4018
1. Open the enclosure by removing the 4 screws.
2. Solder the 5 pins of the P1 PCB to the RFXtrx433XL PCB RFXtrx V5.0.
First solder 1 pin and check if the connector is fully on the RFXtrx433XL PCB.
Than solder the remaining 4 pins.
3. Cut a few plastics from the upper side of the enclosure for the cable using a Stanley knife.
4. Cut also at the same position a few plastics from the bottom part.
5. Close the enclosure. First turn the screw counter clockwise until you hear/feel a soft click, now
turn the screw clockwise and fix the screw (not too tight).