9
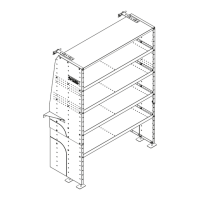
SHELVING UNIT A SSEMBLY
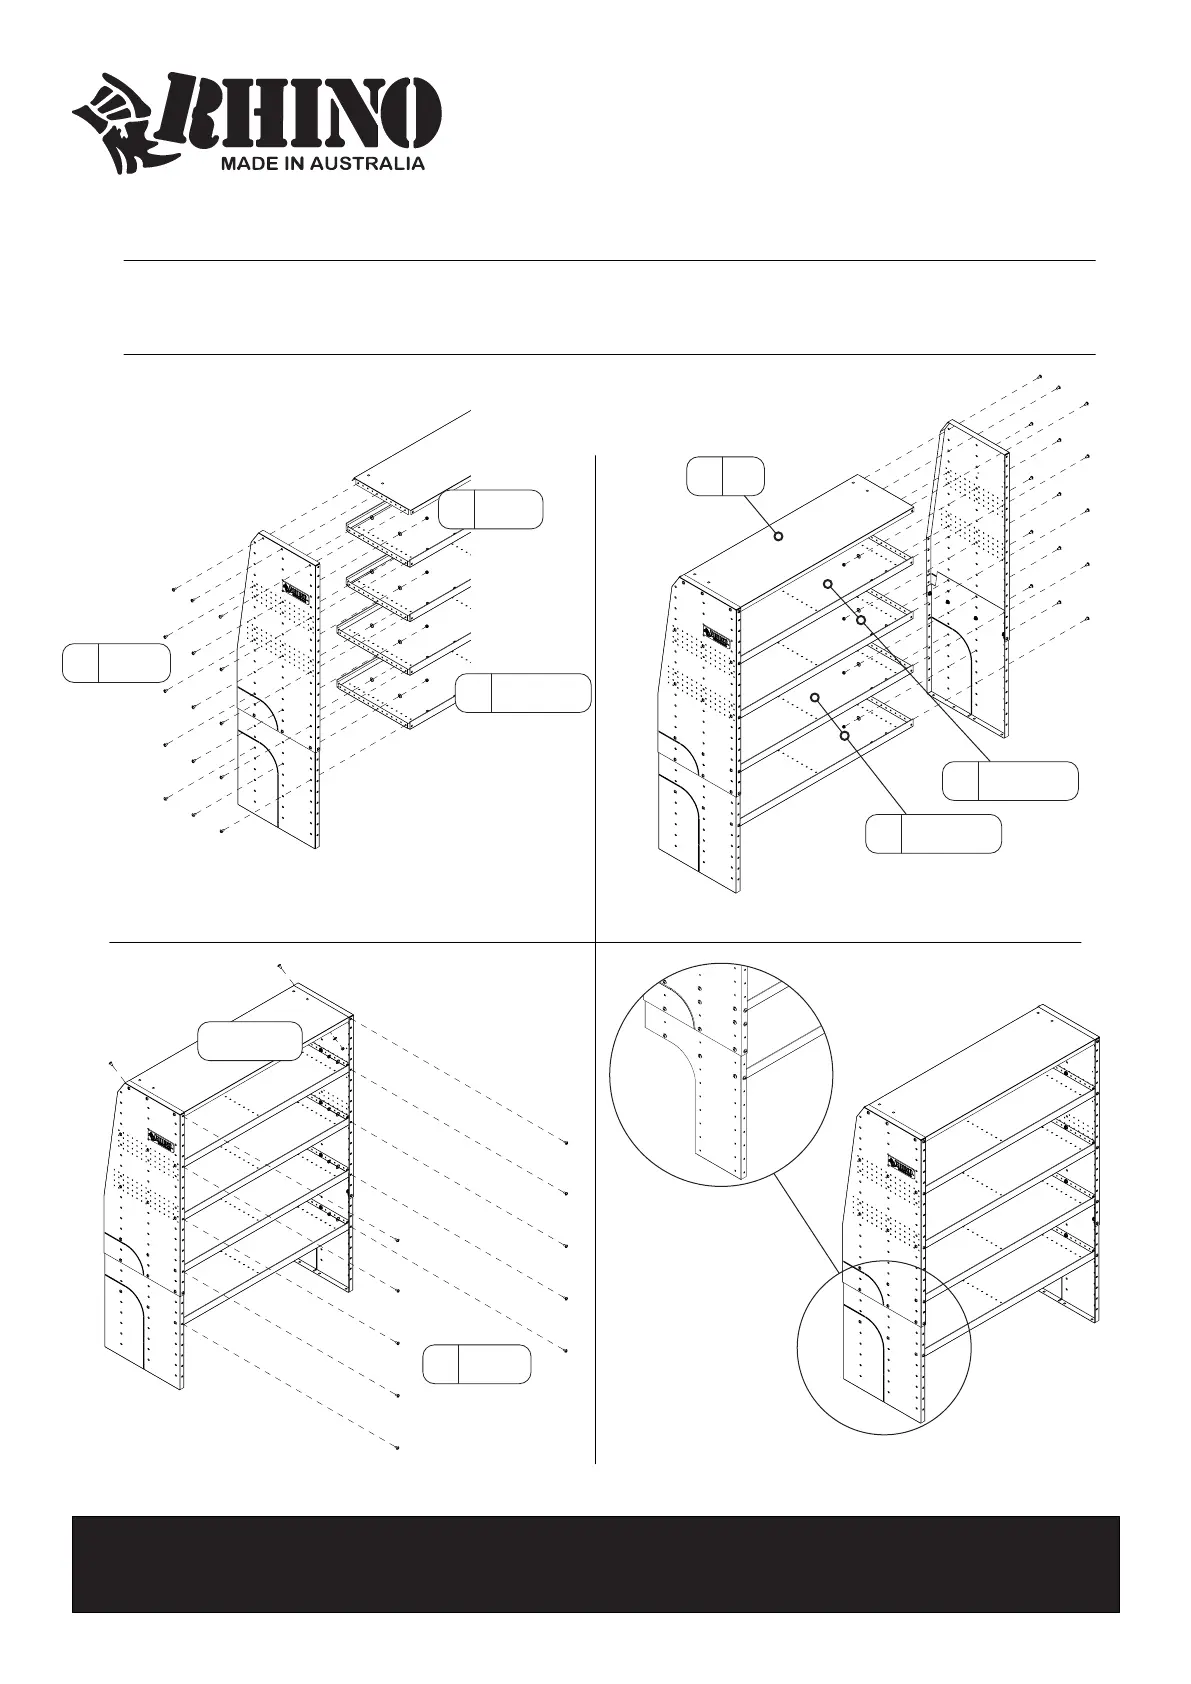
Step 2
TIPS:
- It is recommended not to tighten the hardware until all components are installed
- One or both rows of fixings can be shared with a shelf
6: Fasten both sides together
8: Check fitment in van and remove wheel
knock out with tin snips only if required
5: 5: Position Position End Panels End Panels (A)(B)(A)(B), Shelves, Shelves (E)(F)(E)(F)
and and TopTop (D)(D) to desired location to desired location
7: 7: Fasten front and rear Fasten front and rear BoltsBolts (V)(X)(V)(X)
FF
WW
XX
XX
Large Shelf
2 o
M6 Washer
30 total
M6 Nut
30 total
M6 Nut
12 o
VV
VV
M6 Bolt
30 total
M6 Bolt
12 o
EE
Small Shelf
2 o
DD
Top
1 o
Fix shelves into place.
Fix the Top into place.
 Loading...