REPLACEMENT AND ADJUSTMENT
B660 14 SM
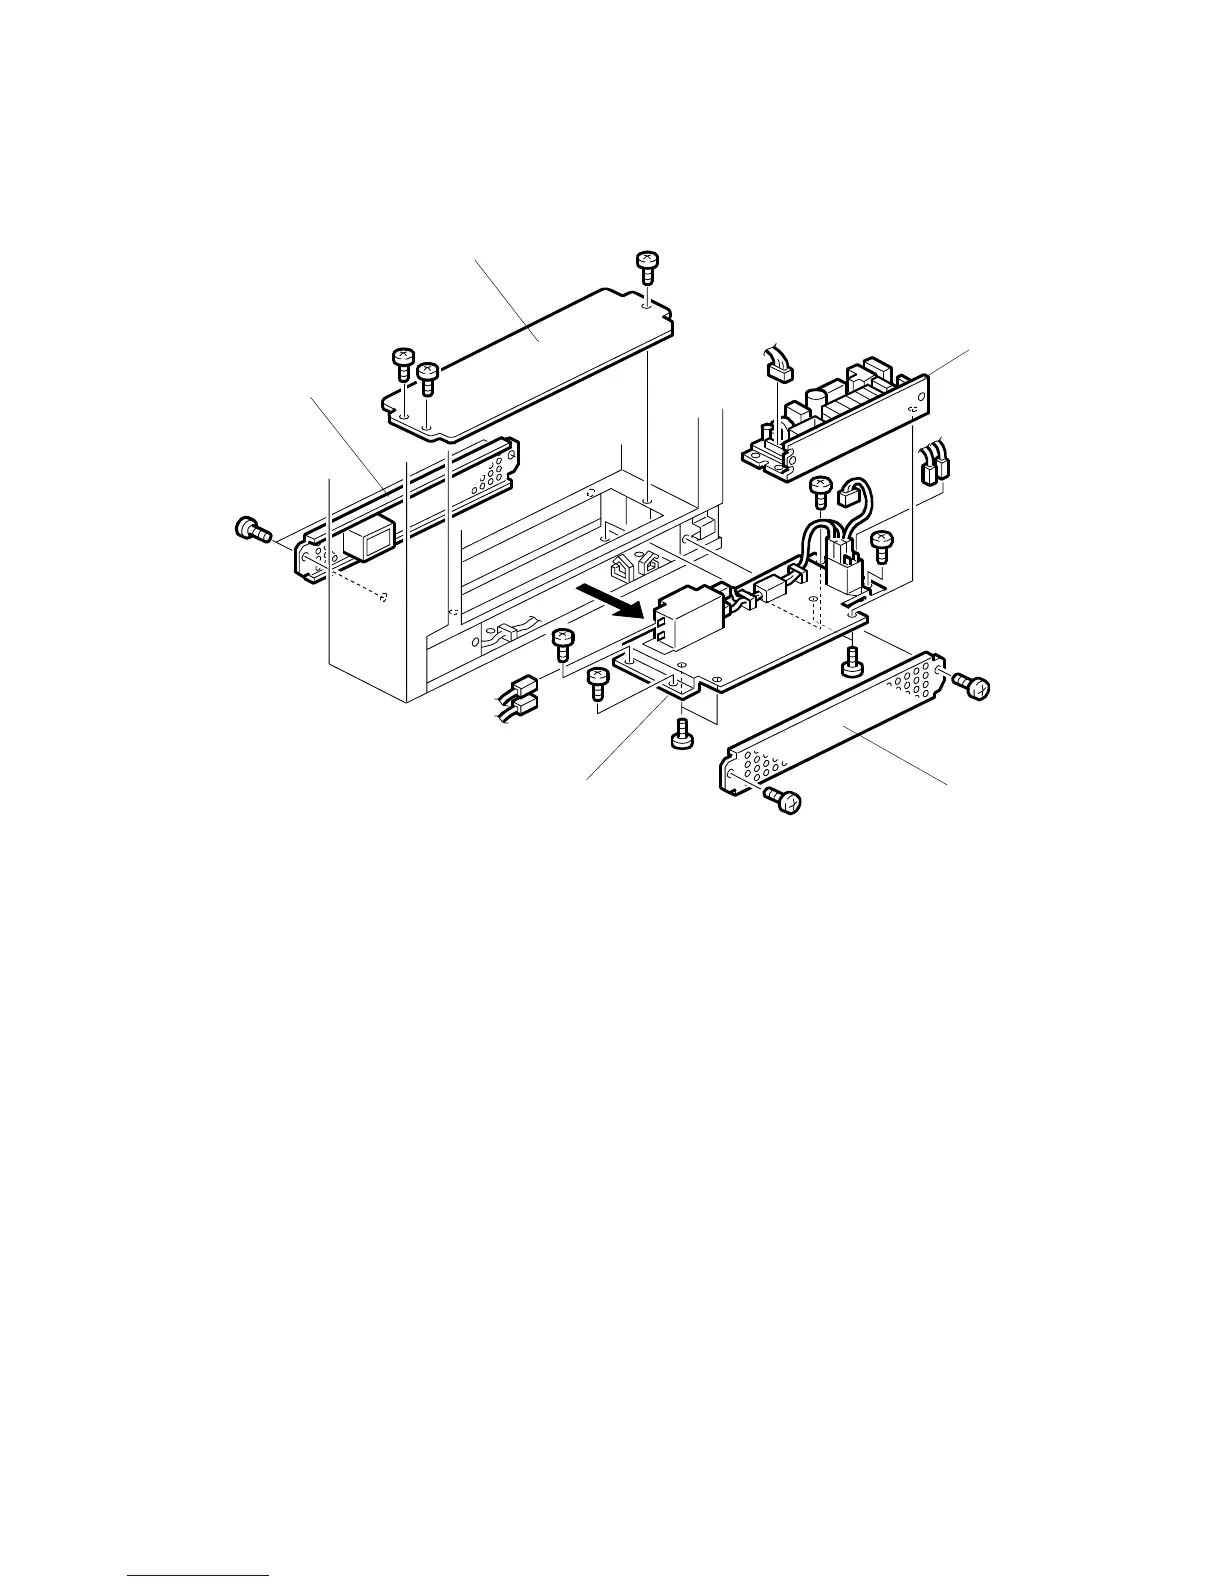
3.12 PSU
1. Open the front door. ( 3.2)
2. Pull the Z-fold mechanism out of the unit. ( 3.2)
3. Remove the left cover and right cover. ( 3.2)
4. Remove the base top cover [A] ( x 3).
5. Remove the base left cover [B] ( x 2).
6. Remove the base right cover [C] ( x 2).
7. Make a mark at the positions of the connectors, then disconnect them.
NOTE: These connectors do not have different colors. To help you connect
them again correctly, make marks on them.
8. Remove the screws of the power supply unit (PSU) [D] ( x 4).
9. Pull the power supply unit [D] out of the right side of the bottom.
10. Remove the power supply board [E] ( x 4, x 5).
B660R112.WMF
[A]
[B]
[C]
[D]
[E]
 Loading...