6
Screw the specula clockwise until noticeable resistance is felt. To re-
move the specula, screw the specula counter clockwise.
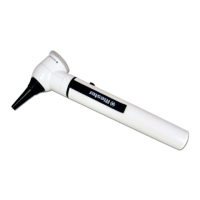
L3 otoscope:
Fitthechosenspeculaonthechrome-platedmetalxtureoftheoto-
scope until it locks into place. To remove the specula, press the blue
ejection button. The specula is automatically ejected.
6.1.3Swivellensformagnication
Theswivellensisxedtothedeviceandcanbeswivelled360°.
6.1.4 Insertion of external instruments into the ear
If you wish to insert external instruments into the ear (e.g. tweezers),
youhavetorotatetheswivellens(approx.3-foldmagnication)located
on the otoscope head by 180°. Now you can use the operation lens.
6.1.5 Pneumatic test
To perform the pneumatic test (= examination of the eardrum), you re-
quire a ball, which is not included in the normal delivery package, but
can be ordered separately. The tube for the ball is attached to the con-
nector. Now you can carefully insert the necessary volume of air into
the ear canal.
6.1.6 Technical data of the lamp
Otoscope XL 2.5 V 2.5 V 750 mA ave. life 15 h
Otoscope XL 3.5 V 3.5 V 720 mA ave. life 15 h
Otoscope LED 2.5 V 2.5 V 280 mA ave. life 10.000 h
Otoscope LED 3.5 V 3.5 V 280 mA ave. life 10.000 h
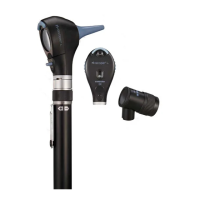
6.2 ri-scope®L ophthalmoscopes
6.2.1 Intended use
The Riester ophthalmoscope described in these Operating Instructions
is produced for the examination of the eye and the eyeground.
6.2.2 Lens wheel with correction lens
The correction lens can be adjusted on the lens wheel. The following
correction lenses are available:
L1 and L2 ophthalmoscopes:
Plus: 1-10, 12, 15, 20, 40.
Minus: 1-10, 15, 20, 25, 30, 35.
L3 ophthalmoscope:
Plus: 1-45 in single steps
Minus: 1-44 in single steps
Thevaluescanbereadoffintheilluminatedeldofview.Plusvalues
are displayed in green numbers, minus values with red numbers.
Attention!
Because prolonged intense exposure to light can damage
the retina, the use of the eye exam device should not be un-
necessarily prolonged, and the brightness setting should
not be set higher than needed for a clear representation of
the target structures.
The irradiation dose of the photochemical exposure to the
retina is the product of irradiance and duration of irradia-
tion. If the irradiance is reduced by half, the irradiation time
may be twice as long to reach the maximum limit.
Although no acute optical radiation hazards have been iden-
tied fordirect or indirect ophthalmoscopes,itisrecom-
mended that the intensity of light directed into the patient‘s
eye be reduced to the minimum required for examination /
diagnosis. Infants / children, aphasics and people with eye
diseases are at a higher risk. The risk may be increased if
the patient has already been examined with this or another
ophthalmological instrument during the last 24 hours. This
is especially true when the eye has been exposed to retinal
photography.
The light of this instrument may be harmful. The risk of eye
damage increases with the duration of irradiation. An irra-
diation period with this instrument at maximum intensity of
longer than >5 min. exceeds the guideline value for hazards.
This instrument does not pose a photobiological hazard ac-
cording to DIN EN 62471 but still features a safety shutdown
after 2 / 3 minutes.
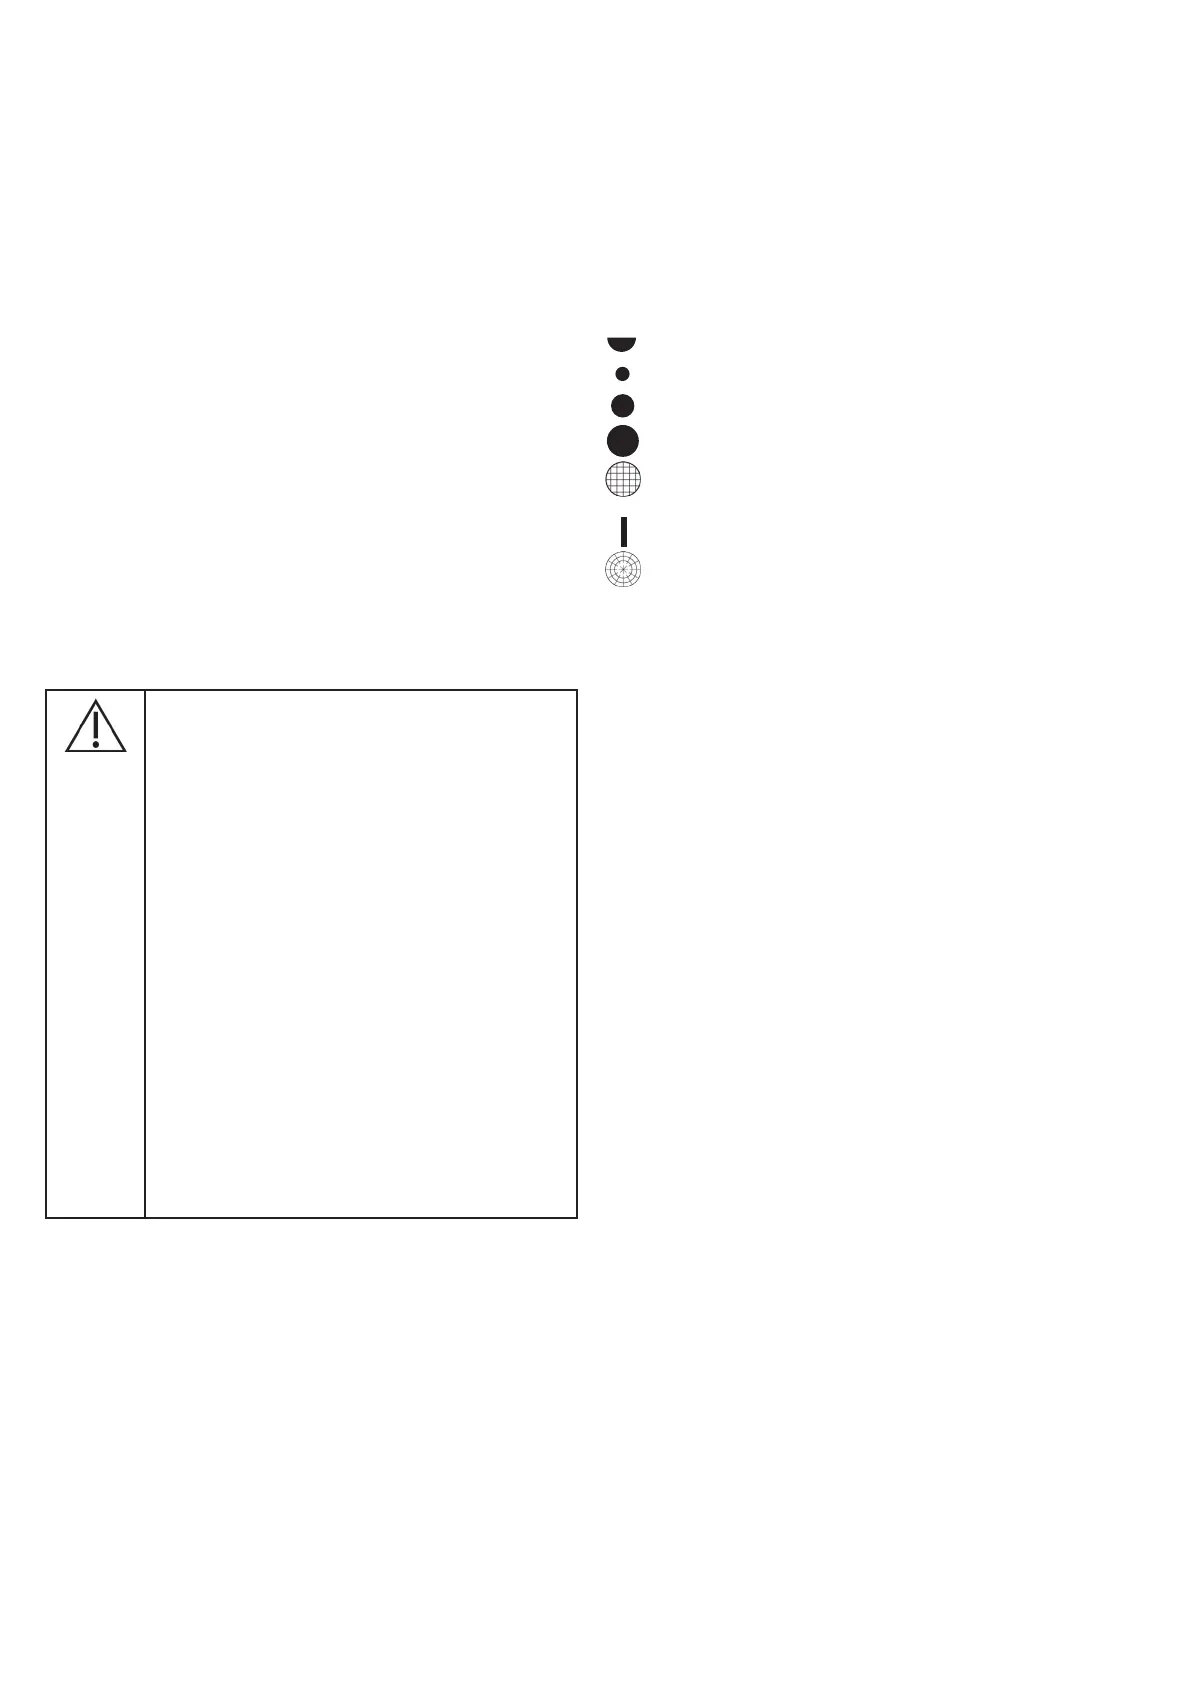
6.2.3 Apertures
The following apertures can be selected with the aperture hand-wheel:
L1 ophthalmoscope:
Semi-circle,small/medium/largecircularaperture,xationstar,slit.
L2 ophthalmoscope:
Semi-circle,small/medium/largecircularaperture,xationstarandslit.
L3 ophthalmoscope:
Semi-circle, small/medium/large circular aperture, xation star, slit and
grid.
Aperture Function
Semicircle: for examinations with turbid lenses
Smallcircle: toreducereectionsforsmallpupils
Mediumcircle: toreducereectionsforsmallpupils
Large circle: for normal examination results
Grid: for topographic determination of retina
changes
Light slit: to determine differences in level
Fixationstar: toascertaincentralofeccentricxation
6.2.4 Filters
Usingthe lterwheel,the followinglterscanbeswitchedforeach
aperture:
L1ophthalmoscopeRed-freelter
L2ophthalmoscopeRed-freelter,bluelterandpolarisationlter.
L3ophthalmoscopeRed-freelter,bluelterandpolarisationlter.
Filter Function
Red-freelter: contrastenhancingtoassessnevascularchanges,
e.g. retinal bleeding
Polarisationlter: forpreciseassessmentoftissuecoloursandtoavoid
retinalreections
Bluelter: forimprovedrecognitionofvascularabnormalitiesor
bleeding,foruorescenceophthalmology
ForL2+L3,everyltercanbeswitchedtoeveryaperture.
6.2.5 Focussing device (only with L3)
Fastneadjustmentoftheexaminationareatobeobservedisachieved
from various distances by turning the focussing wheel.
6.2.6 Magnifying glass
Amagnifyingglasswith5-foldmagnicationissuppliedwiththeopht-
halmoscope set. This can be positioned between the instrument head
and the area under examination, as required. The area under examina-
tionismagniedaccordingly.
6.2.7 Technical data on the lamp
XL 2.5 V ophthalmoscope: 750 mA ave. life 15 h
XL 3.5 V ophthalmoscope: 690 mA ave. life 15 h
LED 3.5 V ophthalmoscope: 280 mA ave. life 10.000 h
6.3 Slit and spot retinoscopes
6.3.1 Intended use
The slit/spot retinoscopes (also known as skiascopes) described in
these Operating Instructions are produced to determine the refraction
(ametropias) of the eye.
6.3.2 Commissioning and function
Position the required instrument head on point of attachment on top
section of handle with both recesses of the instrument head bottom
section being congruent with the two projecting guide cams of the bat-
tery handle. Press instrument head lightly on battery handle and rotate
handle in clockwise direction to the stop. Remove head by rotating in
counter-clockwise direction. Rotation and focusing of the slit and/or
spot image may now be effected by the knurled screw.